(16/34)
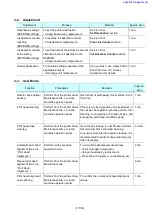
4) LCD reset line check (MG4100 series only)
i. Press the OK button. The entire LCD turns white.
ii. Press the OK button again. The LCD turns off.
5) LCD data line short / open check
Press the OK button. The gradation pattern is displayed on the LCD. (No button is valid for approx. 2
seconds after the pattern is displayed.)
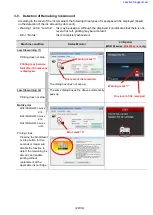
6) Color pattern check
Press the OK button. The color pattern is displayed on the LCD. (No button is valid for approx. 2
seconds after the pattern is displayed.)
7) Press the ON button to exit the Button and LCD test and return to the menu selection (the ON button is
invalid until this step during the panel check).
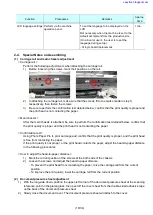
< Ink absorber counter setting >
Set the ink absorber counter value to a new EEPROM after the logic board is replaced in servicing.
1) Before replacement of the logic board, check the ink absorber counter value in EEPROM information
print.
2) After replacement of the logic board, the ink absorber counter value should be set in the service mode
using the Service Tool.
Start the machine in the service mode.
In the
Ink Absorber Counter
section of the Service Tool, select
Main_Black
,
Main_Color
,
Platen_Away
, or
Platen_Home
from the
Absorber
pull-down menu.
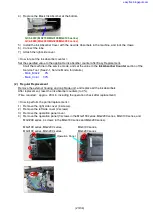
3) From the
Counter Value(%)
pull-down menu, select the value (in 10% increments) which is the closest
to the actual counter value confirmed before replacement of the logic board, and click
Set
.
RED
GREEN
BLUE
BLACK
WHITE
CYAN
(
G+B
)
MAGENTA
(
R+B
)
YELLOW
(
R+G
)
Brighter
Darker
256 levels
When rotating clockwise:
When rotating counterclockwise:
START
START
END
END
easyfixs.blogspot.com


