


Installing the CAPT Software
3-25
Setting Up the Pr
inting En
vironment
3
12
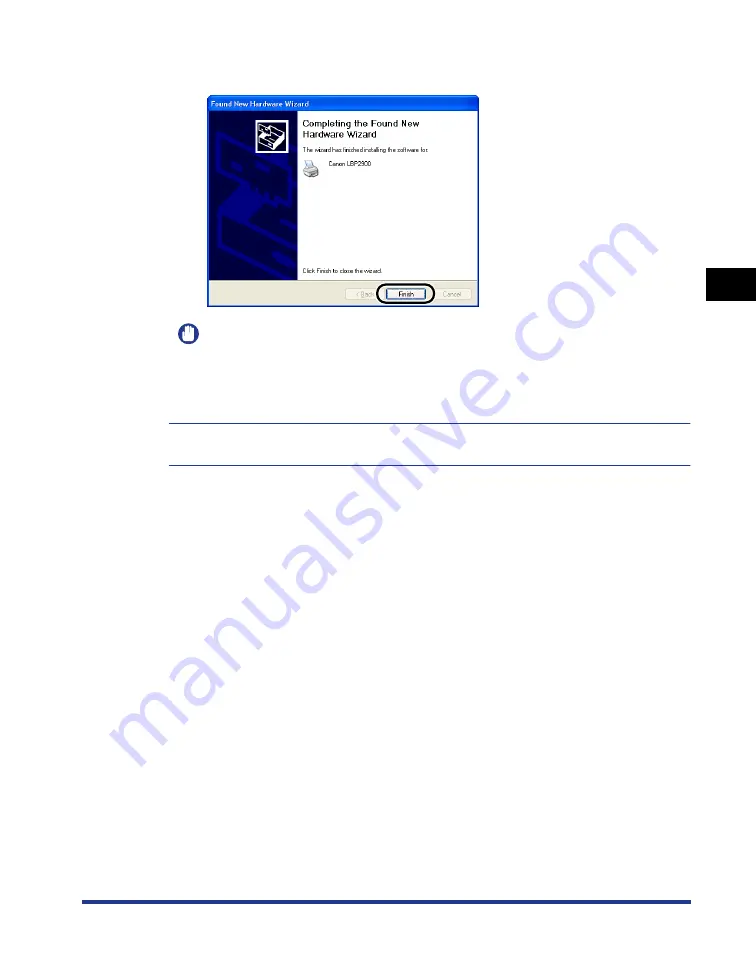
Click [Finish].
IMPORTANT
If you are using Windows XP Service Pack 2 or another operating system equipped
with Windows Firewall as a print server, configure Windows Firewall to unblock
communication with the client computers. (See p. 7-8)
This completes the installation of the USB class driver (supplied with OS) and printer
driver.
Содержание Laser Shot LBP-2900
Страница 2: ...LBP2900 Laser Printer User s Guide ...
Страница 23: ...xx ...
Страница 71: ...Printing on Index Card 2 32 Loading and Delivering Paper 2 5 Click OK to start printing ...
Страница 82: ...Printing on Envelopes 2 43 Loading and Delivering Paper 2 5 Click OK to start printing ...
Страница 165: ...Uninstalling the CAPT software 3 70 Setting Up the Printing Environment 3 ...
Страница 259: ...Handling the Printer 5 28 Routine Maintenance 5 ...
Страница 297: ...Miscellaneous Problems 6 38 Troubleshooting 6 ...
Страница 316: ... CANON INC 2009 R IE 670AF ...


