

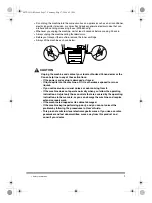


1 Safety Instructions
8
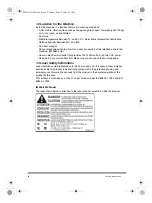
1.2 Location for the Machine
Install the machine in a location that meets following conditions:
- A flat, stable, vibration-free surface strong enough to support its weight (about 15 kg).
- Cool, dry, clean, well ventilated.
- Dust-free.
- Stable temperature between 10° and 32.5°C. No extreme temperature fluctuations.
- Relative humidity between 20% and 80%.
- No direct sunlight.
- Near a telephone outlet, to allow for an easy connection of the telephone line to the
machine. (MF5650 only)
- Near an electrical wall outlet that provides 200 to 240-volt AC (50 to 60 Hz) power.
- Near the PC you will connect it to. Make sure you can reach the machine easily.
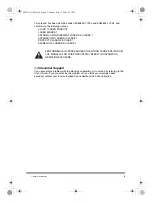
1.3 Laser Safety Information
Laser radiation could be hazardous to the human body. For this reason, laser radiation
emitted inside this product is hermetically sealed within the protective housing and
external cover. No radiation can leak from the product in the normal operation of the
product by the user.
This product is classified as a Class 1 Laser Product under IEC 60825-1:1993 and EN
60825-1:1994.
■
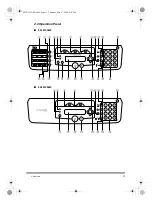
200-240V Model
The label shown below is attached to the laser scanner assembly within the product.
00CF-LD QRG.book Page 8 Thursday, May 27, 2004 4:31 PM


