2
2
U
sing the S
can t
o USB F
ea
tur
e
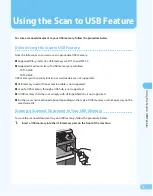
Using the Scan to USB Feature
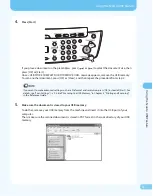
4.
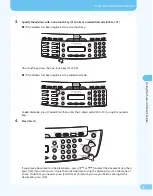
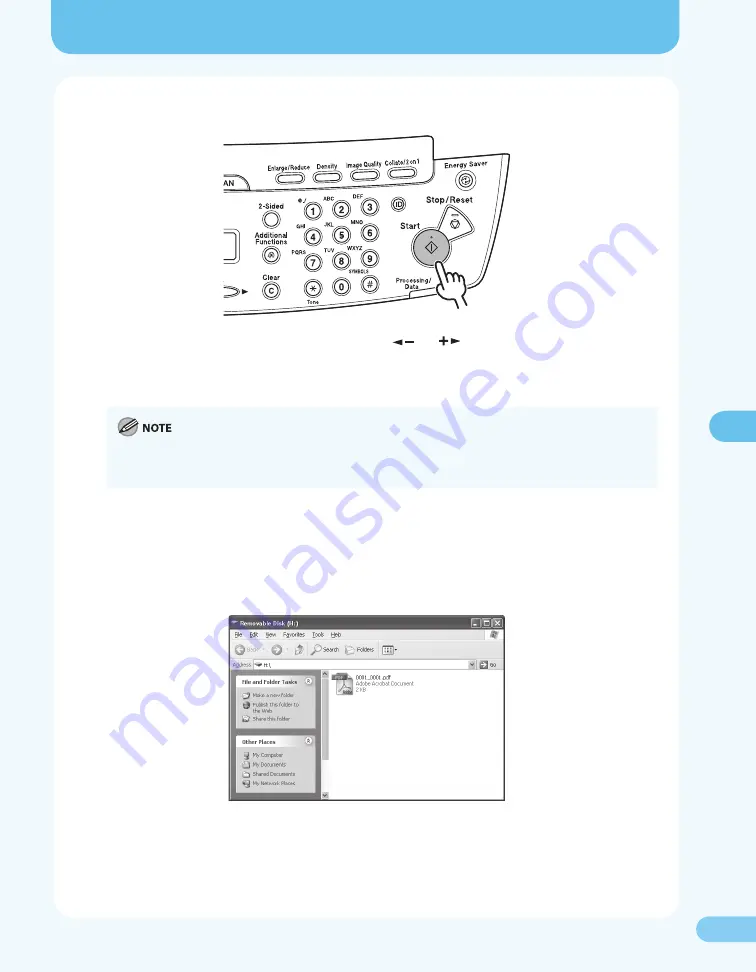
Press [Start].
If you place a document on the platen glass, press [
] or [
] to select the document size, then
press [OK] or [Start].
Once <USB STORE COMPLETE/OK TO REMOVE USB> message appears, remove the USB memory.
To scan another document, press [OK] or [Clear], and then repeat the procedure from step 2.
If you want to make advanced settings such as a file format and resolution, press [OK] instead of [Start]. For
details, see “Scan Settings,” (
→
P. 5-6) of “Scanning to a USB Memory,” in Chapter 5, “Printing and Scanning,”
in the Reference Guide.
5.
Make sure the document is stored to your USB memory.
To do that, remove your USB memory from the machine and insert it into the USB port of your
computer.
Then, make sure the scanned document is stored in PDF format in the root directory of your USB
memory.

