Changing the Current Standard Settings
3-11
3
Setting/Stor
ing Speci
fi
cations of the Cop
y Functions
NOTE
The default setting is ‘5’.
1
Enter the Additional Functions menu
➞
open the <2.COPY
SETTINGS> menu.
For details about the procedure above, see steps 1 and 2 in “Standard
Exposure,” on p. 3-3.
2
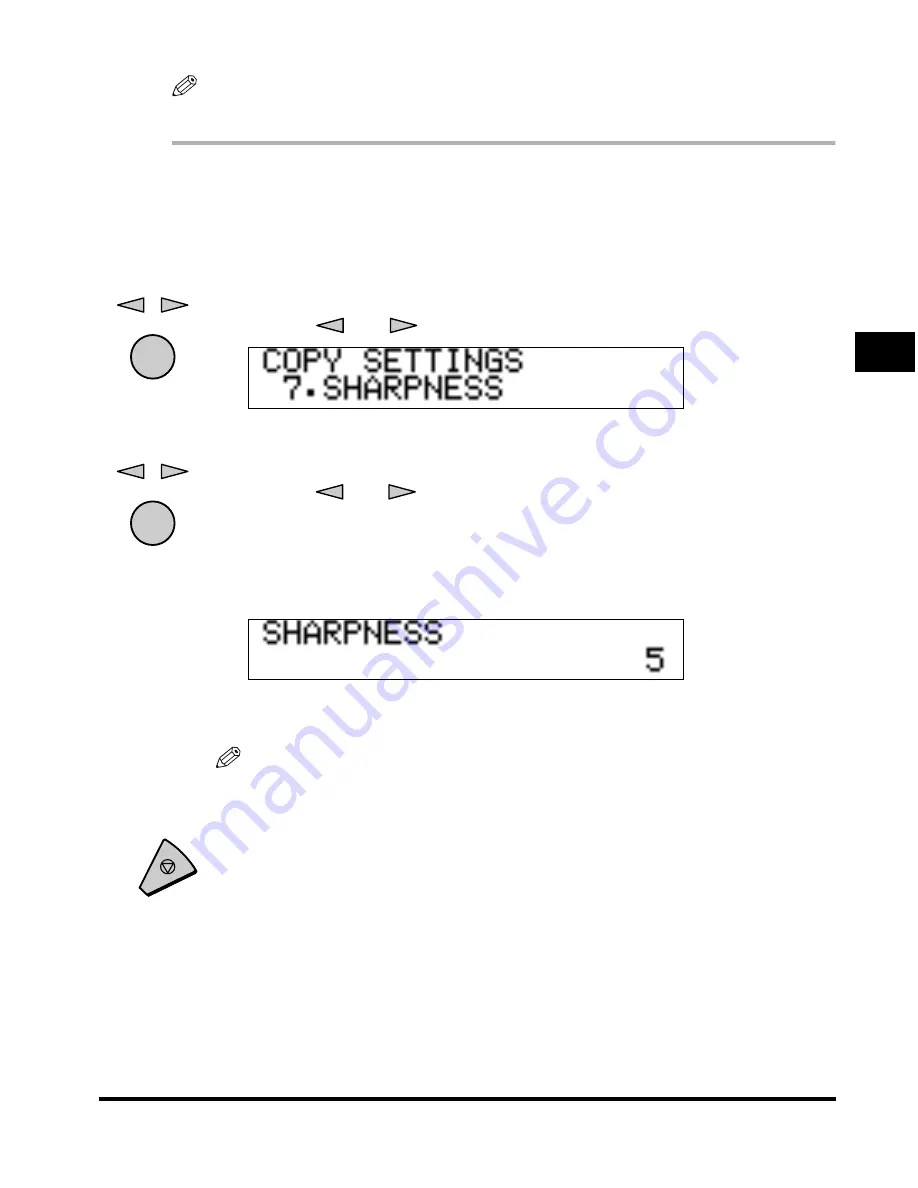
Press [
] or [
] to select <7.SHARPNESS>
➞
press [OK].
When you press [OK], the <SHARPNESS> menu appears.
3
Press [
] or [
] to set the desired sharpness level
➞
press
[OK].
To copy an original containing text and lines, select a higher sharpness level.
To copy an original containing halftone images, such as a photograph, select a
lower sharpness level.
When you press [OK], the selected sharpness level is stored and the display
returns to the <COPY SETTINGS> menu.
NOTE
• You can set the sharpness level in a range from 1 to 9.
• <9> is the lowest sharpness level and <1> is the highest.
4
Press [Stop] to return to the Standby mode.
OK
OK
Stop
Содержание Image Runner 1600 Series
Страница 1: ......
Страница 8: ...vi ...
Страница 43: ...Reserved Copying 1 35 Basic Copying Features 1 4 Once the original is scanned remove it from the machine ...
Страница 46: ...Interrupt Mode 1 38 1 Basic Copying Features ...
Страница 64: ...2 on 1 Combination 2 18 2 Special Copying Features ...
Страница 84: ......


