67
Windo
ws
○
○
○
○
○
○
○
○
○
○
○
○
○
○
○
○
○
○
○
○
○
○
○
○
○
○
○
○
○
○
○
○
○
○
○
○
○
○
○
○
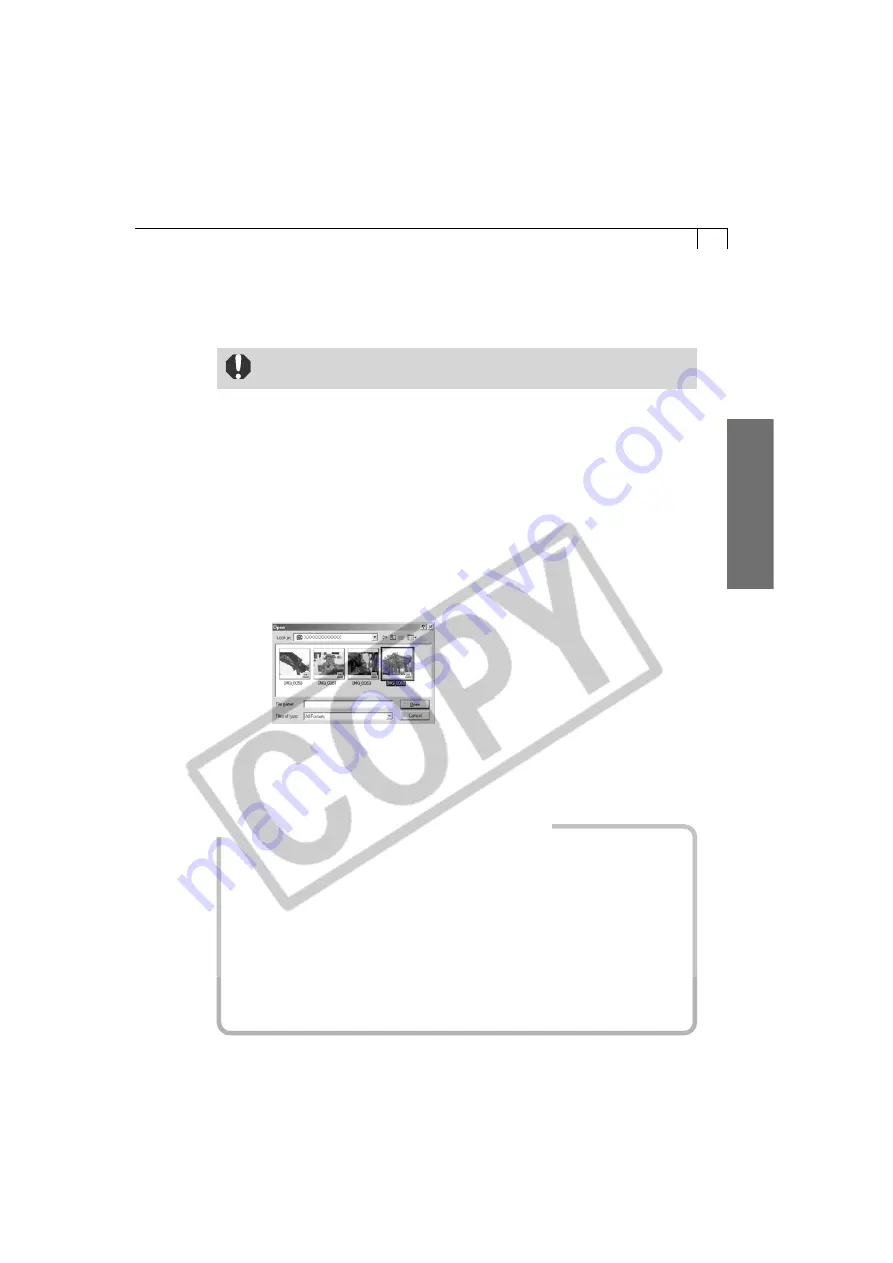
Downloading with the File Dialog
You can select an image with the Open dialog, load it into the program and save it to
the computer. This topic explains how to load images using ArcSoft PhotoImpression.
• RAW images will not show in the Open dialog. Accordingly, RAW
images cannot be downloaded with this method.
1.
Attach the supplied USB cable to the computer’s USB port and the
camera’s Digital Terminal.
• For USB interface connection instructions, see “Connecting to a USB Port” (p. 16).
• The Scanners and Cameras Wizard will open automatically.
2.
Click the [Cancel] button.
3.
Start the image editing program, such as ArcSoft PhotoImpression.
4.
Click the [File] menu and select [Open].
• The Open dialog will display.
5.
Select your camera’s icon in the file list.
• The camera images will display.
6.
Select the image(s) you wish to download and click the [Open] button.
• The selected image(s) will load into the program.
• To save the loaded image(s), click the [File] menu and select [Save As]. Input a
file name and change the file location and format settings if necessary.
Loading Images with Windows TWAIN Source
You can also load images, excluding RAW images, into a program (not ArcSoft
PhotoImpression) with Windows TWAIN Source.
1. Connect the camera to the computer with the USB interface.
2. Start a TWAIN-compliant program, such as Adobe Photoshop.
3. Open the dialog in which you can select the TWAIN source and select [WIA-your
camera model], where your camera model name appears after “WIA”.
4. Start TWAIN Source.
5. Select the image(s) you wish to download and click the [Acquire] button.
The selected image(s) will load into the program.
The procedures for starting TWAIN-compliant programs and opening their dialogs
may vary between programs. Refer to the program manuals for more details.


