42
Scanning and Saving the Image
This section describes the basic operation procedures from launching the IS Scan software (IS Scan
Plus for Windows or IS Scan for Macintosh) to scanning and saving the image.
1
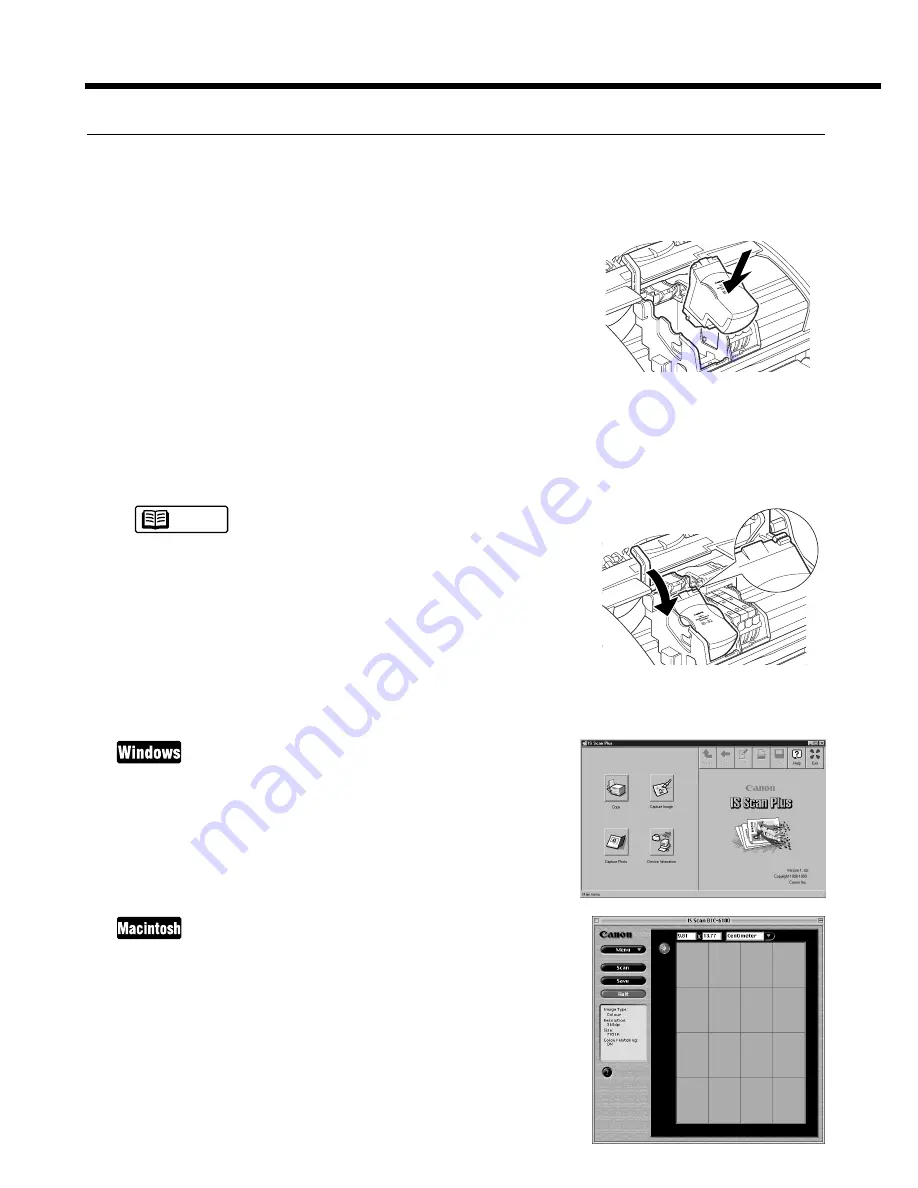
Remove the BJ Cartridge installed on the left side of
the cartridge holder and then install the Color Image
Scanner Cartridge IS-32.
➀
Make sure that the printer is switched on and open the front
cover of the printer. Remove the BJ Cartridge installed on
the left side of the cartridge holder.
➁
Store the removed BJ Cartridge in the BJ Cartridge contain-
er.
➂
Install the Color Image Scanner Cartridge IS-32.
➃
Make sure that the paper thickness lever is set to the Up
position.
➄
Close the front cover.
Before closing the front cover of the printer, make sure that
the paper thickness lever is set to the Up position. If you
scan the image with the paper thickness lever set in the
Down position, scanning results may be unsatisfactory.
2
Launch the IS Scan Software.
Select Programs from the Start menu. Point to IS Scan Plus,
then select IS Scan Plus. The Main menu of IS Scan Puls
appears.
Double-click IS Scan BJC-6100 in the folder you specified dur-
ing the installation procedure. The Main dialog box of IS Scan
appears.
Note


