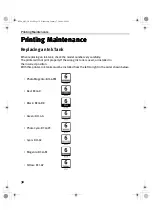


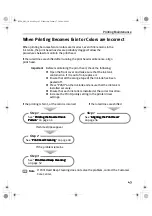


Printing Maintenance
51
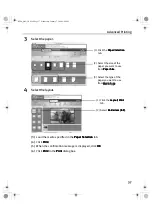
(5)
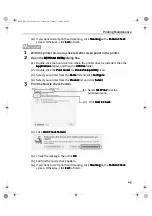
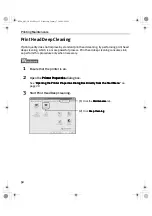
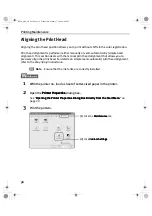
When the confirmation message is displayed, click OK
OK
OK
OK.
(6)
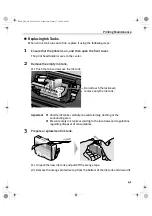
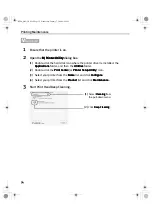
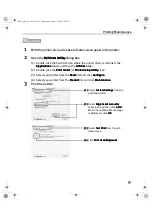
Print the nozzle check pattern to check the print head condition.
See “Printing the Nozzle Check Pattern”
“Printing the Nozzle Check Pattern”
“Printing the Nozzle Check Pattern”
“Printing the Nozzle Check Pattern” on page 50.
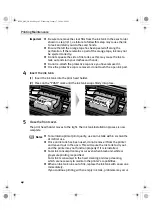
Important
Do not perform any other operations until the print head
cleaning finishes. This takes about one minute.
Notes
If this does not solve the problem, clean the print heads again, up to
three times.
After print head cleaning finishes, print the nozzle check pattern to
verify that the print head nozzles are clean.
See “Printing the Nozzle Check Pattern
Printing the Nozzle Check Pattern
Printing the Nozzle Check Pattern
Printing the Nozzle Check Pattern” on page 44.
If the problem persists, perform print head deep cleaning.
See “Print Head Deep Cleaning
Print Head Deep Cleaning
Print Head Deep Cleaning
Print Head Deep Cleaning” on page 52.
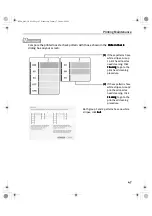
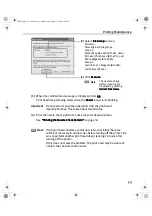
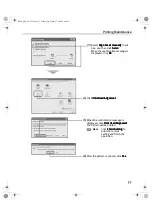
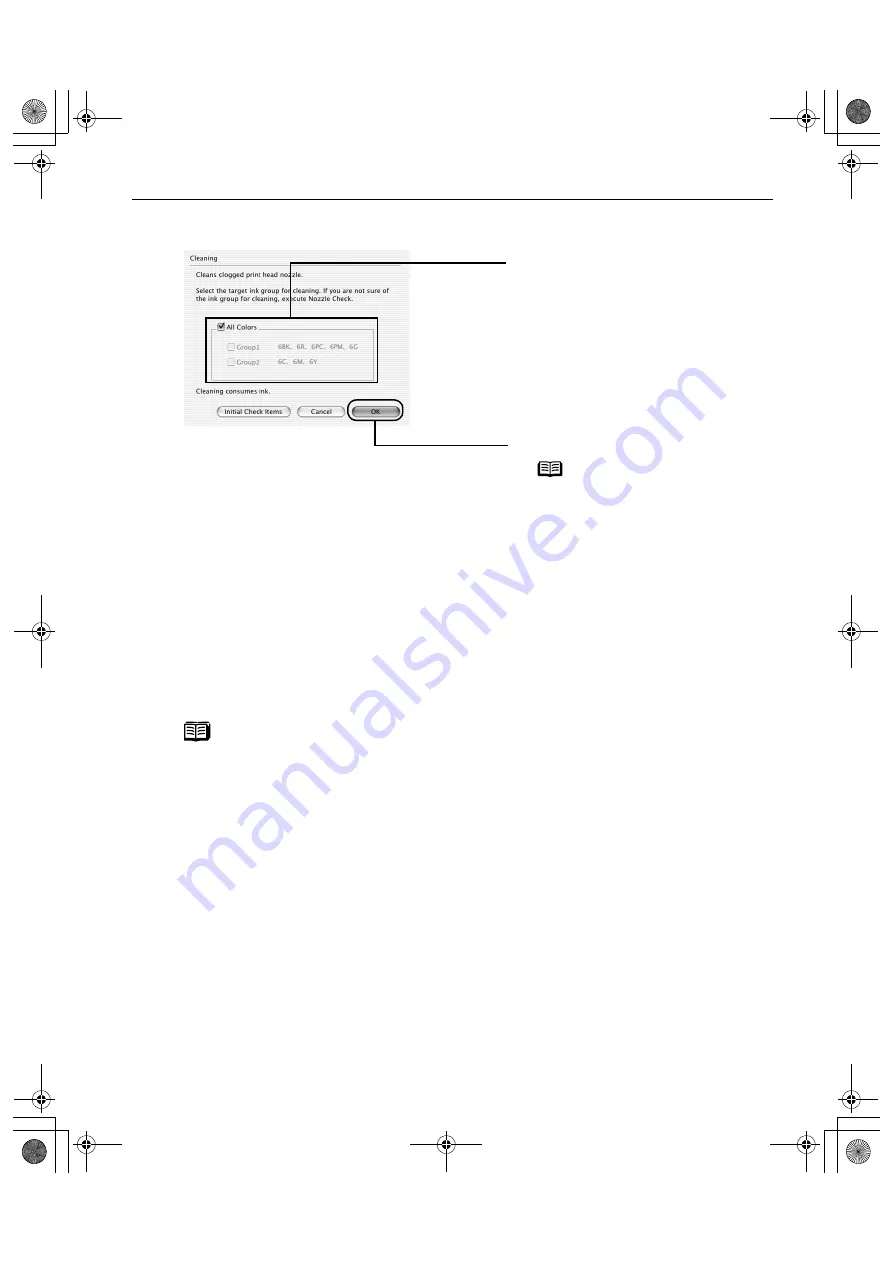
(3)
Select Ink Group
Ink Group
Ink Group
Ink Group to clean.
All colors:
Selecting both ink groups.
Group 1:
Black (BCI-6BK), Red (BCI-6R), Green
(BCI-6G), Photo Cyan (BCI-6PC), and
Photo Magenta (BCI-6PM).
Group 2:
Cyan (BCI-6C), Magenta (BCI-6M),
and Yellow (BCI-6Y).
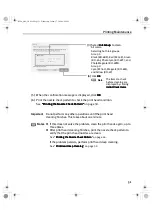
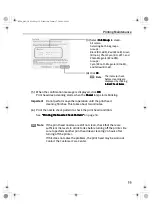
(4)
Click OK
OK
OK
OK.
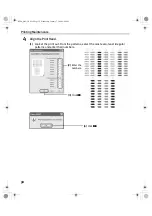
Note
The items to check
before cleaning are
displayed by clicking
Initial Check Items
Initial Check Items
Initial Check Items
Initial Check Items.
i9900_QSG_US.book Page 51 Wednesday, January 7, 2004 6:09 PM


