Clearing Paper Jams
3-39
3
T
rou
b
lesh
o
o
ti
ng
4
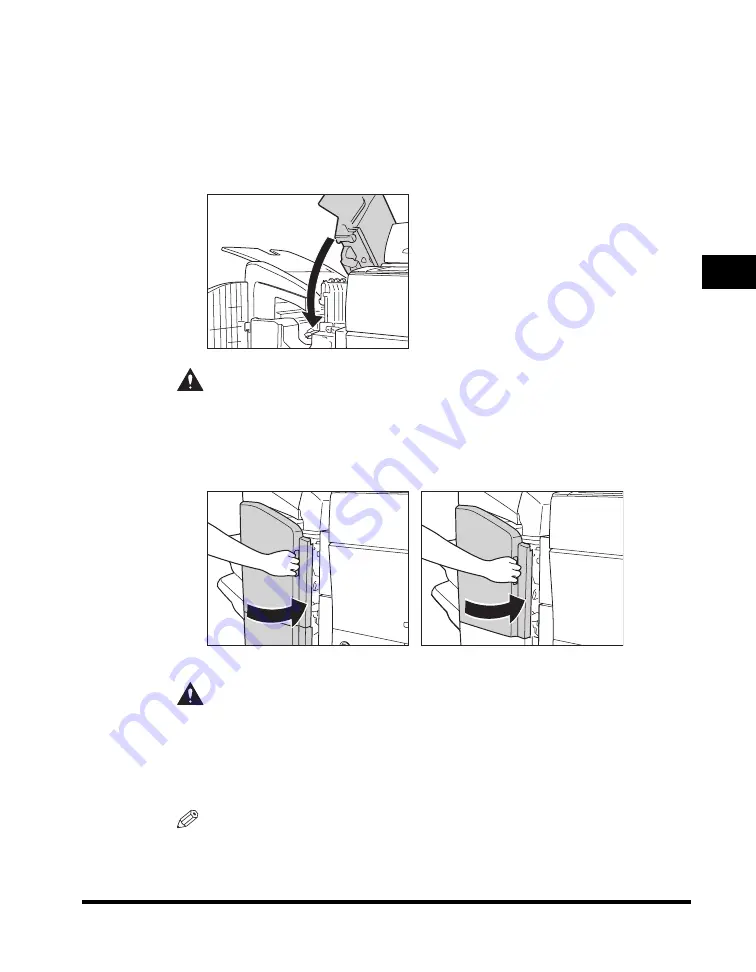
Close the top cover of the finisher.
If the optional Puncher Unit-AT1 is attached to the main unit, close the top cover
of the puncher unit and the front cover of the punch waste tray, after removing the
jammed paper.
If the optional Document Insertion/Folding Unit-F1 or Document Insertion Unit-E1
is attached to the main unit, close the insertion unit.
CAUTION
When closing the top cover of the finisher, be careful not to get your
fingers caught, as this may result in personal injury.
5
Close the front cover of the finisher.
CAUTION
When closing the front cover of the finisher, be careful not to get your
fingers caught, as this may result in personal injury.
6
Follow the instructions on the touch panel display.
NOTE
The screen indicating the location of the paper jam repeatedly appears on the
touch panel display until the paper jam is entirely cleared. For more information,
see "Screens Indicating the Locations of Paper Jams," on p. 3-4.
The Optional Saddle Finisher-AD2
The Optional Finisher-AD1
Содержание imageRUNNER 5075
Страница 2: ......
Страница 3: ...imageRUNNER 5075 5065 5055 5050 Support Guide 0 Ot...
Страница 15: ...xiii Printing data scanned from an original followed by finishing options such as stapling Copying...
Страница 38: ...xxxvi 5 Fill in the check sheet located on the next page to document your periodic inspections of the breaker...
Страница 40: ...xxxviii...
Страница 68: ...System Settings 1 28 1 Before You Start Using This Machine...
Страница 138: ...Consumables 2 70 2 Routine Maintenance...
Страница 240: ...Service Call Message 3 102 3 Troubleshooting The machine starts up in the Limited Functions Mode...
Страница 242: ...When the Power Does Not Turn ON 3 104 3 Troubleshooting...
Страница 266: ...System Management of the imageRUNNER 5075 5065 5055 5050 4 24 4 Appendix...
Страница 267: ......


