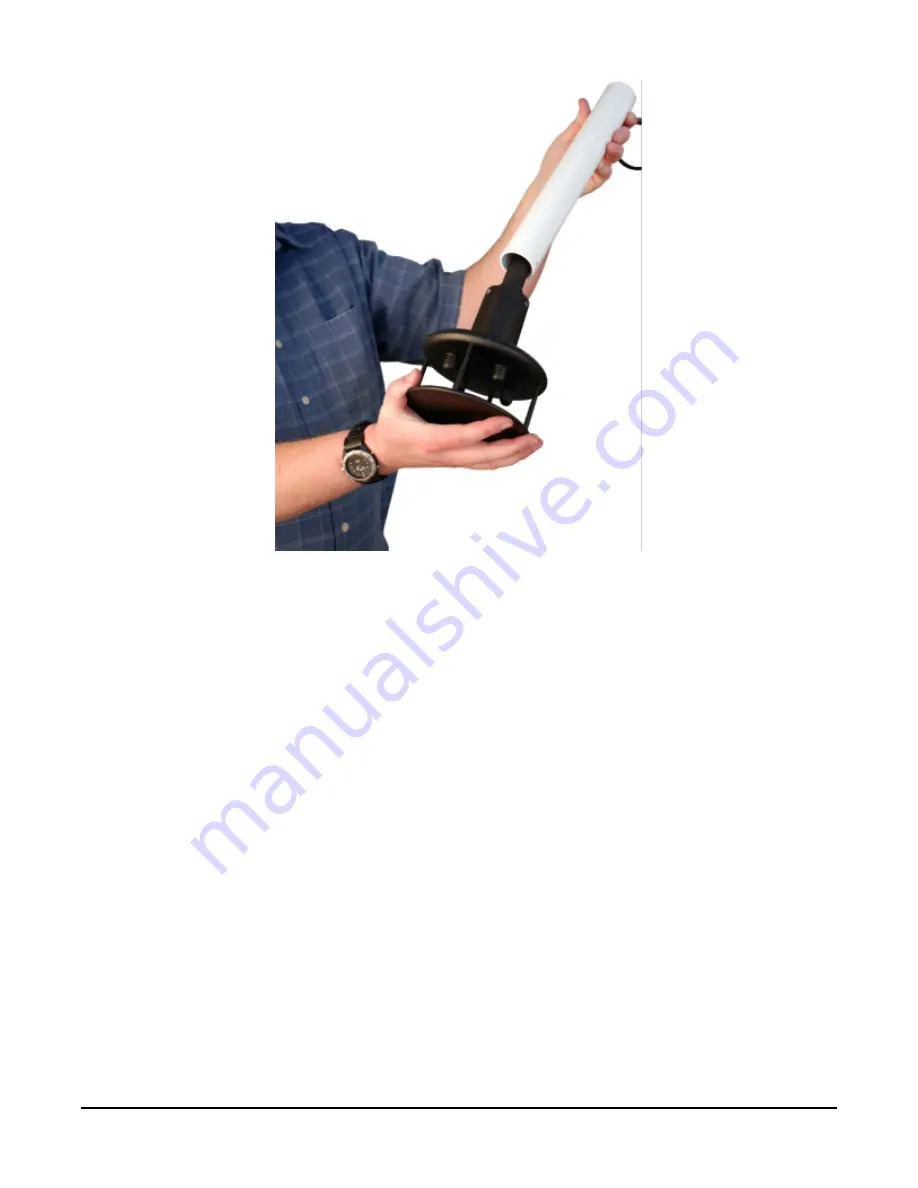
FIGURE 6-17. WindSonic connected to cable
6. Center the WindSonic over the three threaded screw holes on the mounting shaft and
screw it in place using the three Phillips screws taken off the shaft in step 1.
7. Slide the shaft and sensor back through the U-bolt.
8. Align the sensor with north by pointing the small colored dot on outer edge of the bottom
of the sensor so it faces true north (
Determining True North and wind sensor orientation
76)).
9. Space the sensor about 25 cm (10 in) above the crossarm and tighten down the U-bolt.
10. Plug the cable into the Temp/Sonic connector on the enclosure. Ensure that the plug is
completely seated on the connector and the locking ring is turned a quarter revolution
clockwise.
6.6.4 Rain gage
For accurate measurements, the rain gage needs to be installed so it is horizontally level. A
bubble level on the bottom of the inside of the rain gage shows how vertical the pole was
installed.
Section 6. Installation
30


