19
DEUTSCH
FRANCAIS
ESP
AÑOL
ENGLISH
IT
ALIANO
POLSKI
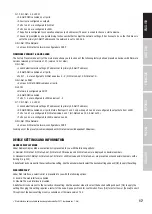
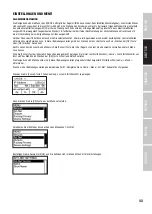
If the two entered texts match, the password is set.
Finally, after the password was successfully stored, the user will be asked whether he wants to enable password locking, if it is not already
enabled.
By pressing [OK], password locking is enabled. Pressing [Cancel] closes the dialog and keeps password locking disabled, but the password
is set anyway.
To change the password, simply open the Set Password dialog again. It is not required to enter the current password before changing it.
ENABLE/DISABLE LOCKING
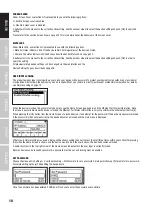
The menu entry Settings > User Input Locking > Enable/Disable Locking lets the user choose whether password locking is disabled or enabled.
PASSWORD LOCKING
If the user requests to enable password locking and a password has already been set, the user will be asked to enter the password before
password locking is enabled. If the user requests to enable password locking when no password has been set up, the user will be prompted
to enter and confirm a password, before password locking is enabled.
SIMPLE LOCKING
Simple locking can be enabled whether a password has been set or not. When simple locking is used, the user will be asked to press
[Cancel] three times within 3 seconds when attempting to unlock the device by pressing the [OK] button from the home screen.
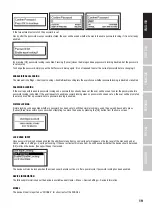
LOCK USER INPUT
Once password locking has been enabled, the additional menu item Lock User Input will appear on the top level of the menu and under
Home > Menu > Settings > User Input Locking. If the user activates this menu item, he will be asked whether the device should be locked.
[OK] will lock the device, [Cancel] will keep it unlocked.
The device will also be locked when the screen saver becomes active or after a power cycle if password locking has been enabled.
DEVICE INFORMATION
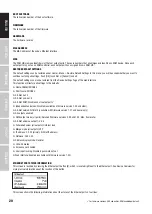
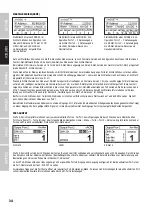
The following information about the device is available under Home > Menu > Device Settings > Device Information.
MODEL
The device model is reported as “XNODE 4” for all variants of the XNODE 4.


