Setting up the PowerCore System
1
2
CAUTION:
If you connect the PowerCore System
into another surge protector, two-prong power
outlet, or use any adapter on the power plug, it
will void your product and equipment warranties.
Insert the plug on the PowerCore System
into an available wall-mounted, three-prong
grounded power outlet.
3
Turn the power on.
4
All six LED’s should now be on. The PowerCore System
installation process is complete. You may now connect
the power plugs for your peripherals into the four
power outlets AND the GoldX PowerCore devices
onto the top of the PowerCore System.
Using the Mounting Bracket
USERS GUIDE
– If you choose to use the Mounting Bracket with the PowerCore System,
you will need at least four standard metal screws.
– Place the Mounting Bracket in the preferred location.
– Insert the screws into the slots on the bottom of the Mounting Bracket.
– Insert the PowerCore System into the Mounting Bracket.
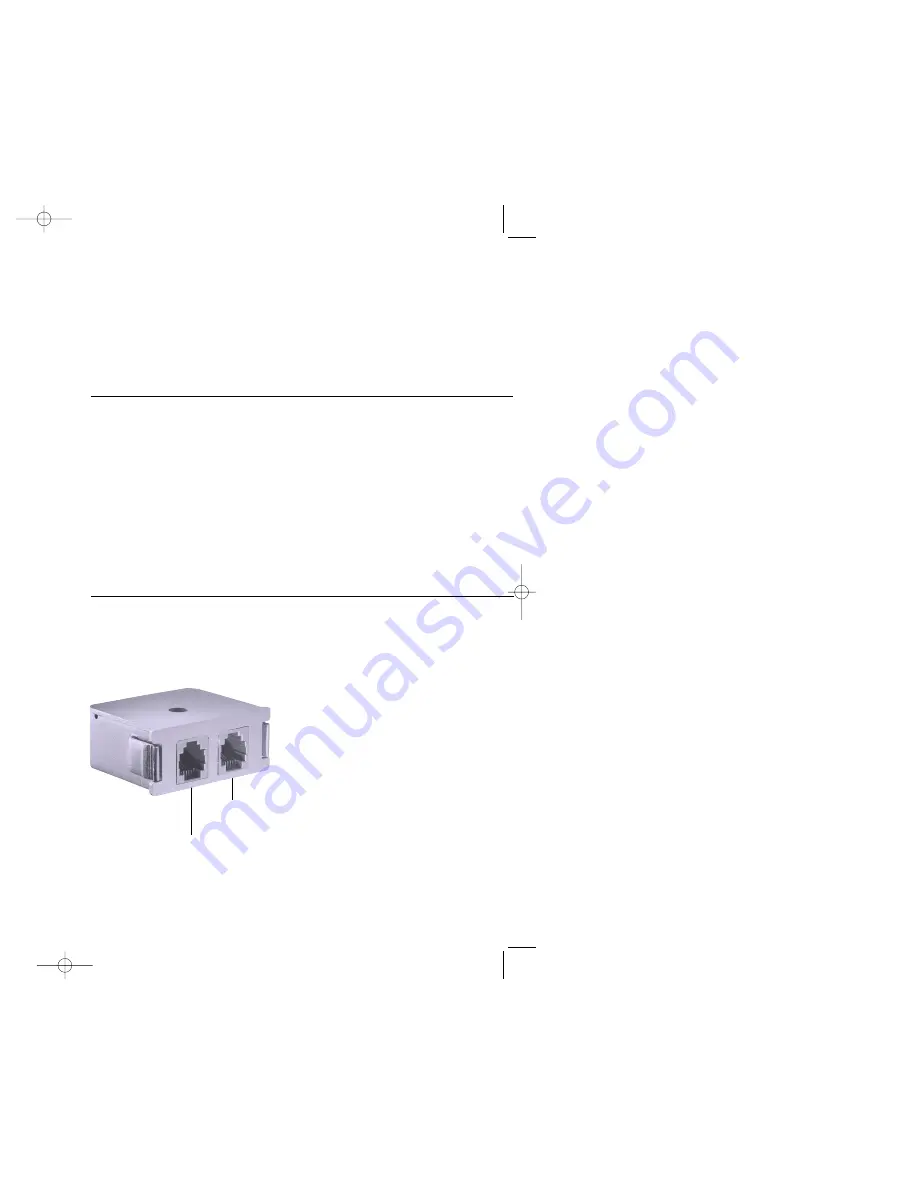
If you plan to use a device that requires a
standard telephone (RJ11) cable, please
configure the cables as shown below:
Insert the cable leading from the
wall jack into the Fax/Modem
Protection Module.
Insert the included 6’ RJ11 cable
into the Fax/Modem Protection
Module and the secondary
device (i.e. Serial Modem, Fax
Machine, Telephone, etc…)
CAUTION:
When installing a
Cable Protection Module, please
make sure you are installing the
module correctly by ensuring
that the brass strip is on the
right side of the module.
Protecting Your Equipment
Using the Fax/Modem Module
Serial Modem
Fax Machine
Telephone
DSL Modem
7
6
RJ11 Wall Jack
Base Unit manual 5/22/02 4:43 PM Page 4
Содержание GoldX PowerCore
Страница 1: ...PowerCore System U S E R S G U I D E ...
Страница 12: ...g t f DI nt ...


