37
cab Produkttechnik GmbH & Co KG
11. Printhead Horizontal Alignment
For optimum print quality, the line of the heating elements on the printhead
must be parallel and aligned correctly to the print roller. This alignment has
already been performed in the factory. Nevertheless, it may become necessary
to adjust it.
A misaligned printhead causes a poor print quality which appears as described
below :
- the print image looks generally light, spotted, and irregular; or
- the print image appears uneven from one side to the other.
2
1
3
3
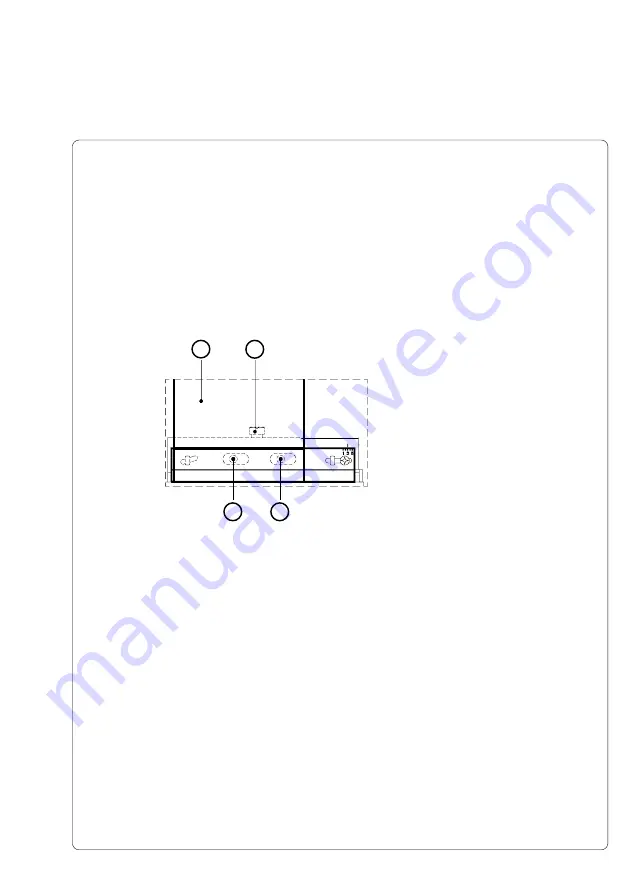
Figure 11 Printhead Horizontal Alignment
Adjust the printhead as follows :
1. You may leave the transfer ribbon (
1
) inside the printer, and simoply poke
through it with your tools.
2. Loosen thelocking screw (
2
) on the printhead by half a turn. This will allow
for the required horizontal adjustment of the printhead.
3. By turning the two screws underneath (
3
) you may shift the printhead as
follows :
- The overall distance for adjusting is .1 in or 2.5 mm.
- By turning the screws clockwise, the printhead will be shifted backwards.
(about .02 in or .5mm per turn)
- Adjust in small steps ! (quarter turns only)
- First, turn both screws constantly until at least one side of the print image
is optimum.
Following, adjust the screw which is located at the side of the label where
the quality is still poor.


