background image

7

Set Language

This option allows the operator to change languages on the LCD display. To change the language:

1. Ensure machine is powered on.

2. Access programming.

3. The first screen should read “NAME HOPPER”. Use the right hidden button to navigate to “SETTINGS”.

4. At the “SETTINGS” screen, press 

SELECT

.

5. The next screen will read “SET PASSWORD”. Select the right hidden button under the display.

6. The next screen will read “SET LANGUAGE”. Press 

SELECT

.

7. Use the left and right buttons under the display to change the language.

8. When the language is set on the display, press 

SELECT

.

SERVICE MENU

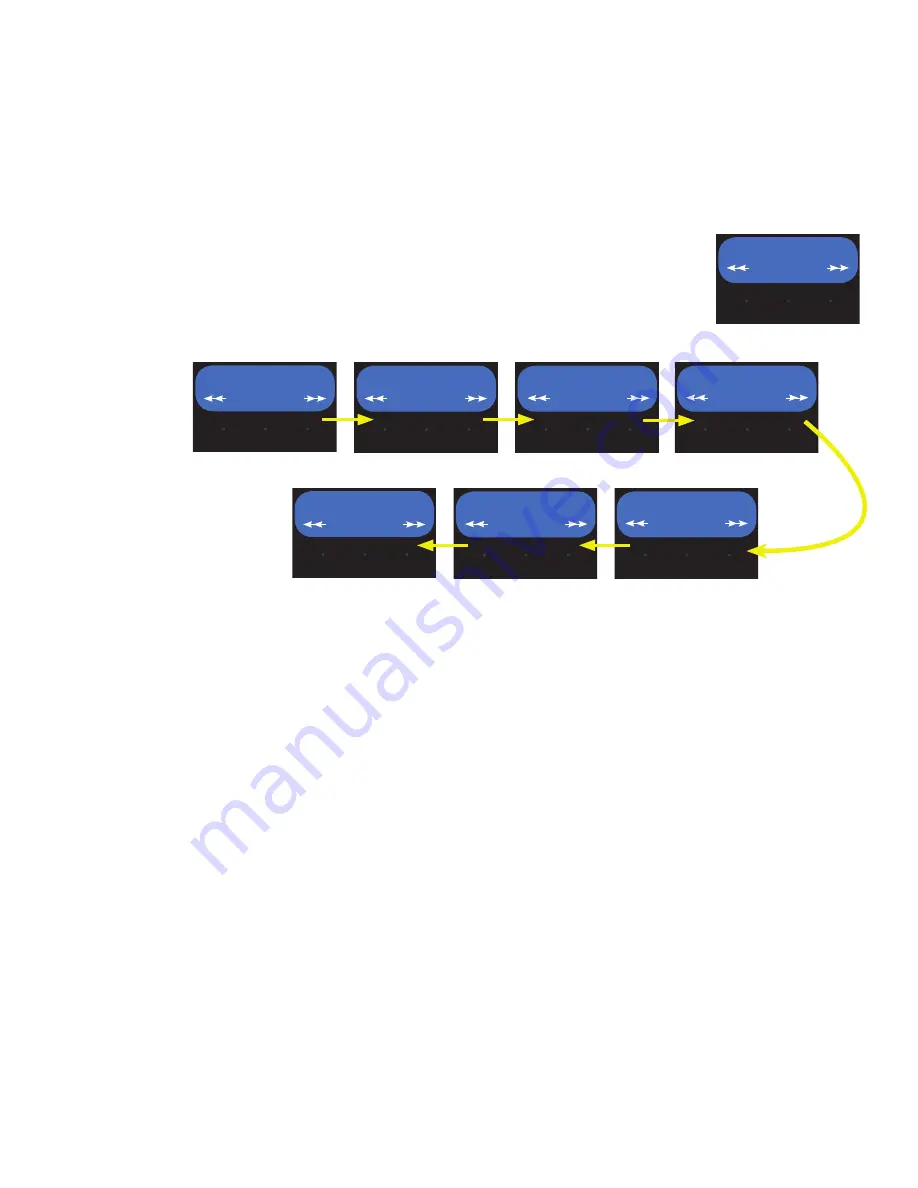
The follow outlines the navigation flow for the SERVICE sub-menus.

Test Outputs

Accessing “Test Outputs” will give you the option of turning On and Off the output voltage to the load compo-

nent individually. A voltmeter can be used across the load component to measure the output voltage when

commanded. This function is intended for qualified service technicians to use when diagnosing an issue. To

access Test Outputs:

1. Ensure machine is powered on.

2. Access programming.

3. The first screen should read “NAME HOPPER”. Use the right hidden button to navigate to “SERVICE”.

4. At the “SERVICE” screen, press 

SELECT

.

5. The next screen will read “TEST OUTPUTS”. Press 

SELECT

.

6. Press 

NEXT

 to navigate to the component for testing. Activate/deactivate the component using the left and 

right hidden switches under the display.

Test Switches

Accessing “Test Switches” will give you the option of selecting the control switches individually and displaying

the switch name on the display screen for switch recognition. Pressing the right hidden button under the

BUNN logo button will exit the test mode. To access Test Outputs:

1. Ensure machine is powered on.

2. Access programming.

3. The first screen should read “NAME HOPPER”. Use the right hidden button to navigate to “SERVICE”.

4. At the “SERVICE” screen, press 

SELECT

.

5. The next screen will read “TEST OUTPUTS”. Press the right hidden button to navigate to “TEST SWITCH-

ES”. Press 

SELECT

.

6. Select any switch on the touch pad. The name of the switch will appear on the display, if working properly.

SET LANGUAGE

SELECT

SERVICE

TEST OUTPUTS

TEST FREQUENCY

TEST SWITCHES

GRIND COUNTERS

SERIAL ASSET#

FACTORY DEFAULTS

SELECT

SELECT

SELECT

SELECT

SELECT

SELECT

SELECT

SET LANGUAGE

SELECT

SERVICE

TEST OUTPUTS

TEST FREQUENCY

TEST SWITCHES

GRIND COUNTERS

SERIAL ASSET#

FACTORY DEFAULTS

SELECT

SELECT

SELECT

SELECT

SELECT

SELECT

SELECT

Содержание MHG Series

Страница 1: ...Illinois 62708 3227 Phone 217 529 6601 Fax 217 529 6644 www bunn com To ensure you have the latest revision of the Operating Manual or to view the Illustrated Parts Catalog Programming Manual or Servi...

Страница 2: ...pper 4 Recipe Menu 5 Review Recipes 5 Modify Recipes 5 Remove Recipes 6 Set Password 6 Set Language 6 Test Outputs 7 Test Switches 7 Test Frequency 7 Grind Counters 9 Serial Asset Number 9 Factory Def...

Страница 3: ...m and large brews on each side of the grinder with a total of 6 pads Selecting one of these pads will select the amount of grind and the side from which to grind Example Selecting the lower pad small...

Страница 4: ...pper name 1 Ensure machine is powered on 2 Access programming 3 The first screen should read NAME HOPPER Press SELECT to enter this option 4 The next screen will ask which side to name left of right h...

Страница 5: ...SHOW NEXT GRIND TIME 2 7 DONE RUN ON TIME DONE REVIEW RECIPES SELECT ORIGINAL MODIFY SHOW NEXT GRIND TIME 2 7 DONE RUN ON TIME DONE RECIPES SELECT REVIEW RECIPES SELECT REMOVE RECIPE SELECT REVIEW RE...

Страница 6: ...he operator to remove recipes stored in programming To remove a recipe 1 Ensure machine is powered on 2 Access programming 3 The first screen should read NAME HOPPER Use the right hidden button to nav...

Страница 7: ...t hidden button to navigate to SERVICE 4 At the SERVICE screen press SELECT 5 The next screen will read TEST OUTPUTS Press SELECT 6 Press NEXT to navigate to the component for testing Activate deactiv...

Страница 8: ...h the information presented on the display Note The values displayed can be reset using the left hidden switch reset Serial Asset Number This function allows the operator to enter in an optional asset...

Страница 9: ...e two screws from front control panel Hang the panel under metal hooks at bottom of opening 2 Enter the Setup Menu TEST OUTPUTS GRIND MOTOR See page 14 Turn grinder motor ON 3 After all of the coffee...

Страница 10: ...ront of the grinder and set screws aside 4 Hang the control panel on the designated tab holders as shown 5 Remove the protective cover on the USB port on the control board 6 Insert the USB stick into...

Страница 11: ...11 P2822 To Write A Name To A Hopper COMMUNICATING WITH THE GRINDER 092718...

Страница 12: ...and amount of coffee desired 3 In the Setup Menu go to REVIEW RECIPES MODIFY See page 13 to change grind and run times for each hopper NOTE While in the setup mode if no buttons are pushed for 60 seco...

Страница 13: ...13 To Change Language COMMUNICATING WITH THE GRINDER Continued 092718 P4339...

Страница 14: ...14 P4256 To Review Or Change Grind Time COMMUNICATING WITH THE GRINDER Continued 092718...

Страница 15: ...15 P4257 To Restore Factory Defaults or Test Outputs and Switches COMMUNICATING WITH THE GRINDER Continued 092718...

Страница 16: ...the numbers on the chart below COFFEE CHART NUMBER NAME NUMBER NAME 1 Regular 17 Light Roast 2 Decaf 18 Dark Roast 3 Colombian 19 Espresso 4 Colombia Supremo 20 Amaretto 5 Costa Rican 21 Hazelnut 6 Et...

Страница 17: ...place the chip portion of the card under the sensor coil on the front of the grinder The LCD display will enter the RECIPE CARD menu P2821 Entering A Coffee Name Using A Recipe Card COMMUNICATING WITH...

Отзывы: