14
The "RAID-6 RECOVERING 0%" message will be displayed on the LCD panel after 3 minutes.
RAID-6
RECOVERING 0%
15
When "RAID-6 NORMAL" is displayed, hard drive replacement is finished.
RAID-6
NORMAL
"SYSTEM DOWN" Is Displayed on the LCD Panel
Note:
If the "SYSTEM DOWN" is displayed, the data may be lost. If you can access the TeraStation, back up data
before replacing drives.
For Striped Volume:
1
Turn off the unit.
2
Turn the unit on while holding down the mode button.
3
When "RAID-0 NORMAL" is displayed, you can proceed.
If "SYSTEM DOWN" is still displayed, go to the next step to replace the defective hard drive.
4
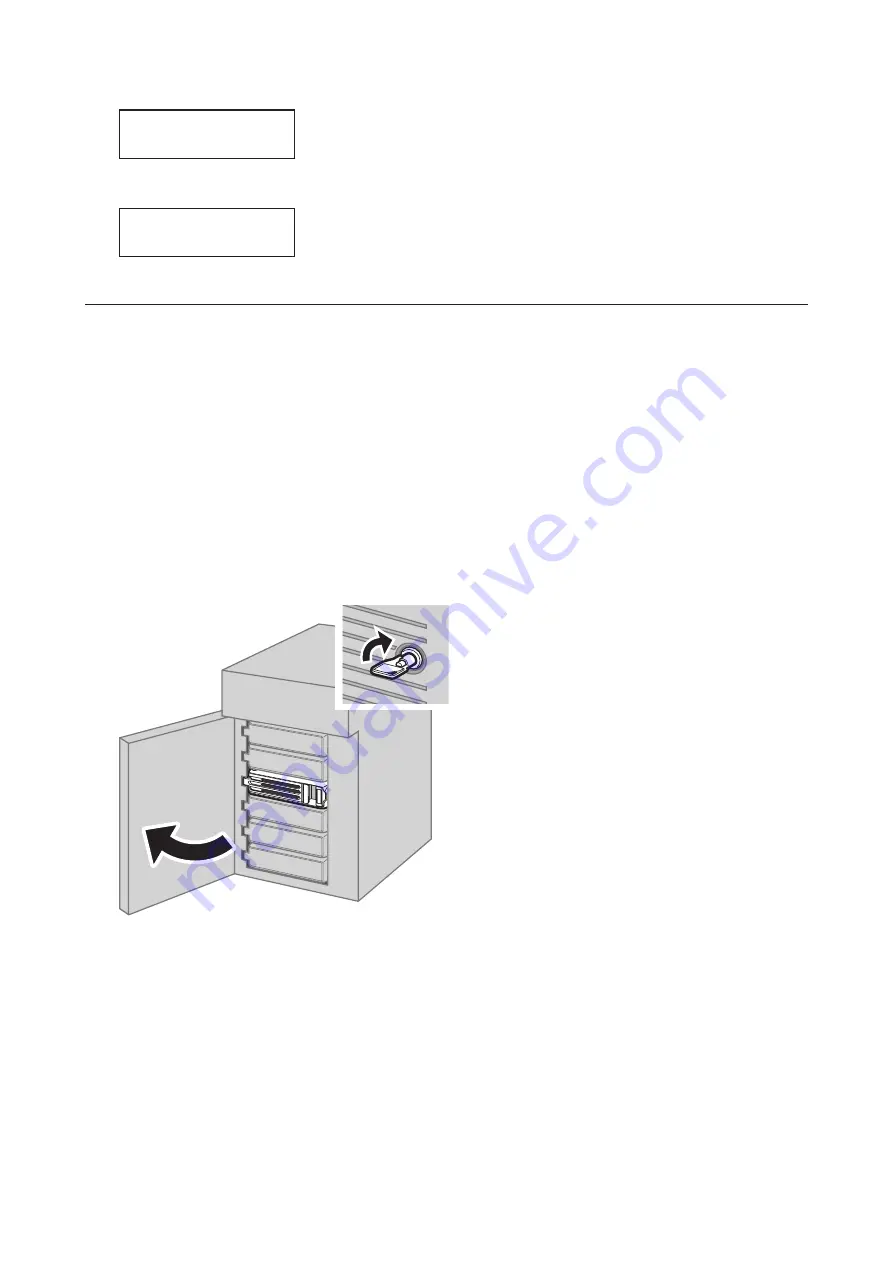
Open the front cover with the included key.
5
Verify the status LEDs. The LED for the failed drive glows amber.
6
Push the unlock button of the drive whose status LED is glowing amber and swing the locking mechanism out.
88
Содержание TeraStation WSH5610
Страница 11: ...7 Click Customize permissions then Custom 8 Choose Everyone and select the Allow checkbox for Change 10...
Страница 12: ...9 In the Security tab click Edit Add 10Enter Everyone under Enter the object names to select then click OK 11...
Страница 26: ...6 Click Add Items 7 Select the backup source folders or drives and click OK 25...
Страница 27: ...8 Click Next 26...
Страница 28: ...9 Specify the schedule to run the backup and click Next 27...
Страница 32: ...5 Select the date when a data backup occurred and click Next 31...
Страница 38: ...2 Click Change 3 Select Domain enter a domain name and click OK 37...
Страница 40: ...7 Click Close 8 Click Restart Now and restart your computer to apply settings 39...
Страница 41: ...Installing DFS 1 In Server Manager click Dashboard Add roles and features 2 Click Next 40...
Страница 42: ...3 Select Role based or feature based installation and click Next 4 Click Next 41...
Страница 44: ...7 Click Next 8 Click Install 43...
Страница 45: ...9 Click Close to finish Creating Namespaces 1 In Server Manager click Tools DFS Management 44...
Страница 46: ...2 Click Namespaces New Namespace 3 Enter a hostname for the namespace server and click Next 45...
Страница 47: ...4 Enter a name for the namespace and click Next 46...
Страница 51: ...4 Select the type of replication group and click Next 50...
Страница 52: ...5 Enter a name for the replication group and click Next 51...
Страница 53: ...6 Enter the hostname of the file server for the replication source and click Next 52...
Страница 54: ...7 Click Add 53...
Страница 55: ...8 Enter the path of the replication source and click OK 54...
Страница 56: ...9 Click Next 55...
Страница 57: ...10Enter the hostname of the file server for the replication target and click Next 56...
Страница 64: ...3 Right click the user whose password will be changed and click Set Password 4 Click Proceed 63...
Страница 66: ...3 Right click Users and click New User 65...
Страница 68: ...3 Double click Remote Desktop Users 4 Click Add 67...
Страница 69: ...5 Click Advanced 6 Click Find Now 68...
Страница 71: ...3 Right click Groups and choose New Group 4 Enter a group name and click Add 70...
Страница 72: ...5 Click Advanced 6 Click Find Now 71...
Страница 73: ...7 Select the users to be registered to the group then click OK 8 Click OK 72...


