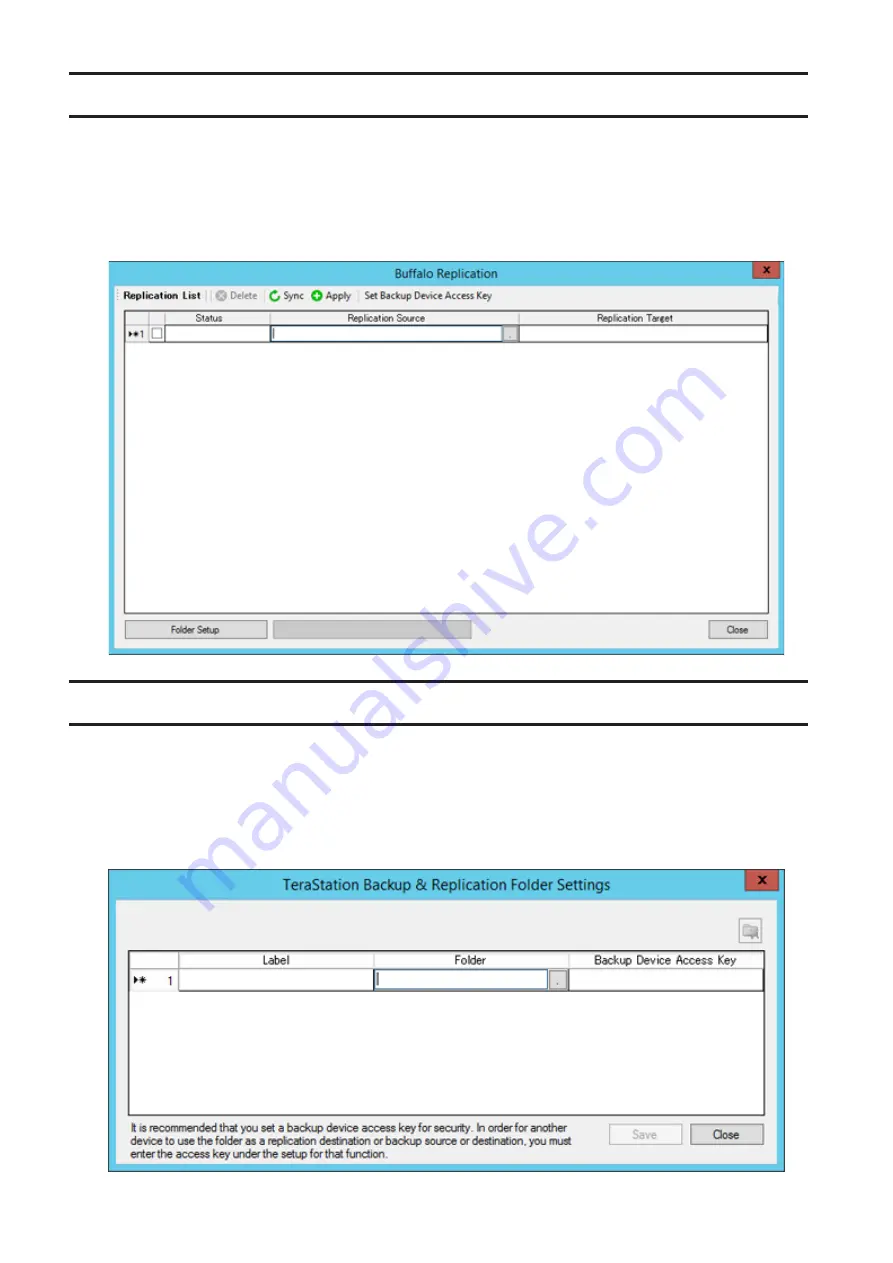
Buffalo Replication
Your TeraStation can be synchronized with another TeraStation, replicating most data. See the "Replication" section
in chapter 4 for more details.
To launch Buffalo Replication, you must be logged in as a member of the Administrators group in Windows Storage
Server.
Note:
This software cannot be accessed by multiple users at the same time. Before launching it, make sure that it is
not being used by another user.
TeraStation Backup & Replication Folder Settings
Before using it as a backup device on the network, configure your TeraStation in "TeraStation Backup & Replication
Folder Settings".
To launch TeraStation Backup & Replication Folder Settings, you must be logged in as a member of the
Administrators group in Windows Storage Server.
Note:
This software cannot be accessed by multiple users at the same time. Before launching it, make sure that it is
not being used by another user.
18
Содержание TeraStation WSH5610
Страница 11: ...7 Click Customize permissions then Custom 8 Choose Everyone and select the Allow checkbox for Change 10...
Страница 12: ...9 In the Security tab click Edit Add 10Enter Everyone under Enter the object names to select then click OK 11...
Страница 26: ...6 Click Add Items 7 Select the backup source folders or drives and click OK 25...
Страница 27: ...8 Click Next 26...
Страница 28: ...9 Specify the schedule to run the backup and click Next 27...
Страница 32: ...5 Select the date when a data backup occurred and click Next 31...
Страница 38: ...2 Click Change 3 Select Domain enter a domain name and click OK 37...
Страница 40: ...7 Click Close 8 Click Restart Now and restart your computer to apply settings 39...
Страница 41: ...Installing DFS 1 In Server Manager click Dashboard Add roles and features 2 Click Next 40...
Страница 42: ...3 Select Role based or feature based installation and click Next 4 Click Next 41...
Страница 44: ...7 Click Next 8 Click Install 43...
Страница 45: ...9 Click Close to finish Creating Namespaces 1 In Server Manager click Tools DFS Management 44...
Страница 46: ...2 Click Namespaces New Namespace 3 Enter a hostname for the namespace server and click Next 45...
Страница 47: ...4 Enter a name for the namespace and click Next 46...
Страница 51: ...4 Select the type of replication group and click Next 50...
Страница 52: ...5 Enter a name for the replication group and click Next 51...
Страница 53: ...6 Enter the hostname of the file server for the replication source and click Next 52...
Страница 54: ...7 Click Add 53...
Страница 55: ...8 Enter the path of the replication source and click OK 54...
Страница 56: ...9 Click Next 55...
Страница 57: ...10Enter the hostname of the file server for the replication target and click Next 56...
Страница 64: ...3 Right click the user whose password will be changed and click Set Password 4 Click Proceed 63...
Страница 66: ...3 Right click Users and click New User 65...
Страница 68: ...3 Double click Remote Desktop Users 4 Click Add 67...
Страница 69: ...5 Click Advanced 6 Click Find Now 68...
Страница 71: ...3 Right click Groups and choose New Group 4 Enter a group name and click Add 70...
Страница 72: ...5 Click Advanced 6 Click Find Now 71...
Страница 73: ...7 Select the users to be registered to the group then click OK 8 Click OK 72...


