


Follow the procedure below to configure connecting a UPS device. To configure connecting a UPS device from a
mobile device, refer to the
section in chapter 9.
Notes:
• If the LinkStation is connected directly to a UPS, select “Sync with UPS connected to this LinkStation”. If a different
Buffalo NAS device is connected to the UPS, select “Sync with a UPS connected to another NAS on the same
network”. After making this selection, enter the IP address of the Buffalo NAS device that will be the sync source
into “Other NAS's IP Address”.
• When the LinkStation restarts after an automatic shutdown such as from a power outage or power supply issue,
verify that external power has been restored. If the LinkStation is turned on while it is still running on the UPS and
external power has not been restored, the automatic shutdown will not be performed, even after the specified
time elapses.
1
Plug the power cable of the UPS to a wall socket.
2
Connect the AC cable of the LinkStation to the UPS.
3
Connect the UPS and LinkStation using a USB cable.
4
Turn on the UPS, then the LinkStation.
5
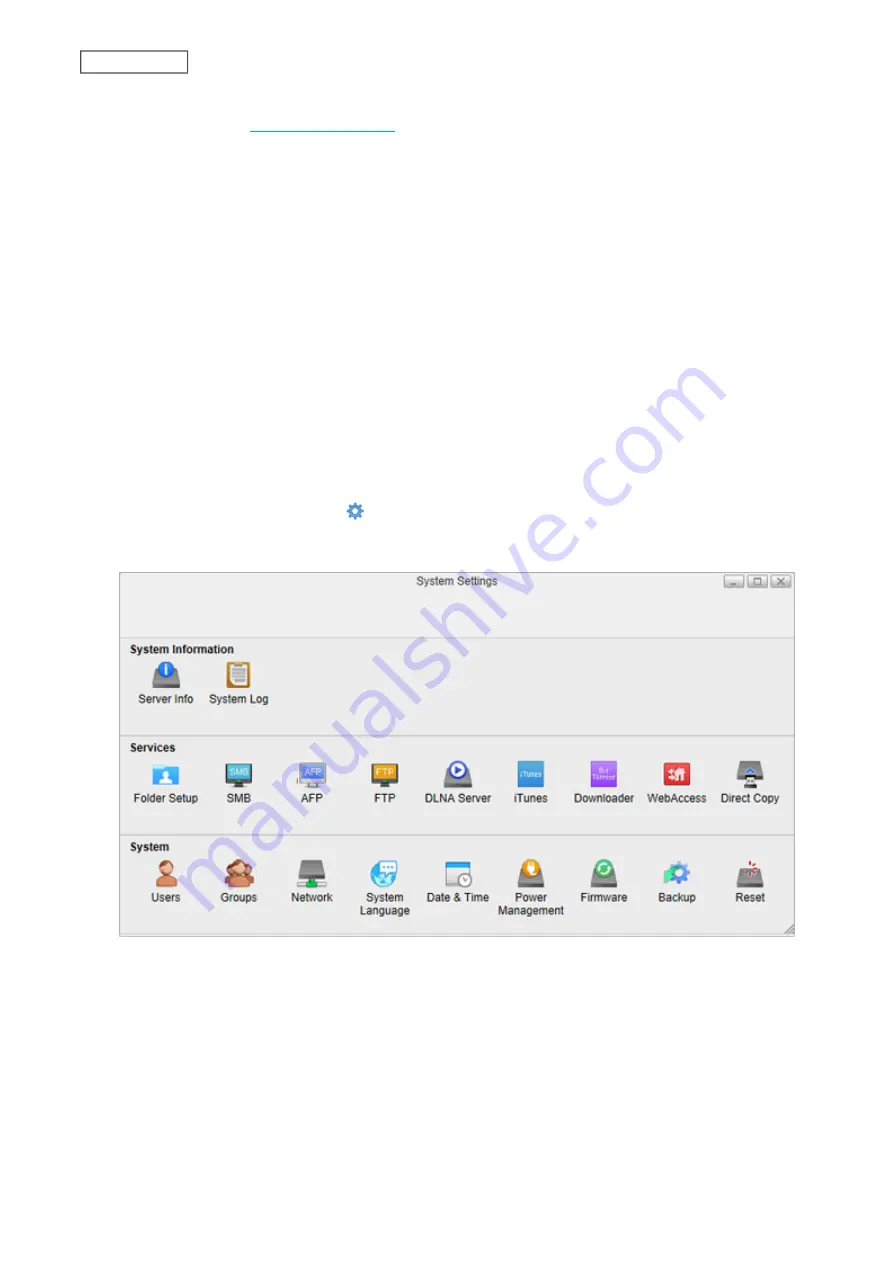
From Settings, click
System Settings
( ).
6
Click
Power Management
.
7
Click the
UPS Sync
tab.
94
Chapter 8 System
Содержание LinkStation 500
Страница 38: ...2 Click the RAID tab 3 Click the array to delete 37 Chapter 5 Disk Manager ...
Страница 40: ...2 Click the RAID tab 3 Click Create RAID Array 39 Chapter 5 Disk Manager ...
Страница 57: ...3 The system log window will open 56 Chapter 6 System Information ...
Страница 59: ...3 Click Add 4 Enter a folder name and configure the desired settings then click OK 58 Chapter 7 Services ...
Страница 66: ...2 Click Folder Setup 3 Select a shared folder for the DLNA server 65 Chapter 7 Services ...
Страница 77: ...76 Chapter 7 Services ...
Страница 82: ...Groups Adding a Group 1 From Settings click System Settings 2 Click Groups 3 Click Add 81 Chapter 8 System ...
Страница 97: ...2 From Settings click System Settings 3 Click Firmware 4 Click Browse 96 Chapter 8 System ...
Страница 100: ...2 Click Folder Setup 3 Choose the folder to set as a backup destination 99 Chapter 8 System ...
Страница 104: ...6 Click Refresh The Buffalo NAS devices will be added to the list 7 Close the window 103 Chapter 8 System ...
Страница 108: ...2 Click Folder Setup 3 Choose a shared folder as your backup destination for Time Machine 107 Chapter 8 System ...
Страница 110: ...2 Click Time Machine 109 Chapter 8 System ...
Страница 111: ...3 Click Select Backup Disk 4 Select the shared folder then click Use Disk 110 Chapter 8 System ...
Страница 118: ...3 Enter the new password twice and click Apply 4 Tap Close when completed 117 Chapter 9 Configuring from Mobile Devices ...


