


9
Connect all cables, then turn on the LinkStation.
Step 2 - Rebuilding the RAID Array
Depending on the RAID mode you have configured, the procedure after replacing the defective drive may vary.
Refer to the section of the configured RAID mode and follow the described procedure.
Using RAID 1
1
Press and hold the function button for five seconds.
2
The LinkStation will start rebuilding the RAID array. After a few minutes, the
I18
message will be displayed in
NAS Navigator2. Wait until the drive finishes rebuilding; the
I18
message will be extinguished.
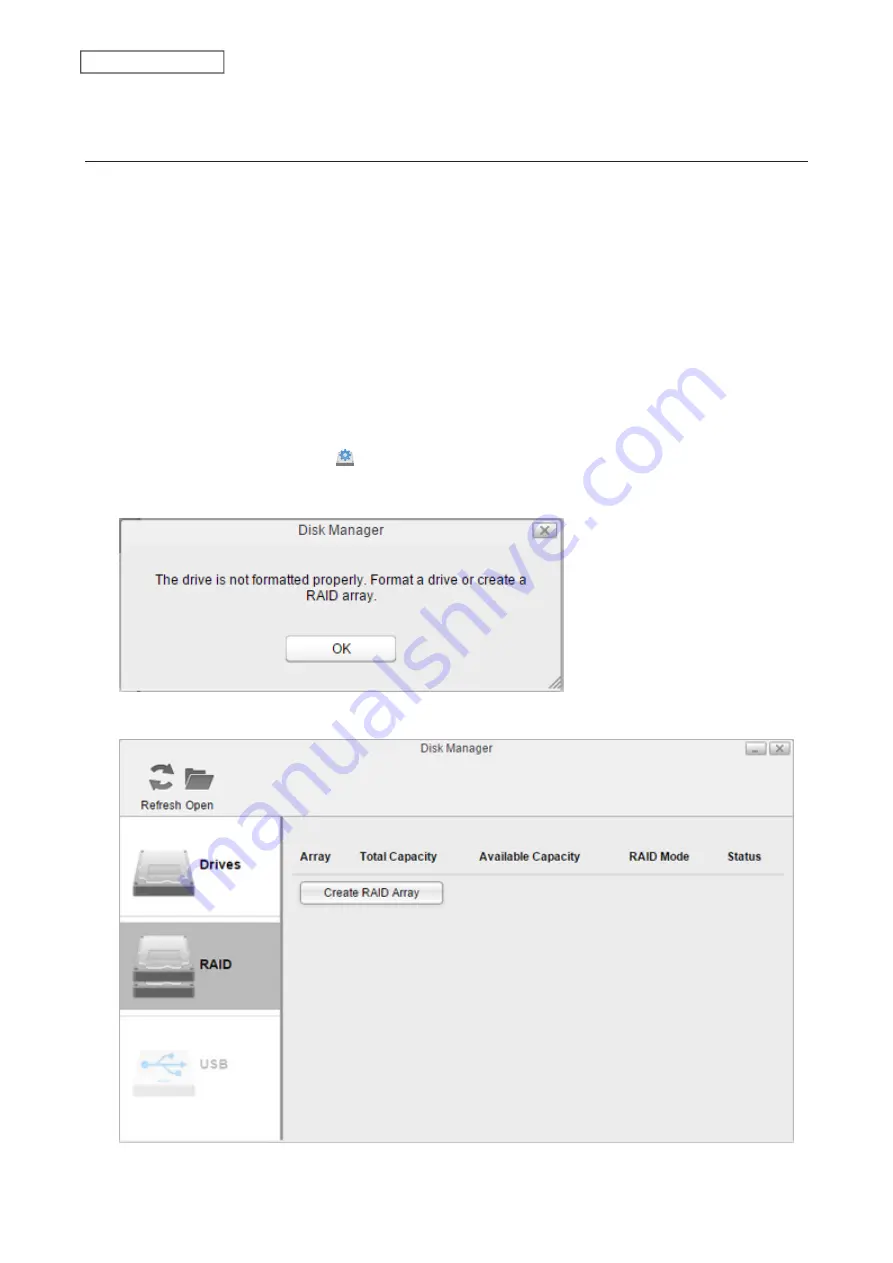
Using RAID 0 or Linear
1
From Settings, click
Disk Manager
( ).
2
The error message below will be displayed due to a new drive being inserted. Click
OK
.
3
Click the
RAID
tab, then
Create RAID Array
.
51
Chapter 5 Disk Manager
Содержание LinkStation 500
Страница 38: ...2 Click the RAID tab 3 Click the array to delete 37 Chapter 5 Disk Manager ...
Страница 40: ...2 Click the RAID tab 3 Click Create RAID Array 39 Chapter 5 Disk Manager ...
Страница 57: ...3 The system log window will open 56 Chapter 6 System Information ...
Страница 59: ...3 Click Add 4 Enter a folder name and configure the desired settings then click OK 58 Chapter 7 Services ...
Страница 66: ...2 Click Folder Setup 3 Select a shared folder for the DLNA server 65 Chapter 7 Services ...
Страница 77: ...76 Chapter 7 Services ...
Страница 82: ...Groups Adding a Group 1 From Settings click System Settings 2 Click Groups 3 Click Add 81 Chapter 8 System ...
Страница 97: ...2 From Settings click System Settings 3 Click Firmware 4 Click Browse 96 Chapter 8 System ...
Страница 100: ...2 Click Folder Setup 3 Choose the folder to set as a backup destination 99 Chapter 8 System ...
Страница 104: ...6 Click Refresh The Buffalo NAS devices will be added to the list 7 Close the window 103 Chapter 8 System ...
Страница 108: ...2 Click Folder Setup 3 Choose a shared folder as your backup destination for Time Machine 107 Chapter 8 System ...
Страница 110: ...2 Click Time Machine 109 Chapter 8 System ...
Страница 111: ...3 Click Select Backup Disk 4 Select the shared folder then click Use Disk 110 Chapter 8 System ...
Страница 118: ...3 Enter the new password twice and click Apply 4 Tap Close when completed 117 Chapter 9 Configuring from Mobile Devices ...


