22
◗
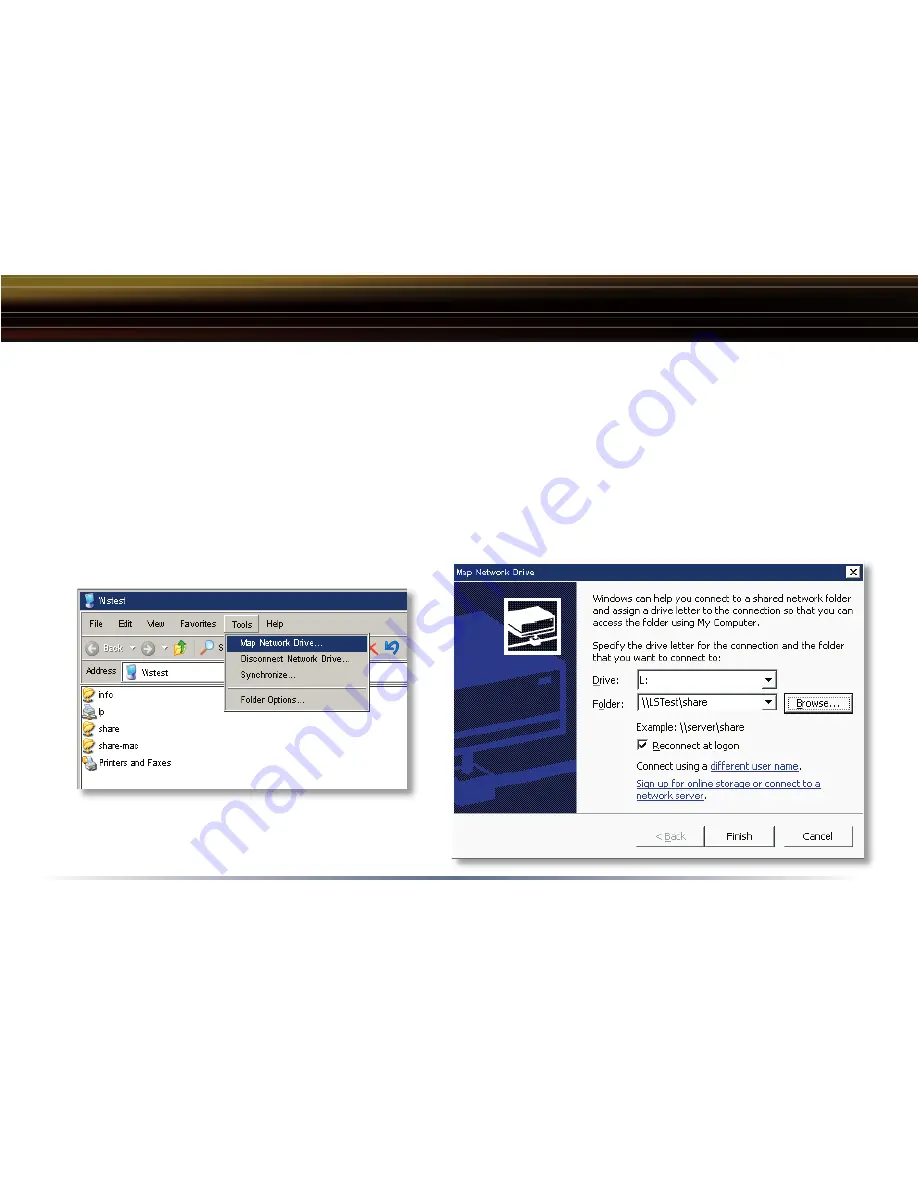
From the previous step’s ‘Root Directory’ screen, use the pull down menu and click
‘Tools’
and then
select
‘Map Network Drive’
. The
‘Map Network Drive’
program will run. Select the drive letter you
would like LinkStation to assume from the
‘Drive:’
pull down menu. Enter the \\LinkStation_Name\
share_name in the ‘
Folder:
’ fi eld (where
LinkStation_Name
is the
‘LinkStation Name’
set on
Page 17
and
share_name
is the
‘Shared Folder Name’
set on
Page 19
). You can also browse for the shared
folder by pressing the
‘Browse’
button and searching through the ‘
Entire Network
’ and then the
‘
Microsoft Windows Network
’. Once complete, press the
‘Finish’
button. LinkStation is now mapped to
a drive letter.
Accessing LinkStation Data from a PC
NOTE:
If errors occur while mapping multiple
drive shares, please see
Page 58
for help.


