background image

3

En
g

lis

h

Declaration of Conformity (Europe only)

We, Brother Industries, Ltd.

15-1, Naeshiro-cho, Mizuho-ku, Nagoya 467-8561 Japan

declare that this product is in conformity with the essential requirements of all relevant directives 
and regulations applied within the European Community.

The Declaration of Conformity (DoC) can be downloaded from our website.

Visit http://support.brother.com/ and:

Your Declaration will be downloaded as a PDF file.

Printing With the Touch Panel Display

Follow the procedure below to print by using the touch panel display. Carefully read all information 
on the indicated pages.

->

select “Europe”

->

select your country

->

select your model

->

select “Manuals” and your language, then click “Search”

->

select Declaration of Conformity

->

click “Download”.

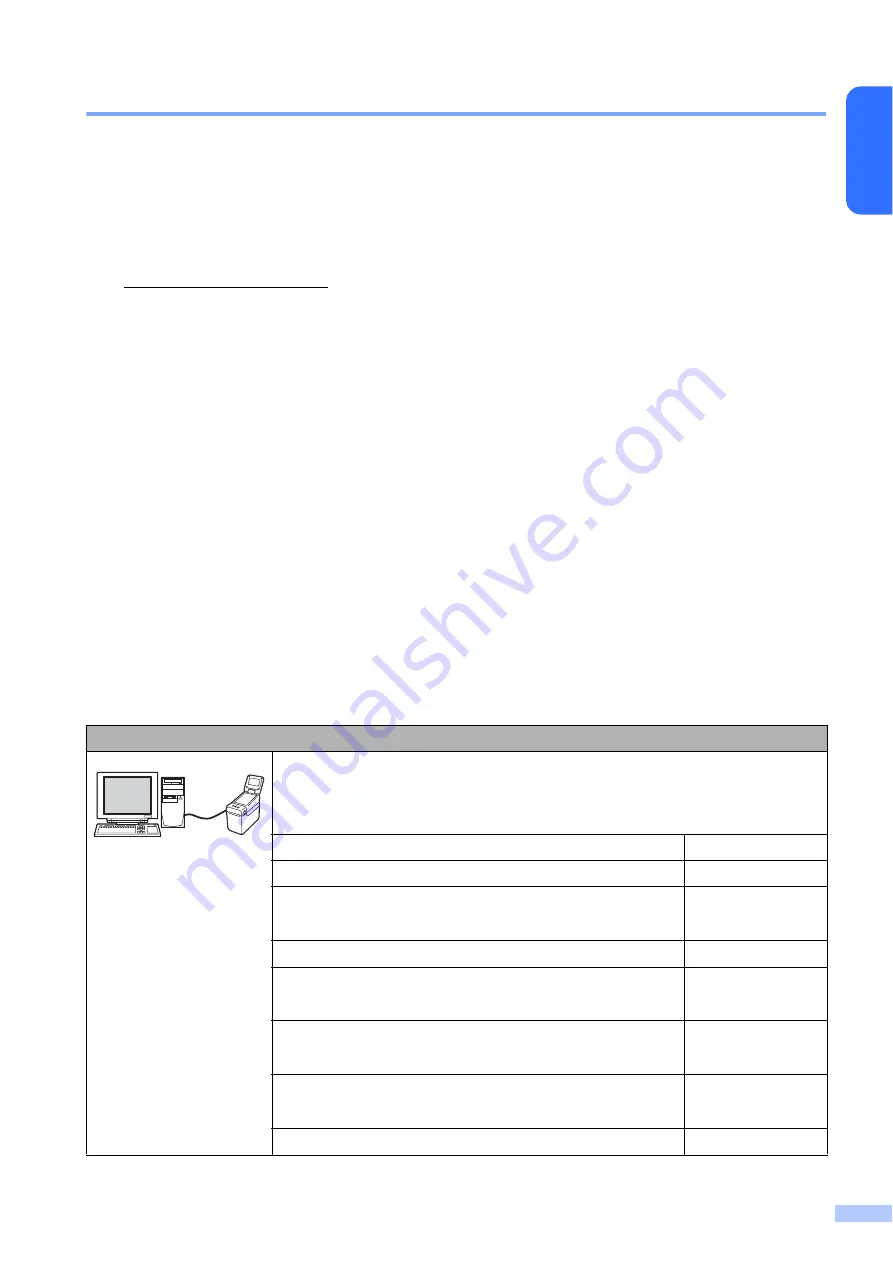
1. Preparation


Install the touch panel display onto the printer. Connect the printer to the 
computer, and then use the included CD-ROM to install the printer driver and 
software. Specify the desired settings for the touch panel display, and then load 
labels into the printer to complete its preparation.

Related Topics

Page Reference

General Description

page 5

Attaching the Touch Panel Display

Installing the Time/Date Battery

page 5

page 7

Installing the Printer Driver and Software

User's Guide

LCD

Screen

page 8

page 8

Touch Panel

Information About Replacing the Touch Panel

page 9

page 10

Touch Panel Display Settings

Specifying Settings From the Touch Panel Display

page 12

page 12

Inserting the RD Roll

User's Guide

Содержание PA-TDU-001

Страница 1: ...ing this printer be sure to read this Quick Setup Guide We suggest that you keep this manual in a handy place for future reference Please visit us at http support brother com where you can get product support and answers to frequently asked questions FAQs ENG ...

Страница 2: ...ress touch panel keys with the tip of your finger Using a fingernail mechanical pencil screwdriver or any other sharp or hard object on the touch panel may damage it Do not press touch panel keys with more force than necessary Otherwise damage may result Be careful not to scrape or scratch the surface of the touch panel or display with a hard object When moving the printer do not carry it by the t...

Страница 3: ...nce to radio or television reception which can be determined by turning the equipment off and on the user is encouraged to try to correct the interference by one or more of the following measures Reorient or relocate the receiving antenna Increase the separation between the equipment and receiver Connect the equipment into an outlet on a circuit different from that to which the receiver is connect...

Страница 4: ...elect your model select Manuals and your language then click Search select Declaration of Conformity click Download 1 Preparation Install the touch panel display onto the printer Connect the printer to the computer and then use the included CD ROM to install the printer driver and software Specify the desired settings for the touch panel display and then load labels into the printer to complete it...

Страница 5: ...fer the created label layout from the computer to the printer Related Topics Page Reference Transferring the Label Layout to the Printer Selecting the Touch Panel Selecting the Data Assigned to Keys on the One Touch Panel Creating a One Touch Panel page 18 page 19 page 19 page 20 4 Print the label Use the touch panel of the touch panel display to print the label Related Topics Page Reference Print...

Страница 6: ...he Touch Panel Display a Remove the tapes 1 and protective materials 2 before use b Press and hold the Power button to turn the printer off and then disconnect the printer from the AC power outlet If the rechargeable Li ion battery optional is being used remove the rechargeable battery c Press the cover release lever 1 on either side and lift up to open the RD Roll compartment top cover 1 Cover re...

Страница 7: ...or on the touch panel display into the connector on the printer Insert the four tabs on the touch panel display into place on the printer Be careful not to allow the top cover to fall when the four screws are removed 1 1 Be careful that the connector cords are not trapped by the cover In addition if the cords are caught between the screw holes the cords may be damaged when the screws are tightened...

Страница 8: ...isplay The screws previously installed in the printer are a different shape 1 Only use recommended batteries in the printer Other batteries may cause damage to the printer Dispose of the battery at an appropriate collection point not in the general waste stream In addition be sure to observe all applicable federal state and local regulations When storing or discarding the battery wrap it for examp...

Страница 9: ...turn the time date battery cover in the opposite direction of the arrow on the battery cover until it stops in order to install the time date battery cover f Close the RD Roll compartment top cover Press down until it snaps into place NOTE The time and date can be configured from the admin key on the touch panel For details see the User s Guide included on the CD ROM LCD Lift up the LCD and then a...

Страница 10: ...le wireless interfaces If wireless connection settings have been specified the marks for the available interfaces appear Bluetooth Wireless LAN The connection status is shown at four different levels and appears when there is no connection 6 Touch panel setting Displays whether the touch panel display has been set for touch panel A or B Basic control panel A One touch panel B Touch Panel There are...

Страница 11: ... edit values in the label layout 8 One touch keys Select the label to be printed NOTE The touch panel name A or B is printed in the upper right corner of the touch panel Make sure that the specified touch panel name which appears in the main screen on the LCD matches the name of the touch panel that is being used Information About Replacing the Touch Panel a The TDU panel cover is attached with fo...

Страница 12: ...English c Install the TDU panel cover in its original position When the touch panel is replaced the setting for the touch panel display must be changed For details see Selecting the Touch Panel on page 19 ...

Страница 13: ...t parameter If the first parameter is selected pressing a scrolls to the last parameter 2 The currently selected parameter is highlighted With the touch panel display attached to the printer the following settings can be specified Key Parameter Settings Description settings key Print Density 5 4 3 2 1 0 1 2 3 4 5 Adjust the printer s printing density Confirm Print On Off Select whether a message a...

Страница 14: ...me format for the clock Language Dansk Deutsch English Español Français Italiano Nederlands Norsk Português Suomi Svenska Select the language of the touch panel display Unit inch mm Select the measurement units for displayed settings Print 2 From Starting Cont From Last Select whether or not the number of copies set from the TDU remains set after the copies are printed This TDU setting is applied ...

Страница 15: ...r Setting Tool to return all settings to their factory defaults or specify the password again and apply it For details see the User s Guide included on the CD ROM If you want to reset the settings use Device settings in the Printer Setting Tool to return all settings to their factory defaults For details see the User s Guide included on the CD ROM admin key 1 Continued Security Disable Edit On Off...

Страница 16: ...click All Programs Brother P touch P touch Editor 5 0 For Windows 8 Click P touch Editor 5 0 in the Start or Apps screen or double click P touch Editor 5 0 on the desktop b When the New Open dialog box appears select the various options to set the printer to be used and the size of label to be created c Click Paper 1 and then specify the media and length 2 This window appears in Express mode d Cli...

Страница 17: ... set the desired number for example Text1 Text2 or Text3 The text will be displayed on the LCD in the order of the set numbers To set that text not be displayed on the LCD select the Text Cannot Be Edited check box on the Expanded tab Inserting the Date and Time in a Label a In P touch Editor 5 0 open the label layout to be edited b On the menu bar click Insert Date Time to display the Date and Ti...

Страница 18: ...must be installed Only one database can be linked to a single template A maximum of 65 000 records can be created in that database The total size of templates and databases is limited to 6 MB The data entered in the database can be displayed on the LCD Only the first 13 characters can be displayed b In P touch Editor 5 0 open the template to be linked to the database c On the menu bar click File D...

Страница 19: ... 7 From the Start menu click All Programs Brother P touch P touch Tools P touch Transfer Manager 2 1 P touch Transfer Manager starts up For Windows 8 Click P touch Transfer Manager 2 1 in the Start or Apps screen P touch Transfer Manager starts up c Select this printer from the Printer list Right click Configurations click New and then create a new folder with the desired name In this example the ...

Страница 20: ...t A or B and then press OK d Follow the on screen instructions to replace the touch panel For details on replacing it see Information About Replacing the Touch Panel on page 10 e Make sure that the specified touch panel name shown in the screen matches the name of the touch panel that is being used and then press the Print button Selecting the Data Assigned to Keys on the One Touch Panel The type ...

Страница 21: ...ndwriting note the names of keys directly on the included one touch panel The actual panel figure can be found on the last page before the back cover in this manual This figure can be used by copying it onto plain paper Panel size 132 4 mm length 92 3 mm width 5 213 length 3 634 width A panel format can be downloaded from the following website http support brother com Select your region country Ch...

Страница 22: ...ord to be printed or press the number keys to type in the number and then press OK d Press the Print button A message to confirm the number of copies appears e Type in the number of copies to be printed and then press the Print button or OK The labels are printed NOTE The number of copies to be printed can be set between 1 and 999 If the template contains a serialized number the labels will be pri...

Страница 23: ...em has been edited appears d Press OK to apply the edited text and then press the Print button A message to confirm the number of copies appears e Type in the number of copies to be printed and then press the Print button or OK The labels are printed Searching for Records in a Database Linked to a Template After a template with a linked database is transferred to the printer you can search for a r...

Страница 24: ...he number of copies to be printed can be set between 1 and 999 If the template contains a serialized number the labels will be printed with the serialized field incremented by the specified number of times If Confirm Print is set to Off printing begins when the one touch key is pressed in step c If a Template With a Linked Database Is Registered with a One Touch Key If you register a template with...

Страница 25: ...me can be directly entered Printing can be continued after the date time is entered In addition by pressing admin key then setting Set Temp Time to Cont From Last the date time that was directly entered will be printed until the printer is turned off NOTE If settings have been specified to add subtract a period of time to the date time in a template the specified time period will be added to or su...

Страница 26: ...nt log will be saved on the printer To export the print log and save it as a csv file click Tools Save Print Log in File For details see the User s Guide included on the CD ROM Frequently Asked Questions Q How much memory is available A The printer has 6 MB of built in memory available allowing a maximum of 99 templates to be saved When there is no more of the built in memory available or when 99 ...

Страница 27: ...to the printer it was transferred but the date was not automatically updated A The printer driver may not be correctly installed Re install the printer driver and then try transferring again If the date was not updated check that the At Printing check box is selected in the Date and Time Properties dialog box for the template For details see Inserting the Date and Time in a Label on page 16 Produc...

Страница 28: ...27 English Panel Figure Actual Size 92 3mm 3 634 92 3mm 3 634 132 4mm 5 213 ...

Страница 29: ...LBE166001A ...

Отзывы: