12
Touch Panel Display Settings
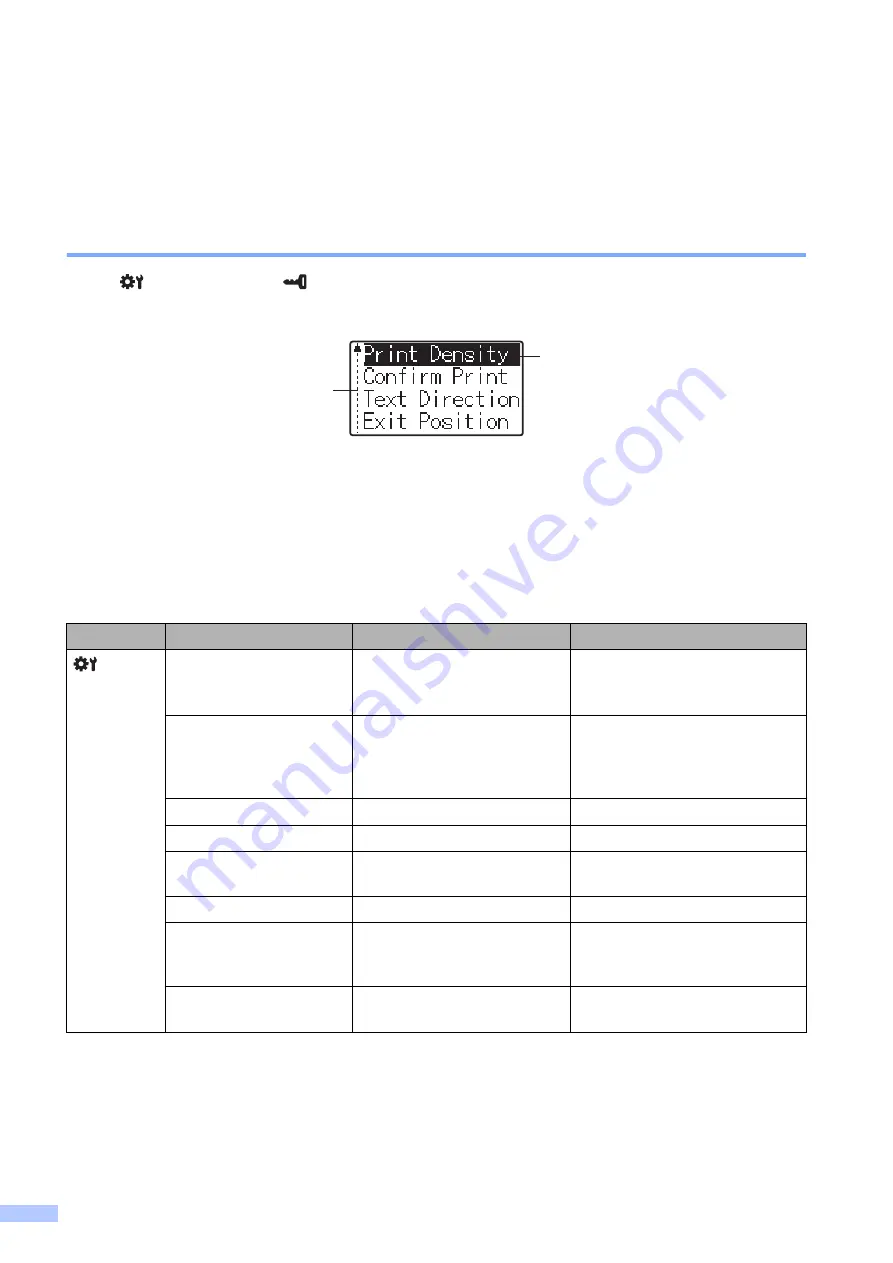
The settings for the touch panel display can be specified either by using the touch panel, or by
using a tool on a computer connected to the printer. For details on connecting the printer to a
computer and specifying the settings, see the User’s Guide included on the CD-ROM.
Specifying Settings From the Touch Panel Display
Press [
] (settings key) or [
] (admin key) to display the menu screen. Press [
a
] or [
b
] to select
a parameter, and then press [
OK
].
1
The scroll bar indicates the first parameter with the up arrow, and the last parameter with the down arrow. If the last
parameter is selected, pressing [
b
] scrolls to the first parameter. If the first parameter is selected, pressing [
a
] scrolls
to the last parameter.
2
The currently selected parameter is highlighted.
With the touch panel display attached to the printer, the following settings can be specified.
Key
Parameter
Settings
Description
(settings
key)
Print Density
-5
/
-4
/
-3
/
-2
/
-1
/
0
/
+1
/
+2
/
+3
/
+4
/
+5
Adjust the printer’s printing
density.
Confirm Print
On
/
Off
Select whether a message
appears before printing so that
the number of copies can be
confirmed.
Text Direction
Normal
/
Inverted 180
Select the printing orientation.
Exit Position
Tear
/
Peeler
Select the media exit location.
Backlight
On
/
Off
Select whether the LCD
backlight is turned on.
LCD Contrast
+2
/
+1
/
0
/
-1
/
-2
Select the LCD contrast.
Beeper
On
/
Off
Select whether the printer beeps
when a touch panel key is
pressed.
Set Panel
A
/
B
Select which touch panel will be
used.
2
1
Содержание PA-TDU-001
Страница 28: ...27 English Panel Figure Actual Size 92 3mm 3 634 92 3mm 3 634 132 4mm 5 213 ...
Страница 29: ...LBE166001A ...


