


Learning about the Workspace
27
Taking Measurements
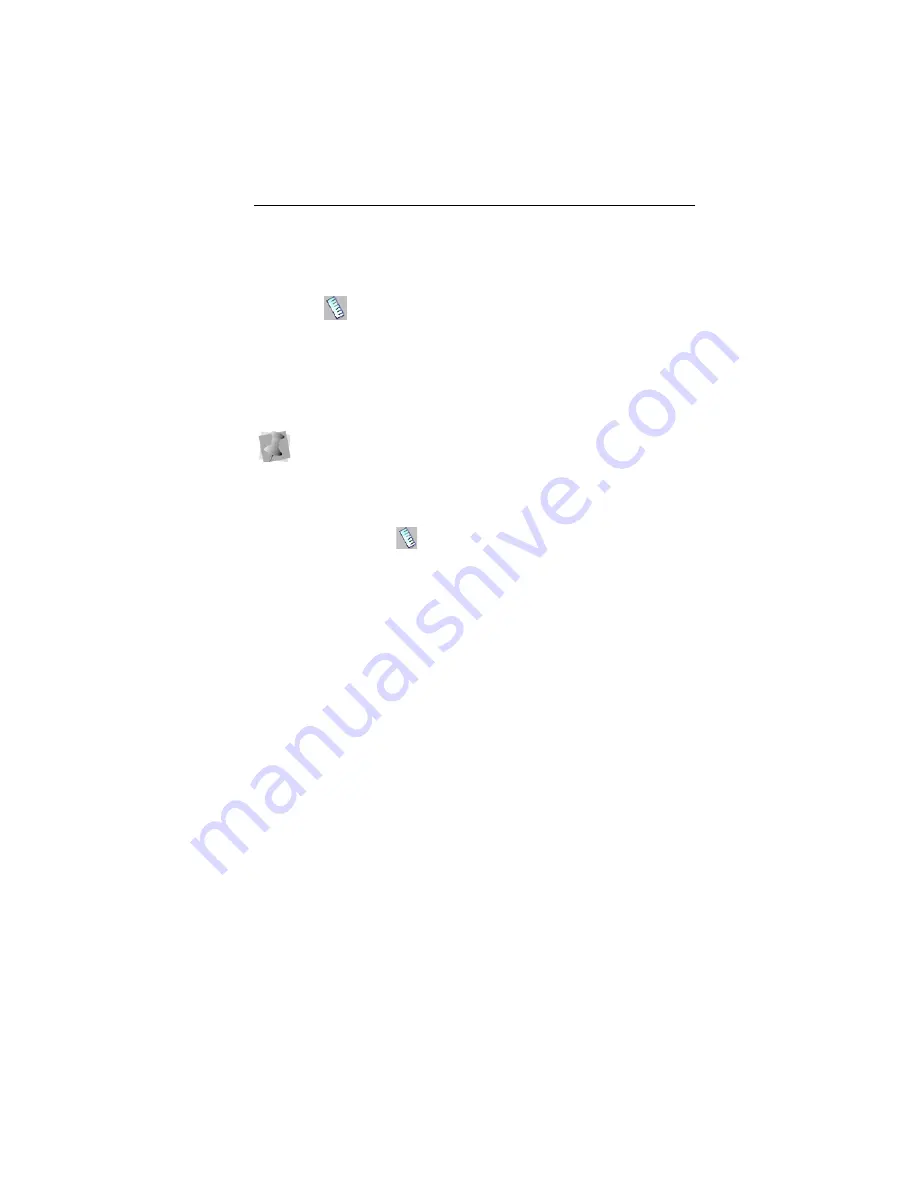
The Ruler
tool lets you measure the distance between any
two points in your design workspace. When you measure from
one point to another, the distance is displayed in the status line
located at the bottom of the window. The status line shows the
horizontal and vertical distances the Ruler tool travels from the
x and y axes, the angle measured, and the total distances.
To measure Designs:
1
On the Ribbon, select the Home tab.
2
Click on the Ruler
tool.
Your pointer changes to a ruler when in the Design
Workspace.
3
Click and drag your mouse until you are finished measuring
the item.
4
Let go of your mouse when you are finished measuring.
5
Look in the status line at the bottom of the workspace to see
the measurement.
6
Right-click to set the end point of your measurement.
The measurement is now displayed in the status bar.
Displaying the Hoop
Viewing the hoop or frame on the screen lets you ensure that
your design fits properly when you run it on the machine. The
hoop serves as a guide to help size and position your design in
the design window. Pacesetter BES Lettering comes with many
pre-loaded hoop sizes.
The ruler measurements are calculated in the units you set
under the Units tab of the Preferences dialog.
Содержание BES Lettering
Страница 1: ...Pacesetter BES Lettering Instruction Manual ...
Страница 36: ...34 Pacesetter BES Lettering Instruction Manual ...
Страница 90: ...88 Pacesetter BES Lettering Instruction Manual ...
Страница 133: ...135 Glossary ...


