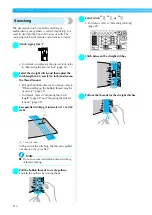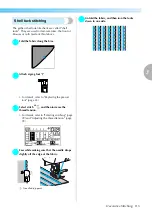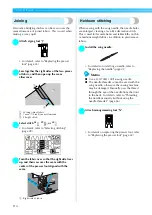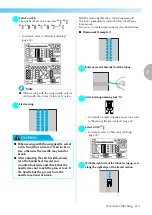
Attaching the Embroidery Unit
125
4
— — — — — — — — — — — — — — — — — — — — — — — — — — — — — — — — — — — — — — — — — — — — — — — — — — — —
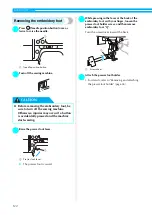
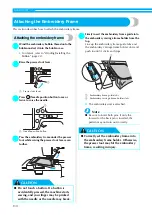
Removing the embroidery unit
Make sure that the sewing machine is completely
stopped and follow the instructions below.
a
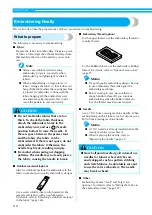
Remove the embroidery frame.
• For details on removing the embroidery
frame, refer to "Removing the embroidery
frame" (page 131).
b
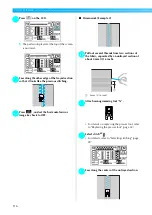
Press
, and then press
.
X
The embroidery carriage moves into a
position where it can be saved.
c
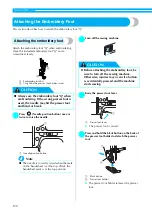
Turn off the sewing machine.
CAUTION
d
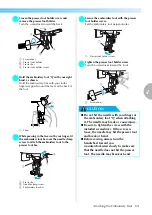
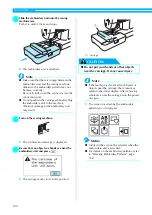
Hold the release button on the bottom left of
the embroidery unit, and slowly pull the
embroidery unit to the left.
a
Release button
X
The embroidery unit separates from the
sewing machine.
CAUTION
●
Always turn off the sewing machine
before removing the embroidery unit. It
may cause malfunctions if removed when
the machine is turned on.
●
Do not carry the embroidery unit by
holding the carriage. It may cause
malfunctions.
a
Содержание 885-V31
Страница 2: ......
Страница 16: ...14 ...
Страница 70: ...SEWING BASICS 68 ...
Страница 170: ......
Страница 171: ......


