background image

PRE-FLIGHT CHECKLIST

1 .  Ensure that the drone battery and controller batteries are fully charged .

2 .  Ensure that the left stick of the controller is in the middle position .
3 .  Ensure that the connection between the battery and motor is solid . Vibration during use 

may cause a bad connection and the drone could become difficult to control .

4 .  Strictly follow the instructions for the order for turning on and turning off the controller and 

drone . Turn on the controller power first and then turn on the drone power before flying; 

turn off the drone power first and then turn off the controller power when finished flying . 

Improper on/off sequence may cause the drone to fly out of control and could threaten 

your safety or the safety of others . 

5 .  Improper operation may cause the drone to crash, which may cause motor defects that 

could affect flying ability . If this occurs, visit the local distributor to buy new replacement 

parts .

FREQUENCY PAIRING

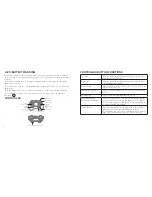
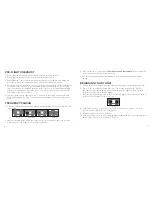
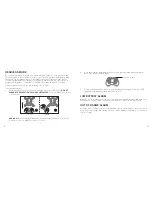
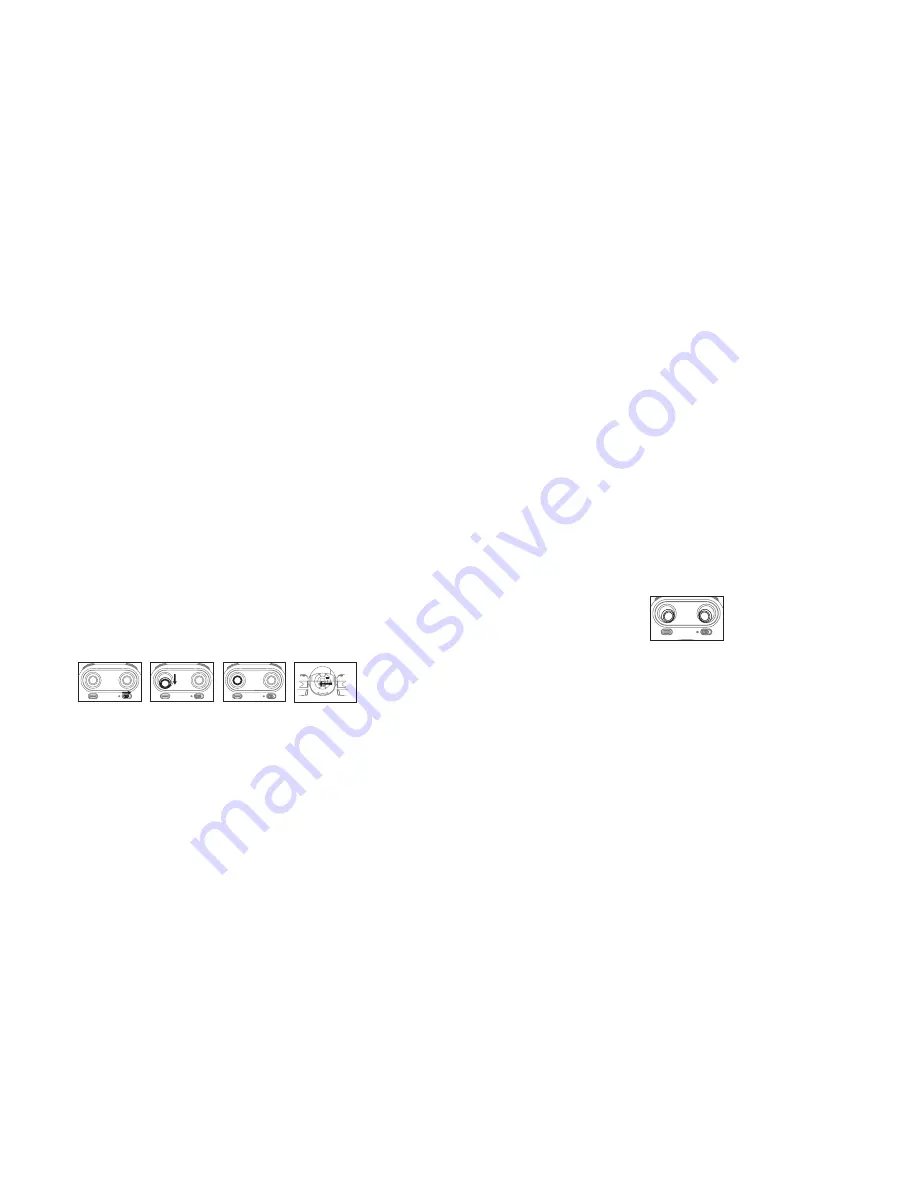
1 .  Slide the controller's power switch to the ON position (Picture 1) . The power indicator will 

flash rapidly . 


2 .  Push the left stick all the way down to the lowet position and then release . The left stick 

will move back to the middle position (Pictures 2 and 3) .

Picture 2

Picture 1

Picture 3

Picture 4

10

11

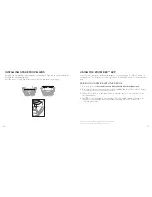
3 .  Power on the drone (Picture 4) and 

put the drone on a flat surface

 . The drone must be 

on a horizontal, level surface to work properly .

4 .  The drone body lights change from flashing to solid, indicating successful frequency 

pairing .

BEGINNING YOUR FLIGHT

5 .  Position the drone so that its front (the end with the camera) is pointing away from you .
6 .  Power on the drone and check the direction of the rotating propellers . The left front 

and right rear A propellers should rotate clockwise while the right front and left rear B 

propellers should rotate counterclockwise .

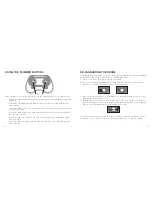
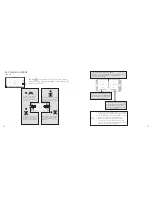
7 .  Move the left stick and right stick at the same time 45 degrees inward, as shown below, to 

start the motors . Repeat to lock the motors . 


8 .  Push up the left stick to fly the drone up slowly . Pull down the left stick to its lowest 

position slowly to land the drone on the ground . 

9 .  Repeat Step 4 several times to practice .

10 . If the drone tilts to one side when flying, adjust the rudder with the corresponding  Trimmer 

button on the controller, as described on Page 12 .

Picture 5

Содержание 324464

Страница 1: ...324464_INS_Zoom Bee Drone Size 125mm x 105mm Output 100 _Prints 1 1 Blk Flight Force ZOOM BEE DRONE for ages 14 324464_INS_Zoom Bee Drone Size 125mm x 105mm Output 100 _Prints 1 1 Blk...

Страница 2: ...29 Warranty 32 CAUTION TO REDUCE THE RISK OF ELECTRIC SHOCK DO NOT REMOVE COVER THERE ARE NO SERVICEABLE PARTS INSIDE TO REDUCE THE RISK OF FIRE OR ELECTRIC SHOCK DO NOT EXPOSE THIS UNIT TO RAIN OR MO...

Страница 3: ...lace it on a soft surface such as a bed or couch where the air openings may be blocked 9 Do not carry this unit by cord or use cord as handle 10 Never operate this unit if it has a damaged cable if it...

Страница 4: ...erates uses and can radiate radio frequency energy and if not installed and used in accordance with the instructions may cause harmful interference to radio communications However there is no guarante...

Страница 5: ...attery may also explode if damaged BC 7 CONTROLLER BUTTON FUNCTIONS Left Stick Move the stick forward backward left right to fly the drone up down turn left turn right Right Stick Move the stick forwa...

Страница 6: ...5V 2A output current not included 4 The USB indicator is red while charging and turns green when the drone is fully charged INSERTING THE CONTROLLER BATTERIES The controller uses 3 AAA batteries incl...

Страница 7: ...ash rapidly 2 Push the left stick all the way down to the lowet position and then release The left stick will move back to the middle position Pictures 2 and 3 Picture 2 Picture 1 Picture 3 Picture 4...

Страница 8: ...Trimmers 12 RE CALIBRATING THE DRONE Crashing the drone may cause it to become imbalanced beyond the level that can be adjusted by the trimmer button If this occurs you can re calibrate the drone 1 Po...

Страница 9: ...FLYING CONTROL Note Before flying move the left stick and the right stick 45 degrees inward at the same time to start the motors Push up the left stick slowly to fly up Picture 5 14 15...

Страница 10: ...fall suddenly after all propellers stop 16 ALTITUDE HOLD MODE Altitude Hold mode allows the drone to maintain a consistent altitude while allowing roll pitch and yaw to be controlled normally This mo...

Страница 11: ...Before activating Headless Mode be sure that the drone s front is your front If not the drone might become out of control Front Camera Rear Power Switch Left Right Front Camera Rear Power Switch Left...

Страница 12: ...DRONE 1 Power on the drone Put the drone on a flat surface in a horizontal position 2 Enter your device s set up screen turn on WiFi WLAN and choose Zoom Bee Return to the main screen after succesful...

Страница 13: ...Tap again to exit from virtual reality mode Brake Hard The icon is red by default Tap and the propellers will stop immediately The drone will fall straight to the ground Do not use the Brake Hard fun...

Страница 14: ...nd continue flying at an altitude of approximately 47 inches 1 2 meters One Button Landing Tap and the icon turns red The drone will fly down slowly and land on the ground All propellers will stop VID...

Страница 15: ...an not find the WiFi signal to connect turn off WiFi and turn on again to search and connect 2 The available WiFi control radius distance is 10m please control the drone within this range 3 When alter...

Страница 16: ...opeller Install the propeller according to the user manual The drone cannot hover and tilts to one side The propeller is seriously deformed Replace the propeller The gyroscope did not reset after a se...

Страница 17: ...31 30 NOTES NOTES...

Страница 18: ...t can be identified by the Brookstone trademark trade name or logo affixed to them or their packaging The Limited Warranty does not apply to any non Brookstone products Manufacturers 32 or suppliers o...

Страница 19: ...324464 Brookstone 2017 Rev 2 Find thousands more great ideas online Brookstone com 1 800 846 3000 1 Innovation Way Merrimack New Hampshire 03054...

Отзывы: