8
Aesculap
®
Full HD 3CCD Camera system PV440
To change the mode on the camera control unit:
►
Press Push button
10
on camera control unit once.
The current mode appears on the camera display and on the monitor:
►
Press Push button
10
on camera control unit until the desired mode
is displayed.
After 3 seconds the setting displayed will disappear and the selected
mode is saved.
To change the mode on the camera head:
►
Press both Push buttons on the camera head for longer than 3 seconds.
The current mode appears on the camera display and on the monitor:
►
Press the blue Push button on the camera head to switch to previous
mode or press the gray Push button on the camera head to switch to
next mode.
After 3 seconds the setting displayed will disappear and the selected
mode is saved.
5.3.4
Adjusting light, focus and optical zoom
►
Adjust the brightness of the light source until sufficient illumination is
achieved.
►
To adjust the focus for a sharp image, turn focusing ring.
►
To adjust the size of the image (zoom factor), turn the zoom adjust-
ment ring.
5.3.5
Adjusting the digital zoom
►
Press both Push buttons on the camera head and release both after a
short time (2.5 seconds).
The following message appears on the camera display and on the mon-
itor:
The following digital zoom settings can be selected:
■
Zoom switched off = ZOOM 1.0
■
Zoom activated = ZOOM 1.1x /1.2x /1.3x /1.4x /1.5x/1.6x /1.7x /1.8x/
1.9x/2.0x
►
To change the digital zoom setting, press one of the Push buttons on
the camera head as follows:
– press the blue Push button to decrease the digital zoom.
– press the gray Push button to increase the digital zoom. After 3 sec-
onds the setting displayed will disappear and the selected zoom
setting is saved.
5.3.6
Adjusting the brightness
To adjust the brightness on the camera control unit:
►
Press Push button
11
on the camera control unit to increase the
brightness.
►
Press Push button
14
on the camera control unit to decrease the
brightness.
The following message appears on the camera display and on the mon-
itor:
After 3 seconds the setting displayed will disappear and the selected
brightness setting is saved.
To adjust the brightness on camera head:
►
Press gray Push button
2
on the camera head and release after a short
time (2.5 seconds).
The following message appears on the camera display and on the mon-
itor:
►
To change the brightness, press one of the Push buttons on the camera
head as follows:
– press the blue Push button
3
to decrease the brightness.
– press the gray Push button
2
to increase the brightness. After 3 sec-
onds the setting displayed will disappear and the selected bright-
ness setting is saved.
5.3.7
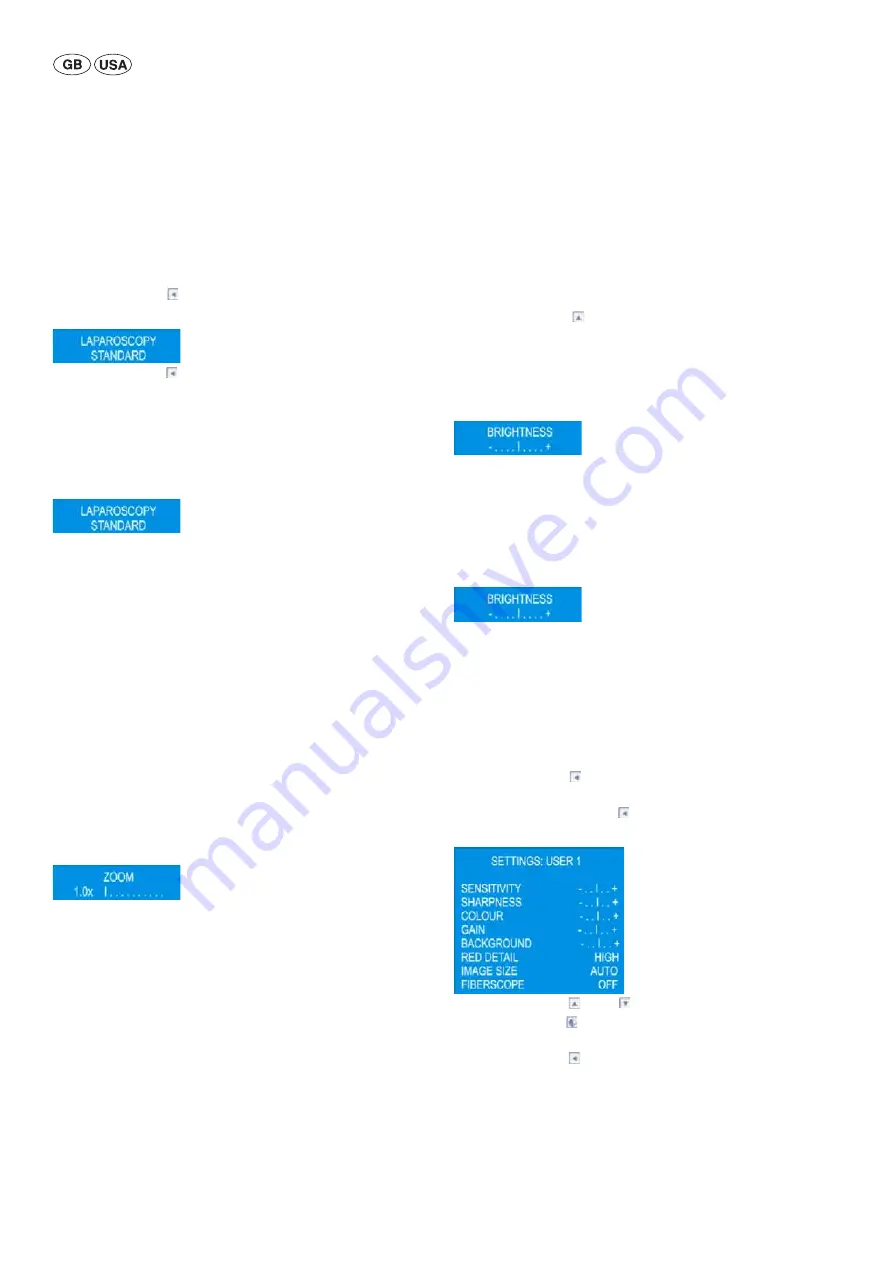
Adjusting the user mode settings
►
Press Push button
10
on camera control unit
7
and select USER 1,
USER 2 or USER 3 mode.
►
Press and hold Push button
10
for 3 seconds.
The following message appears on the monitor:
►
Press Push button
11
or
14
to select the desired parameter.
►
Press Push button
12
to change the setting of the respective param-
eter.
►
Press Push button
10
to save and exit user settings.
- or -
After 40 seconds the setting options displayed will disappear and the
selected settings are saved.
Содержание Aesculap PV440
Страница 2: ......
Страница 3: ...1 3 2 4 5 6 8 7 9 10 11 12 13 14 15 16 17 23 18 20 21 22 24 25 26 19 ...


