DCD-8 User Manual
Page 9
Page 8
DCD-8 User Manual
7. Menu Navigation
7.1. SELECTING A MENU
When the Set Up mode is entered, the LCD display switches to the Set Up menu last
used, with the cursor on the far left position in the upper line.
To move to another menu, with the cursor on the upper left position, press the [
up
]
or
[
down
]
key.
7.2. CHANGING VALUES
To edit one of the fields on the current menu, press the [
right
]
or [
left
]
key to move the
cursor to the desired field. Then, press the [
up
]
or [
down
]
key to change the value.
Note that no change will take effect until the [
enter
]
key is pressed. When exiting a
menu without pressing the [
enter
]
key, the changes are lost.
7.3. THE CURSOR
The cursor position is indicated with a ‘>’ character, implemented as inverse video, flash-
ing on and off. For alpha-numeric entry such as the User Preset NAMES, an additional
underline cursor appears beneath the digit column being adjusted.
After a value is edited, the cursor changes to a solid triangle, until the [
enter
]
key is
pressed.
If the cursor is moved to another field without pressing the [
enter
]
key first, the solid
triangle stays in front of the edited field to indicate a change was made but not
entered yet.
7.4. STATUS VALUES
Throughout the different menus, values appear in the display enclosed in square
brackets. These are status values.
Status values are the values actually obtained, based on a menu selection. In some
cases, this might be a rate in Hz. In others it might be a different value if the one
asked for is unavailable. For example, in menu 5, if Audio is unavailable [Mute] will
be displayed.
7.5. SET VS. AUTO VS. LEARN
The words “Set”, “Auto” and “Learn” are used to distinguish whether the user is establish-
ing the value (Set) or if the system is deducing the value automatically (Auto & Learn).
See chapter 11 for more information on these functions.
8. Menus Description
Please note that some of the menu options will change based on your selections. As an
example, if S/PDIF has been selected in menu 31 as the optical connector format, ADAT
no longer appears as a reference option in menu 02, and vice-versa.
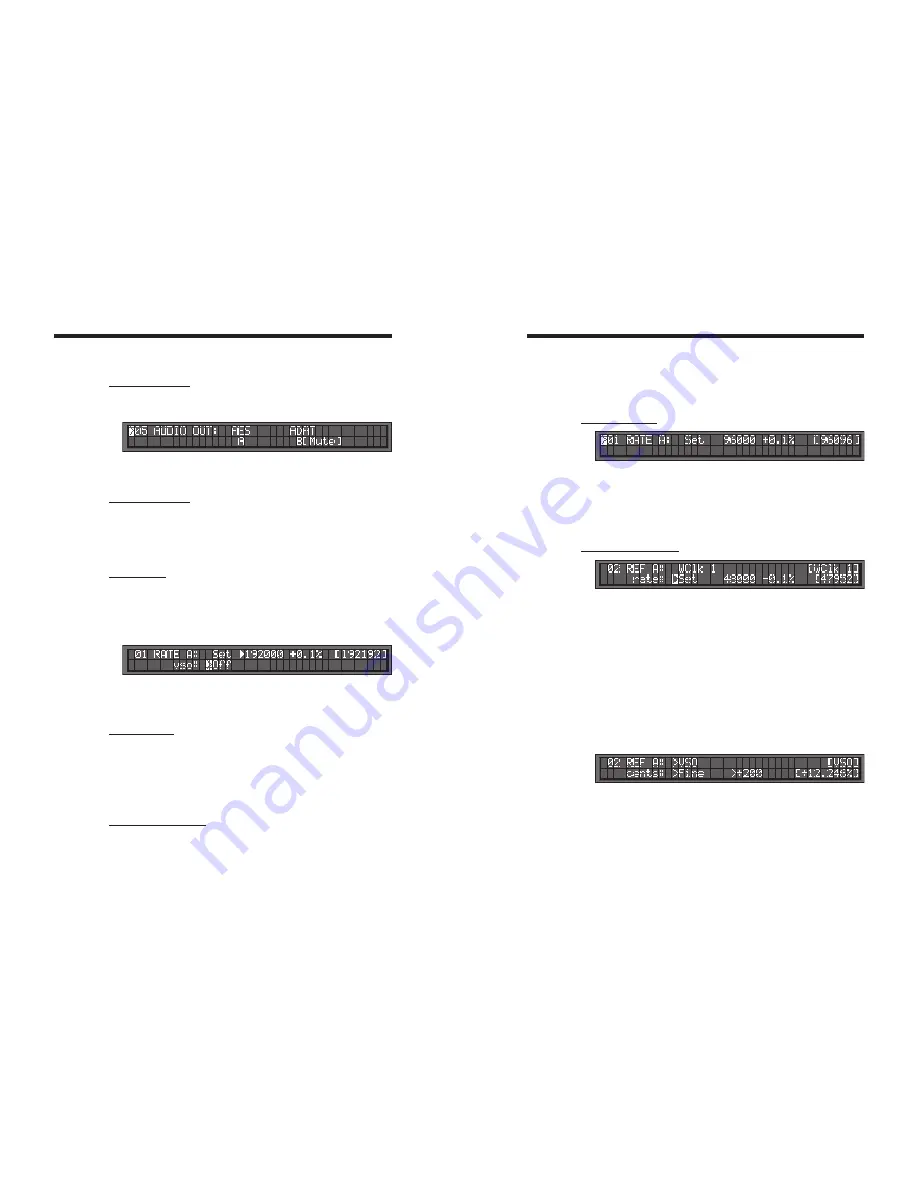
8.1. MENU 01: RATE A
The DCD-8 has 2 domains, A & B. Each domain can have it’s own rate. Menu 01
lets you change the A rate.
- In SET mode, a specific frequency can be selected;
- in AUTO mode, the reference’s rate is mirrored and automatically selected.
Status is the actual rate in Hz.
NOTE: AUTO is not available if the reference is Internal, VSO or Video.
8.2. MENU 02: REFERENCE A
Menu 02 lets you select a reference for the A domain from the following choices:
Internal
WClk 2
AES 2
ADAT
VSO
WClk 3
AES 3
Optical
WClk 1
AES 1
S/PDIF
Video
GPS: WC inputs can also accept and detect a 10MHz 5volt TTL signal, such as those
provided by a GPS. LEARN will display ‘10MHz’.
NOTE: Some of the choices listed above may not always be available.
- VSO is not available if Menu 51 is set to ‘Enable SD only’ (see chapter 12.2, p.17)
- AES 3 & ADAT are not available if Menu 31 is set to ‘S/PDIF Optical’
- Optical is not available if Menu 31 is set to ‘ADAT’
When selecting an external source, a RATE menu appears on the bottom line. RATE has
2 modes:
- LEARN, the DCD-8 determines the incoming rate,
- SET, the user determines the incoming rate.
For more information on Set vs. Learn, go to chapter 11.
VSO: When VSO is selected, the bottom line shows the speed adjustment, measured
in cents (semitone/100), with a parallel readout of the corresponding percentage
speed change. The VSO range is +/- 200 cents
; 2 whole tones (+12.2562% to
-10.9101%)
. Adjustments are Fine (1 cent steps) or Coarse (10 cents steps). See chapter
12 for more on VSO.
NOTE: When adjusting the VSO cents value in the menu, the changes take effect immedi-
ately. There is no need to press [
enter
] for every speed change.


