


Boxfish ROV Owner’s Manual
V1.3. All rights reserved. Information and specifications may change at any time without notice.
p72
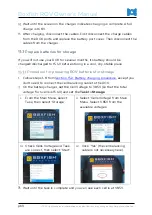
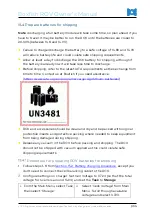
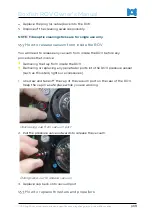
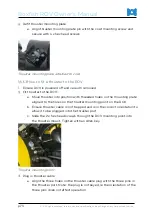
c.
Slide thruster motor out of the cowling towards the side with the
motor cable.
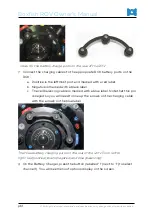
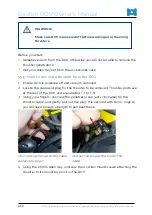
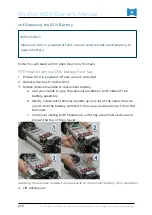
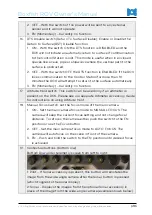
Remove propeller
a.
Use a 2mm Allen Key to remove the 2 x hex head screws securing the
propeller to the motor
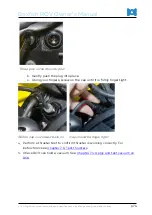
b.
Gently slide propeller off thruster motor.
Unscrewing hex head screws
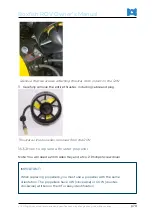
Sliding propeller off motor
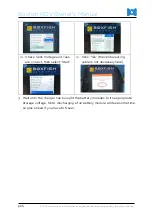
Fit new propeller
a.
Gently slide new propeller onto motor hub taking care to align the
holes in the propeller with the threaded holes on the motor hub
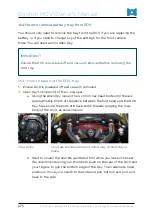
b.
Secure the propeller to the motor using 2 x hex head screws. Do not
over tighten or you may damage the propeller.
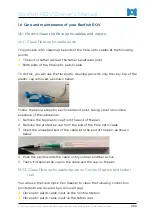
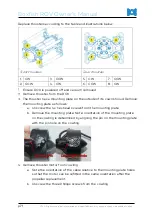
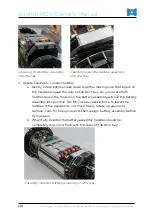
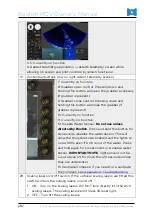
Refit thruster cowl
a.
Slide thruster motor into the cowl. Make sure the motor cable is
orientated the same way as when it was removed. If unsure test fit the
thruster assembly to check the thruster cable will be facing the
correct direction once thruster is refitted.
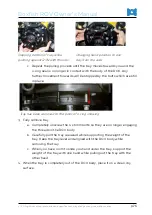
b.
Secure the motor to the cowl using the 3 x Philips head screws.
c.
Note screw hole on thruster mount does not have a screw fitted and is
used for mounting plate locating pin.


