


Boxfish ROV Owner’s Manual
V1.3. All rights reserved. Information and specifications may change at any time without notice.
p24
6
Putting together the Boxfish ROV system
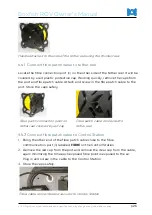
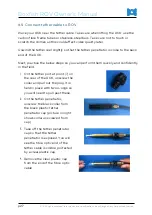
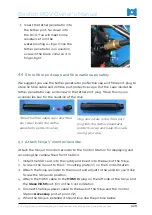
We recommend finding a suitable place, for example a large table or bench, to
practice assembling your ROV for the first time. Caps and covers for the fibre
cables and ports are small and may be easily lost. Store these safely and nearby
so you can reattach them later.
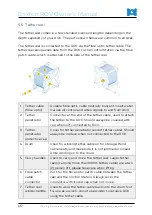
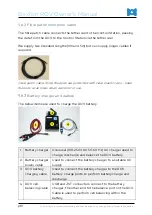
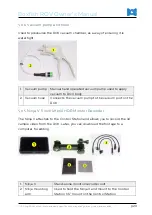
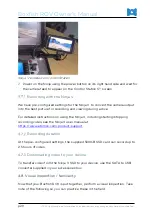
Charge the ROV battery
The ROV battery will be low on arrival. Safe shipping requires the battery to be
discharged to around 14.9V. Full charge for diving is 16.8V and a good storage
voltage is 15.4V. Depending on how soon you’ll use your ROV, you can charge to
either 15.4V or 16.8V now. See
Chapter 15: ROV battery charging and discharging
for safety information and instructions.
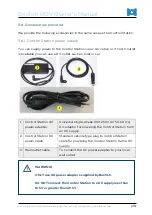
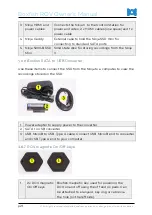
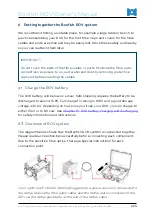
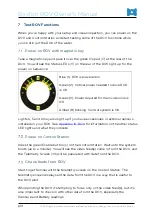
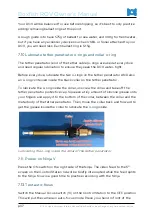
Overview of ROV system
The diagram below shows how the Boxfish ROV system is connected together.
Please read each section below carefully before connecting each component.
Due to the sensitive fibre optics, there are special instructions for each
connection point.
From right to left: Control Station (plugged into a power source) is connected to
the tether reel via the fibre patch cable, and the tether reel is connected to the
ROV via the tether penetrator at the end of the tether cable.
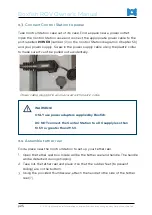
IMPORTANT!
Do not touch the ends of the fibre cables or ports. Minimise the fibre optic
connections’ exposure to air, salt, water and dust by removing protective
caps just before inserting the cables.


