74
Section 3. Using effects
Here we will explain how to edit the reverb
settings (parameters).
For details on the reverb parameters, refer to
“Reverb Parameters” (p. 75).
There are no “patches” for reverb. The reverb
settings are saved as part of the song data. If you
want to save the reverb settings in the currently
selected song, hold down
and press
.
1.
Press [EFFECTS] several times to make
the display indicate REVERB screen.
The screen will indicate REVERB.
2.
Use CURSOR [
] [
] to make the
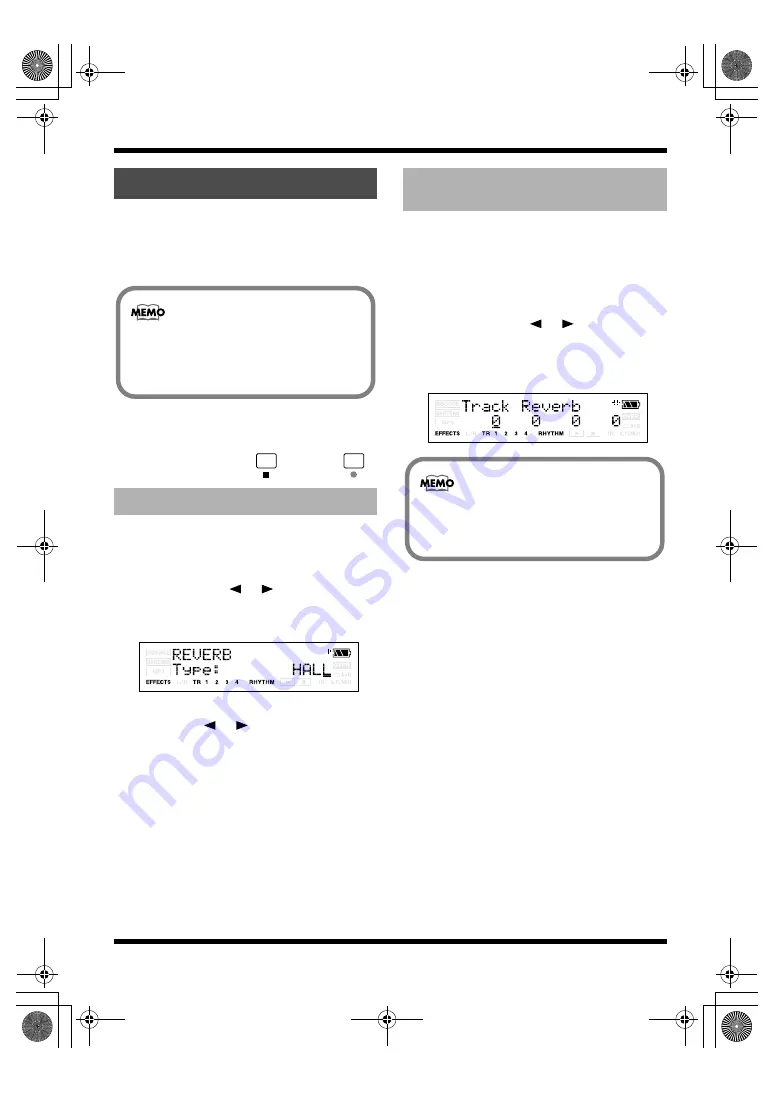
screen indicate “Type,” and use VALUE
[-] [+] to select either “HALL” or “ROOM.”
fig.Disp-REVERB-HALL.eps
3.
If you want to edit the reverb settings, use
CURSOR [
] [
] to select a
parameter and use VALUE [-] [+] to edit
the value of that parameter.
For details on each of the reverb parameters,
refer to “Reverb Parameters” (p. 75).
4.
When you’ve finished making settings,
press [EXIT] to return to the Play screen.
You can adjust the amount of reverb for each
track by changing the amount of audio signal
sent from each track to the reverb processor (the
“send level”)
1.
Press one of the [TR1]–[TR4] buttons.
2.
Using CURSOR [
] [
], get “Track
Reverb” to appear in the display, then use
VALUE [-] [+] to edit the send level for
that track.
fig.Disp-TrackReverb.eps
3.
When you’ve finished editing, press
[EXIT] to return to the Play screen.
Using Reverb Effect
Selecting the reverb effect
Reverb can normally be applied only to the
monitored sound (the sound you’re
hearing). When bouncing or mastering, you
can record the sound with reverb applied.
Adjusting the reverb depth
for the each track
You can press [TR1]–[TR4] to move the
cursor to the track corresponding to the
button you pressed.
MICRO-BR_e.book 74 ページ 2007年12月6日 木曜日 午後4時8分


