42
Section 1. Recording and playing back
1.
Simultaneously press [EXIT] and
[UTILITY] several times to put the MICRO
BR in Normal mode.
Each time you press [EXIT] and [UTILITY]
simultaneously, the recording mode will
alternate in the order of Normal mode
➔
Bounce mode
➔
Mastering mode.
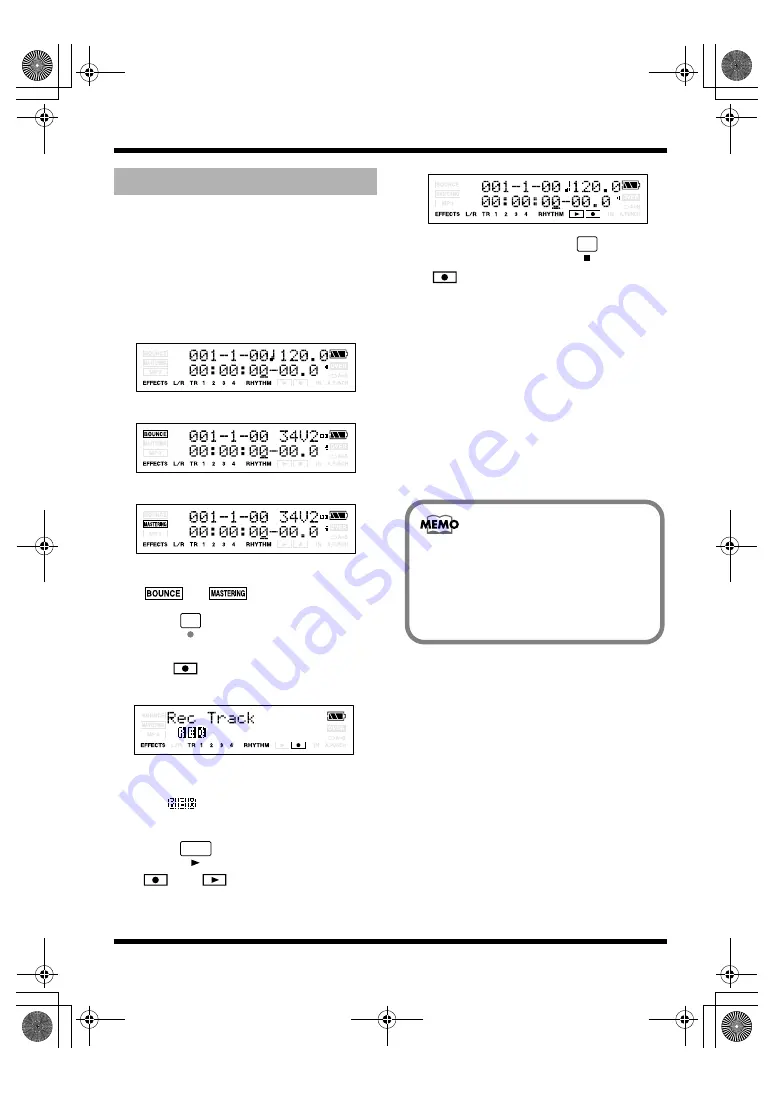
Normal Mode
Bounce Mode
Mastering Mode
Make sure that the display does not indicate
or
.
2.
Press .
The Rec Track screen will appear. In this
time,
will blink, and the MICRO BR
will be in recording standby condition.
3.
Press the [TR1]–[TR4] button of the track
you want to record.
The
indication will appear for the
track you choose.
4.
Press .
and
will light, and recording
will begin.
fig.Disp-recording.eps
5.
To stop recording, press
.
will go dark.
* You can’t play back audio whose recording time was
shorter than one second.
* The following operations cannot be performed (or will be
invalid) while the recorder is operating (i.e., during
recording or playback).
• Editing the SONG arrangement
• Selecting a drum kit
• Switching to the USB screen
• Switching to the SONG EDIT screen
• Track editing
• Switching to the INITIALIZE screen
• Undo/Redo
• Switching a mode
Recording
If you press the MICRO BR’s buttons while
recording via the internal mic, clicking
sounds resulting from the operation of the
buttons may also be recorded along with the
rest of the sound.
This is not a malfunction.
MICRO-BR_e.book 42 ページ 2007年12月6日 木曜日 午後4時8分


