113
Section 7. Other Convenient Functions
Section 7
8.
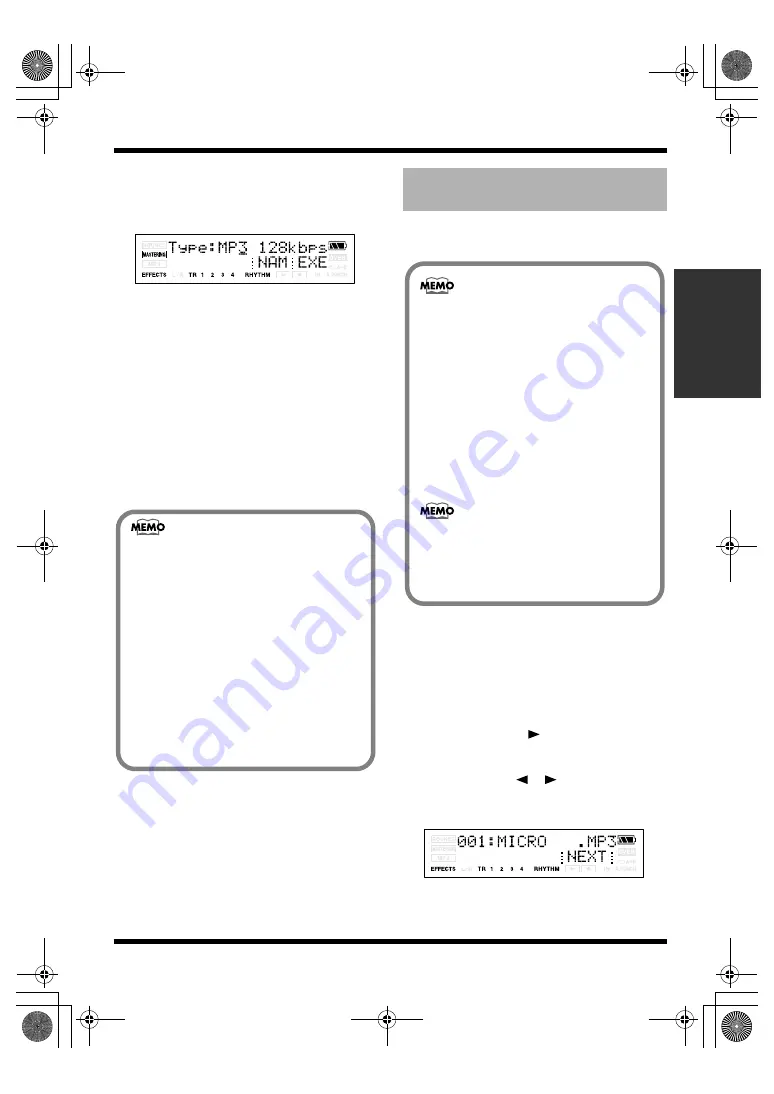
Use VALUE [-][+] to set the Type
parameter to the desired type of file.
You can choose either WAV or MP3 as the
file type.
fig.06-020
Range:
MP3 64kbps, MP3 128kbps,
MP3 192kbps, WAV
9.
Press [TR4] (EXE)
The display will ask “********.*** OK?”
* “********.***” stands for the filename and the file
extension.
10.
If you want to convert, press [TR4] (YES).
To cancel this operation, press [EXIT].
Press [TR4] (YES), and the track data will be
converted to MP3 or WAV.
The converted audio file will be saved in the
MP3 folder. (p. 101)
Here’s how track data recorded on a track can be
converted to an audio file (MP3/WAV formats).
1.
Make sure that you’re in normal mode (p.
42), and press [UTILITY].
If you’re in MP3 mode, press [MP3/TRAINER]
to switch to Normal mode, and then press
[UTILITY].
2.
Press [TR2] (TRK).
3.
Press CURSOR [
].
4.
Press [TR1] (IMP).
5.
Use CURSOR [
][
] and VALUE [-] [+]
to select the audio file you want to convert
to track data.
fig.06-020
About the file name
Files created using the Track Export
procedure are named as follows.
(Ex.)
T1_V1_01.MP3
T34V8_99.WAV
The file name will be the source track and
V-track number plus a sequential number
and the extension .MP3 (or .WAV).
If an identically named file already exists,
the display will ask “Overwrite?”
Converting audio files to
track data (Track Import)
Wave data in the following formats can be
imported. You cannot import wave data in
other formats.
WAV format
• Mono or Stereo
• 8-bit or 16-bit
• Sampling Rate: 44.1 kHz
• Linear format
MP3 format
• Sampling Rate: 44.1 kHz
• Bit rate: 64, 96, 128, 160, 192, 224, 256, 320
kbps or VBR
• Add the extension “MP3” to imported MP3
files and the extension “WAV” to imported
WAV files.
• Extremely short waveform data (less than
approximately 1 sec) cannot be loaded.
MICRO-BR_e.book 113 ページ 2007年12月6日 木曜日 午後4時8分


