9.
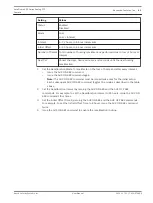
Select the alarm Outputs:
10.
–
Set the first output to OSD.
–
Set the second output to Shot 5 viewing the fence.
–
Set the third output to AutoTrack and select Latched.
–
Set the fourth output to Transmit (a Bilinx signal to the headend).
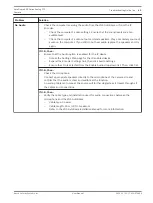
11. Enable the alarm Rule:
12.
–
Highlight Enabled and select YES.
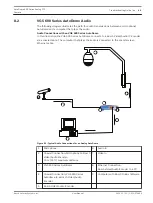
Example 3: Advanced Alarm Rule using AutoTrack
The following example explains how to set an alarm rule that moves the camera to a preset
position and then activates the AutoTrack feature to track an intruder after an alarm is
triggered. This example uses the Configuration Tool for Imaging Devices (CTFID) software
tool. Refer to the Configuration Tool for Imaging Devices User Guide, available at
www.boschsecurity.com.
4
Launch the CTFID software from a computer that is connected to a VG5 AutoDome.
Figure 7.1: CTFID Overview Window
4
Click the Online Config button and then expand Alarm.
Figure 7.2: Expanded Alarm Group
1.
Expand Output Options; then click Output Option 5.
2.
Select Tracking from the Type drop-down list.
3.
Click Output Option 6.
4.
Select Shot from the Type drop-down list.
AutoDome 600 Series Analog PTZ
Camera
Advanced Features | en
51
Bosch Security Systems, Inc.
User Manual
2014.11 | 2.1 | F.01U.270.005
Содержание VG5 600 Series
Страница 1: ...AutoDome 600 Series Analog PTZ Camera VG5 600 Series en User Manual ...
Страница 2: ......
Страница 67: ......


