EN
18
Installation
www.bora.com
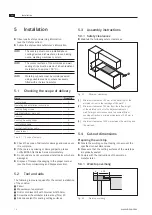
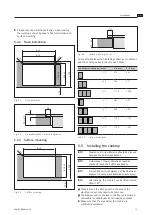
5.5.4 Seal the cooktop
X
X
Make sure that no silicone sealant gets under the
cooktop.
1
Fig. 5.16 Silicone sealant for flush installation
[1]
Black, heat-resistant silicone sealant
1
Fig. 5.17 Silicone sealant for surface mounting
[1]
Black, heat-resistant silicone sealant
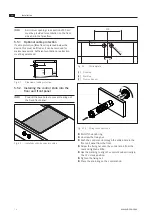
5.5.5 Establish communication
X
X
Establish the connection between the cooktop and the
control knobs.
Connection the control knob
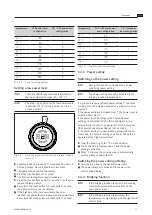
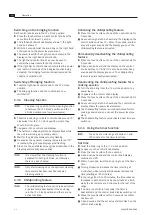
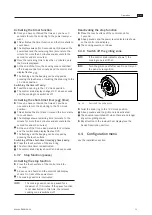
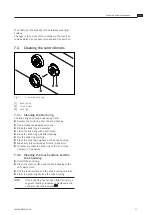
1
Fig. 5.18 Connection the control knob on the back
[1]
Connection the control knob on the back
X
X
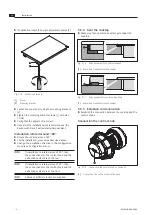
If applicable, insert the height adjustment plates [2].
2
1
Fig. 5.15 Mounting brackets
[1]
Screw
[2]
Mounting bracket
X
X
Fasten the cooktop [1] using the mounting brackets
[2].
X
X
Tighten the mounting bracket screws [1] with max.
10 Nm.
X
X
Verify that the alignment is correct.
X
X
Once all of the installation work is complete, seal the
devices with black, heat-resistant silicone sealant.
Installation rotated around 180°.
X
X
Rotate the cooktop around 180°.
X
X
For the installation, proceed as described above.
X
X
Change the installation direction in the configuration
menu (see Configuration menu).
INFO
If installation is rotated around 180°, then
the connections for the control knob and the
extraction system are at the rear.
INFO
If installation is rotated around 180°, then
the connections for the control knob and the
extraction system are at the front.
INFO
Cables of sufficient length are supplied.
Содержание PKT11
Страница 31: ......

