3
Clearview
+
Quick Guide
Step 2: Connecting to a PC/Laptop
ETHERNET ACCESS:
Local or remote communication with the unit is only possible through a GUI-based menu via web browser (Chrome or Firefox
is recommended)
. Before you can communicate with the unit, you must configure your computer's IP address to be in the
same subnet as the units default IP address. To do so, follow these steps:
Connect one end of the Ethernet cable to the “
Control
” port on the unit front-panel interface. Connect the other end
of the Ethernet cable to your computer.
The factory default IP address of the Control port is “
172.16.70.1
”. In order to communicate with the Control port, you
must first change your computer's IP address.
1
2
The following steps explain how to do this for a computer with
Windows 7
,
Windows 8.x
or
Windows 10
operating software:
(a) On your computer, navigate to the “Network and Sharing Center”.
(Note: It can be found using the search box in the Start Menu or for Windows 8.x, the Start Screen)
(b) Once open, click on “Change Adapter Settings” on left hand side of the window.
(c) Right-click on the “Local Area Connection”, and then click on the “Properties”.
(d) A dialog box entitled “Local Area Connection Properties” will appear. In this box, double-click on the “Internet
Protocol Version 4 (TCP/IPv4)”.
(e) A dialog box entitled “Internet Protocol Version 4 (TCP/IPv4) Properties” will appear. Select the “Use the following
IP address” option and enter the following addresses:
IP address:
172.16.70.2
Subnet mask:
255.255.255.0
No need to enter a value for the Default Gateway.
Click OK to close the dialog box. Your computer is now ready to communicate with the unit.
IMPORTANT NOTE ON PORT CONFIGURATION
The “
Control
” port and “
IP Video”
port should not be configured to be within the same IP subnet.
The “
Control
” port and “
IP Video
” port should also not be physically connected to the same network
without proper network segmentation.
It is possible to access the unit's user interface via the “
IP Video
” port by using the IP address assigned
to XC1.
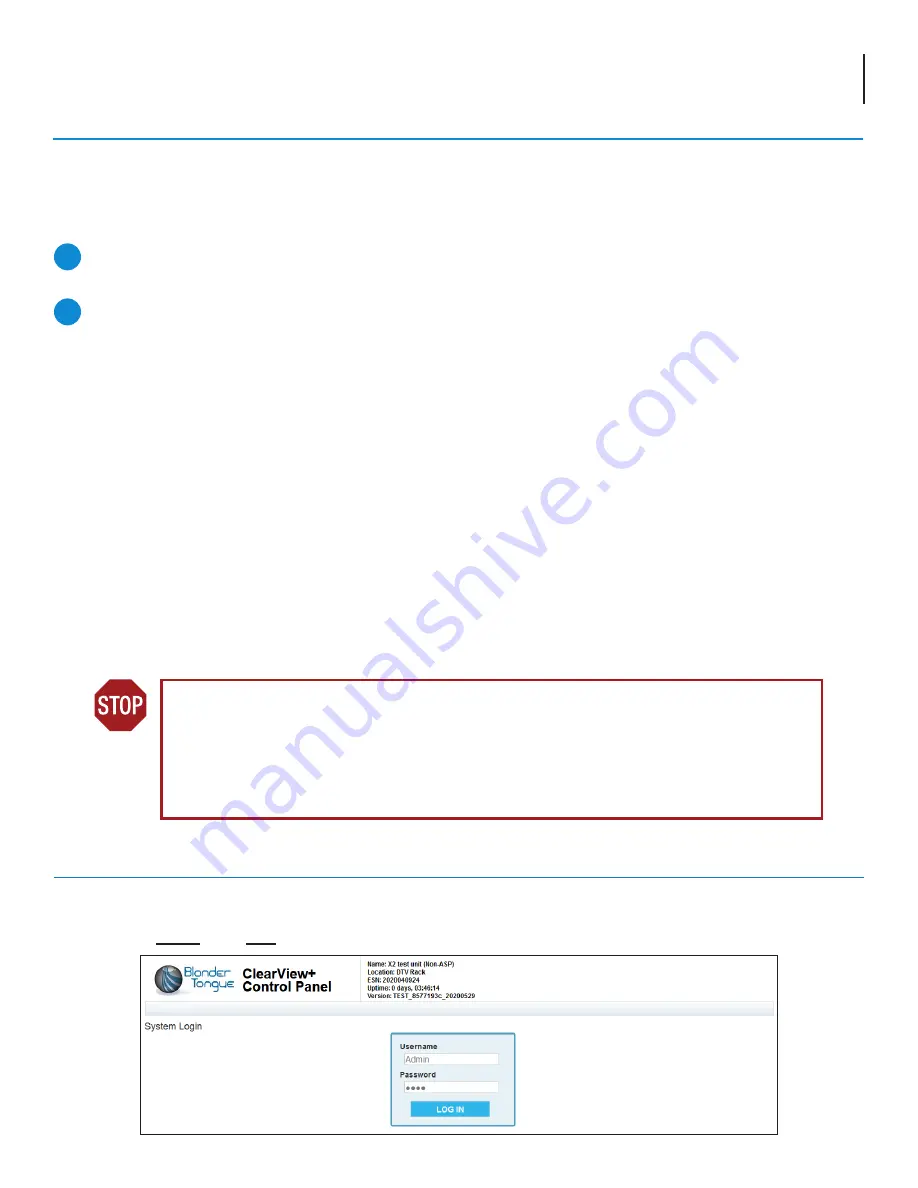
Step 3: Login to the Controller
An Ethernet Cable should be connected between your PC and the “
Control
” port on the unit. Open a Web browser (Chrome
or Firefox recommended) and type
http://172.16.70.1
in to your web browser to view and configure your
Clearview
+
. Enter
the username “
Admin
” and “
pass
” as the password and click [LOG IN].


