


MPEG4 Pentaplex Standalone DVR
28
3.3.
DEVICE
SETUP
With
this
menu,
you
can
configure
the
peripherals
in
your
DVR such
as
HDD,
CD/DVD
burner
and
PTZ
controller.
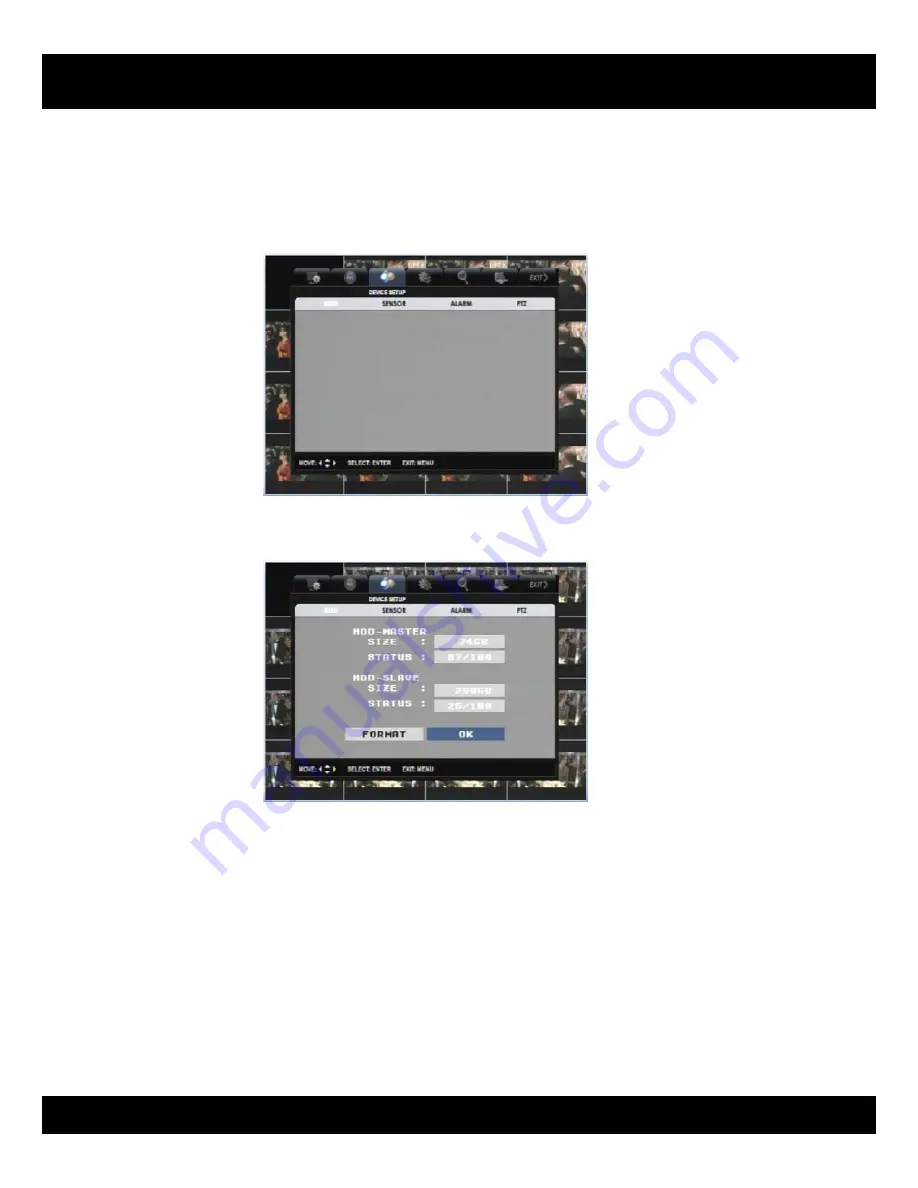
3.3.1.
HDD
INFORMATION/FORMAT
HDD
‐
MASTER:
Master
HDD
size
and
percentage
of
the
used
portion
will
be
shown.
HDD
‐
SLAVE:
SLAVE
HDD
size
and
percentage
of
the
used
portion
will
be
shown(if installed).
FORMAT:
You
can
format
each
HDD
if
necessary.
But
you
do
not
need
to
format
HDD
after
new
installation
of
HDD.
After
new
installation
of
the
HDD(DVR
power
must
be
“OFF”),
DVR
will
automatically
detect
and
start
formatting
the
new
HDD
when
power
is
“ON”.
DVR
will
reboot
automatically
after
formatting.
Important
:
In
case
you
have
some
broken
video/image
during
playback
from
existing
HDD,
it’s
time
to
format
HDD
using
this
menu.


