73
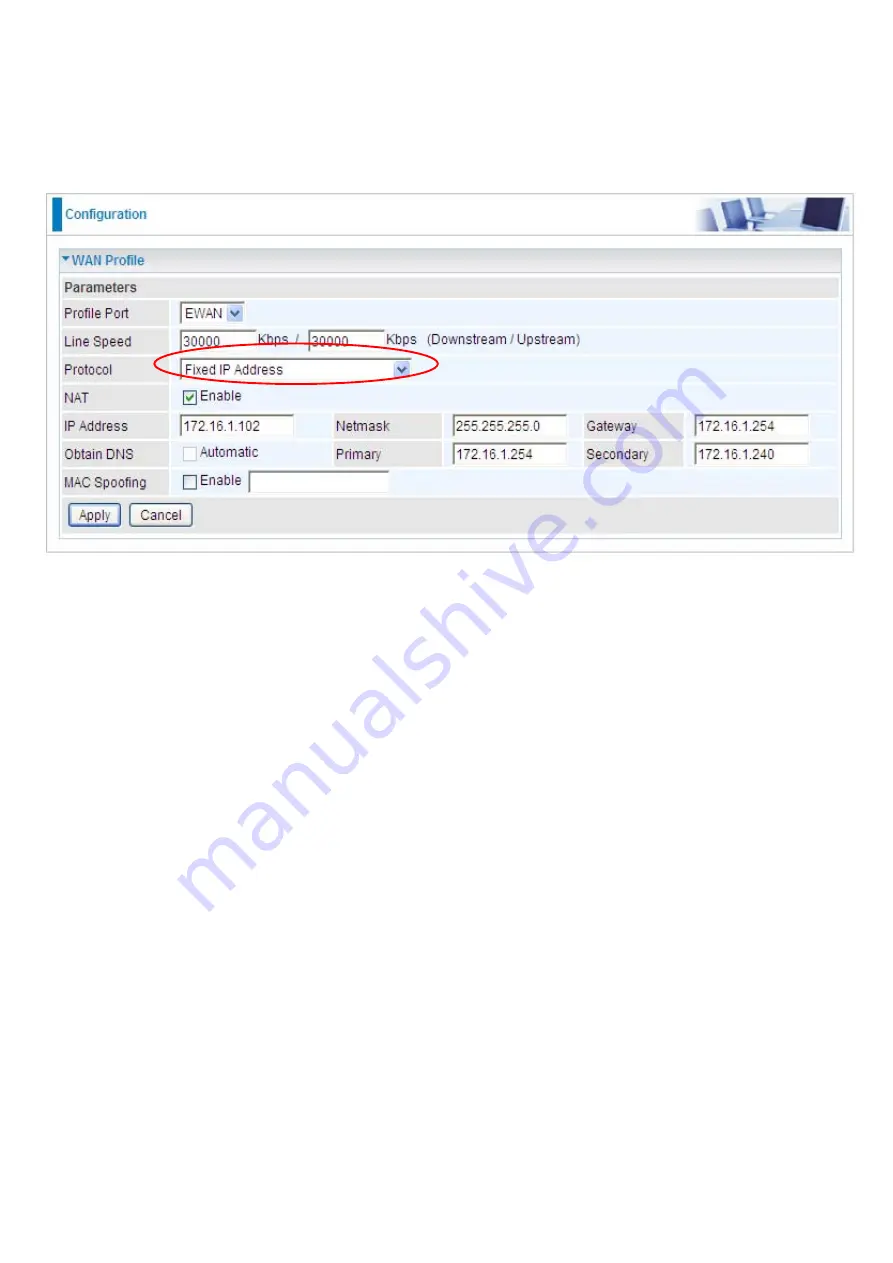
Fixed IP Address (EWAN)
Select this option to set static IP information. You will need to enter in the Connection type, IP address,
netmask, and gateway address, provided to you by your ISP. Each IP address entered in the fields
must be in the appropriate IP form, which is four IP octets separated by a dot (x.x.x.x). The Router will
not accept the IP address if it is not in this format.
Line Speed:
Set the downstream and upstream of your connection in kilobytes per second. The
connection speed is used by QoS settings.
NAT:
The NAT (Network Address Translation) feature allows multiple users to access the Internet
through a single IP account, sharing a single IP address. If users on your LAN have public IP
addresses and can access the Internet directly, the NAT function can be disabled.
IP Address:
Your WAN IP address. Leave this at 0.0.0.0 to automatically obtain an IP address from
your ISP.
IP Netmask:
The default is 0.0.0.0. User can change it to other such as 255.255.255.0.Type the
netmask assigned to you by your ISP (if given).
Gateway:
You must specify a gateway IP address (supplied by your ISP)
Obtain DNS Automatically:
Select this check box to use DNS.
Primary DNS/ Secondary DNS:
Enter the IP addresses of the DNS servers. The DNS servers are
passed to the DHCP clients along with the IP address and the netmask.
MAC Spoofing:
Select Enable and enter a MAC address that will temporarily change your router’s
MAC address to the one you have specified in this field. Leave it as Disabled if you do not wish to
change the MAC address of your router.
Содержание BiPAC 6200WZL R2
Страница 11: ...7 Applications of 6200WZL R2...
Страница 12: ...8 Chapter 2 Product Overview Important note for using this router...
Страница 65: ...61 the parameters on both Wireless Configuration and Wireless Security Configuration page are as follows...
Страница 95: ...91 3 Choose the directory which you want to delete then click Delete to romove this directory...
Страница 96: ...92 Samba Server...
Страница 101: ...97 Set up of Printer client Step 1 Click Start and select Printer and Faxes Step 2 Click Add a Printer...
Страница 102: ...98 Step 3 To continue click Next Step 4 Select network printer and apply Next button...
Страница 104: ...100 Step 7 Click Finish to complete the add printer...
Страница 107: ...103 4 The following page appears Note if you find the Web cam icon is grey please return to the steps previous to enable...
Страница 108: ...104 Click Web Cam to play Click the radio button on the left top corner to adjust the image size...
Страница 124: ...120 Enter the necessary message and press Reload Delete...


