


BE-G42S User Manual
15
3.5 Basic Operation
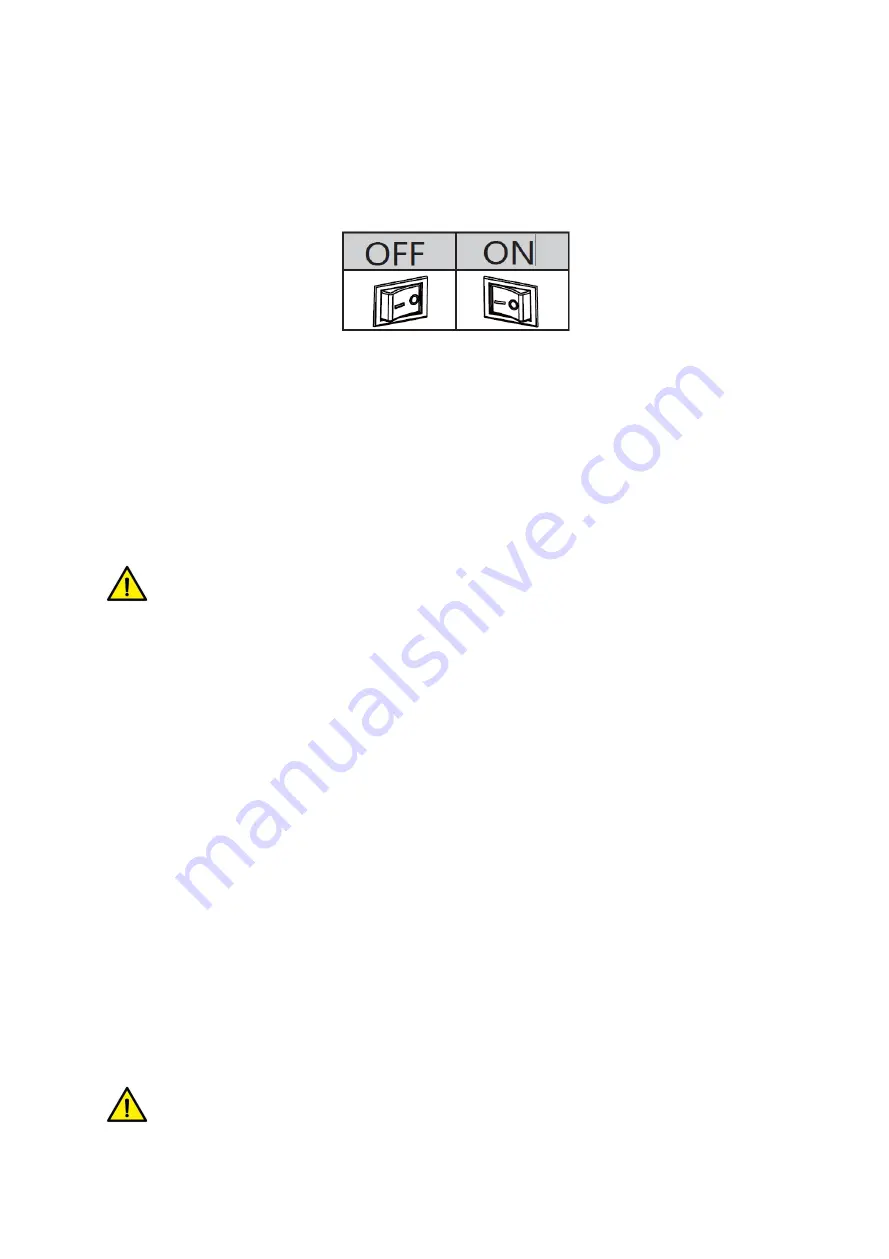
3.5.1 Power on/power off
Press “O” to power off the printer. Press “l”
to power on the printer.
3.5.2 Feed Button
Press the FEED button, and printer will feed paper to the specified position according to the
paper type. Just long-press the FEED button once that will feed the fixed distance paper when
using continuous paper. Long-press FEED button once that will feed a whole label paper when
using label printer.
3.5.3 Quick Calibration
Note
:
users must carry out the calibration under the conditions below:
➢
The first time to use the printer after installation;
➢
The first time to use the printer since sensor cleaning;
➢
Reuse the printer when it has not been used for a long time;
➢
Change a new type of media;
➢
Printer cannot recognize the mark;
➢
Huge change of the operating environment;
Calibration method
:
1.Carry out the calibration manually.
When the printer is ready, press the FEED button until the status indicator (green) flashes twice.
Then release the button, and printer will start to do the calibration. Loosen the FEED button of
printer until the status indicator (Green) flash twice, then it starts to the black label mode
learning. When printer start the calibration under the continuous media mode, the calibration
is invalid.
2.Carry out the calibration by printer utility tool.
Please refer to detailed information in “Chapter 6 Label Printer Utility Instructions”.
Note: after the calibration, users could open the printer cover to pull back the learned
paper in avoid of paper wasting.
Содержание BE-G42S
Страница 1: ...BE G42S User Manual BESTEASY Tel 1 213 262 0251 Web www besteasy top...
Страница 3: ...BE G42S User Manual 9 3 Linux Driver Installation 54 9 4 Detailed Linux Driver Settings 59...
Страница 10: ...BE G42S User Manual 6 1 3 Dimension Unit mm...
Страница 21: ...BE G42S User Manual 17 Chapter 4 Interface 4 1 USB Interface PIN SIGNAL NAME 1 VBUS 2 D 3 D 4 GND...
Страница 26: ...BE G42S User Manual 22 Click Delete Printer click OK to delete the printer...
Страница 37: ...BE G42S User Manual 33 2 According to different needs set the page...
Страница 38: ...BE G42S User Manual 34 Click Paper Name then choose the paper type...
Страница 41: ...BE G42S User Manual 37 3 Speed 4 Test...
Страница 42: ...BE G42S User Manual 38 5 Media Handing 6 Media type...
Страница 43: ...BE G42S User Manual 39 3 Click Watermark it recommends to use BMP format...
Страница 44: ...BE G42S User Manual 40 4 Click Halftone...
Страница 46: ...BE G42S User Manual 42 2 Click General Print Test Page and the printer will print the current settings...
Страница 47: ...BE G42S User Manual 43 3 Click Ports then choose the port needed...
Страница 48: ...BE G42S User Manual 44 4 Click Advanced to set the available time for the printer...
Страница 50: ...BE G42S User Manual 46 3 Choose the printer driver name needed to uninstall then click Next 4 Click Yes...
Страница 52: ...BE G42S User Manual 48 2 Select a destination and click Continue...
Страница 53: ...BE G42S User Manual 49 3 Choose Installation Type and click Continue Install...
Страница 54: ...BE G42S User Manual 50 4 Type in the password of your computer 5 The installation was successful...
Страница 56: ...BE G42S User Manual 52 8 Under Printer Scanner printer BE G42S is available...
Страница 59: ...BE G42S User Manual 55 2 Double click the file twice 3 Right click in the blank choose the Open in Terminal...
Страница 64: ...BE G42S User Manual 60 2 Describe printer then click Apply 3 Choose whether to print a test page...
Страница 67: ...BE G42S User Manual 63 Job Options Choose the item and the printer will execute appropriate action...
Страница 68: ...BE G42S User Manual 64 Ink Toner Levels...


