BenQ Home Entertainment W500, Руководство пользователя
Подробное описание продукта BenQ Home Entertainment W500. На нашем сайте вы можете бесплатно загрузить руководство пользователя для BenQ Home Entertainment W500. Просто посетите manualshive.com, чтобы скачать руководство. Управляйте своим домашним развлечением с помощью этого удивительного устройства от BenQ.
Поделиться
Скачать


Отзывы:
Нет отзывов
Похожие инструкции для Home Entertainment W500

SP-P310ME
Бренд: Samsung Страницы: 32

SP-H03
Бренд: Samsung Страницы: 57

SP-LSP7TFA
Бренд: Samsung Страницы: 2
Optima pro
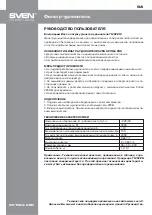
Бренд: Sven Страницы: 4

MAX 5300-PM
Бренд: Panamax Страницы: 2

DSJ-6000LN
Бренд: Daewoo Страницы: 39

Cinelpro
Бренд: Projecta Страницы: 17

LP 225
Бренд: InFocus Страницы: 58

RLD (3.0-4.5:1)
Бренд: Barco Страницы: 9

PJD6240 - XGA DLP Projector
Бренд: ViewSonic Страницы: 2

VU-PRO VT14X
Бренд: Vutec Страницы: 10

Elite Kuro PRO-FPJ1
Бренд: Pioneer Страницы: 155

KURO KRF-9000FD
Бренд: Pioneer Страницы: 259
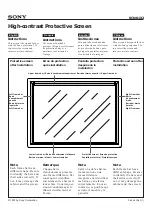
SCN-61X2
Бренд: Sony Страницы: 4

VPS-415RF
Бренд: Sony Страницы: 21

XG-F315X
Бренд: Sharp Страницы: 2

XG-C45XU
Бренд: Sharp Страницы: 5

XG-MB70X
Бренд: Sharp Страницы: 30


