BenQ DC 5530 User’s Manual
Eng
lish
Taking Photos
17
4.
Tap the Return icon
to exit the menu and return to Photo
mode. The Continuous Shot mode icon appears on the LCD
screen.
5.
Press the shutter button down halfway to focus, then press it
down fully. The camera takes two photos in rapid succession.
When complete, a timer icon appears on the LCD for a few
moments while the photos are processed.
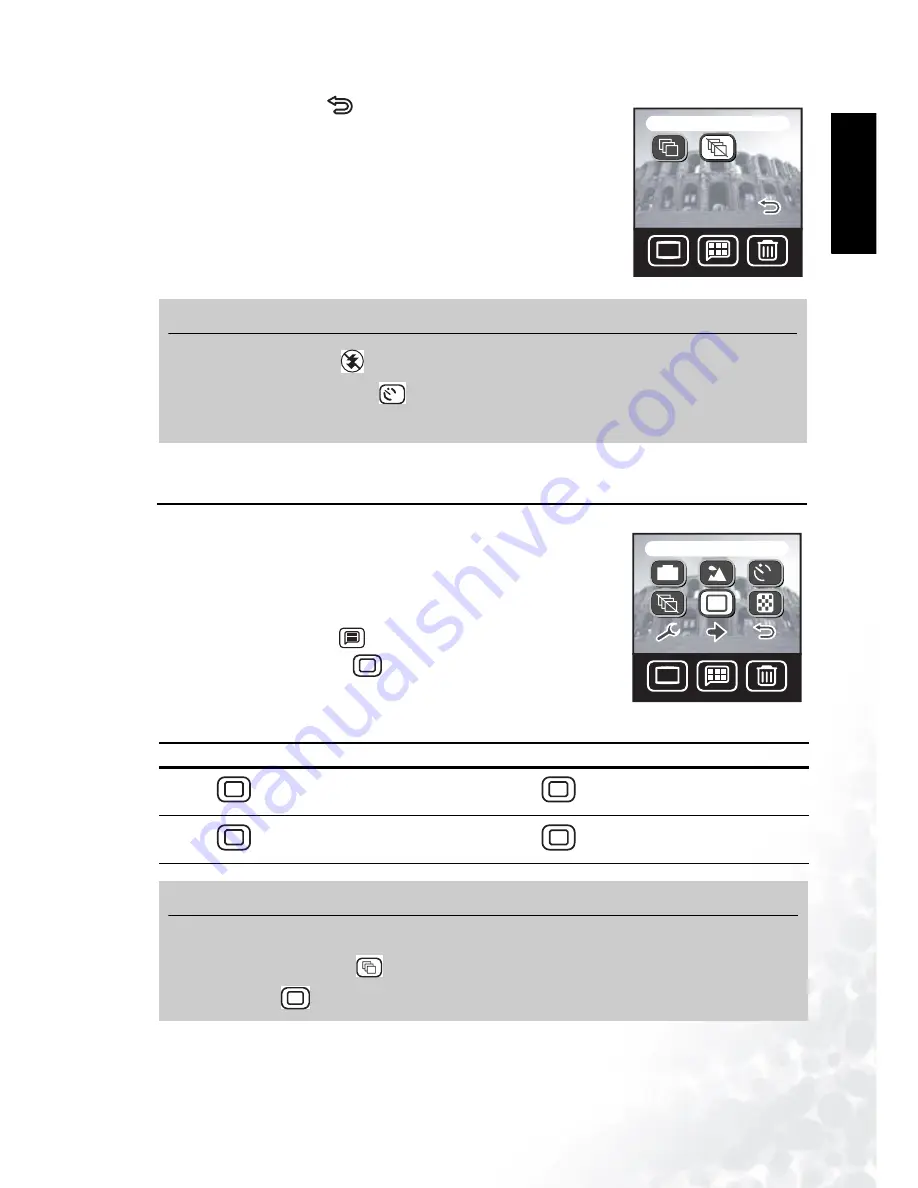
3.11 Image Size
The DC E40 allows you to choose from four different image sizes,
or resolutions. Higher resolution photos require more memory, so
your camera will store fewer high resolution photos than lower
resolution photos but the quality will be better.
1.
Tap the Menu button
.
2.
Tap the Image Size icon
.
3.
Select the image size. The menu screen appears with the Image
Size icon you chose.
Note
•
The flash is set to Off
when Continuous Shot mode is turned on.
•
You can use the Self-Timer
function to take continuous shots.
•
The continuous shot function cannot be used in Back Light Scene Mode.
Icon
Image Size
Icon
Image Size
6M
2848x2136
2M
1600x1200
4M
2048x1536
1M
1280x968
Note
•
Use a lower image size if you want to store more photos in a limited amount of memory.
•
Continuous Shot mode
cannot be used when the image size is set to 6M
(2848x2136) .
DISP
DISP
Off
10
DISP
DISP
Image Size
10
6M
6M
M
6M
6M
6M
6M
2M
2M
4M
4M
1M
1M
6M
6M


