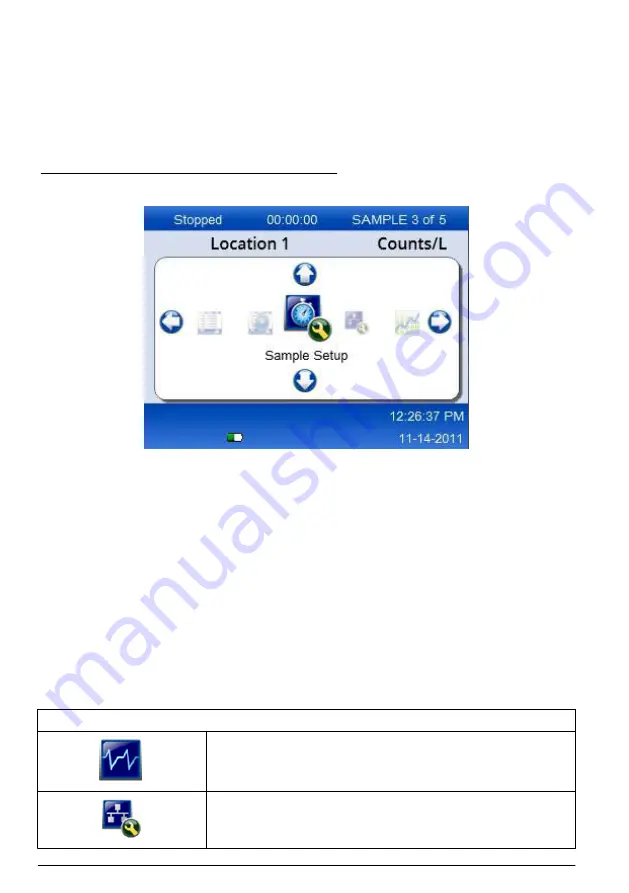
A sample process can be started from this screen. The process uses the stored Sample Setup
values. For more information on how to set up samples and a sample process, refer to
on page 13 and
Start a sample process with normal view
on page 14.
Menu icons
Icons in the Navigation Menu are shown horizontally. The icon in the middle of the screen is shown
highlighted, (i.e., larger and brighter). Arrows above and below an icon indicate that sub-menus exist
(
Figure 5 Example of an icon with submenu options
To go to the Navigation Menu and select a menu option:
1.
Push the Menu button.
2.
Push the right or left arrow buttons to highlight an icon. Push the Up or Down arrow buttons to
move through sub-menu options.
3.
Push the Select button to accept the highlighted icon.
The menu or screen for the selected option appears.
4.
View data or edit and configure fields as necessary.
Fields and controls in a screen may include radio buttons, text and numeric fields, check-boxes
and drop down menus. An onscreen keyboard appears when the cursor is in a text field. Use the
keyboard to put data in the field.
Icon functions
shows instrument icons grouped by function. Refer to specific sections of the manual for
more information.
Table 2 Icons and functions
System functions
Instrument diagnostics
Communications setup
10
English


