45
NAVIGATION MODE
>>>
> D
> GB
> F
> I
> E
> P
> NL
> DK
> S
> N
> FIN
> TR
> GR
> PL
> CZ
> H
> SK
>
Then enter the desired values using the
buttons
to .
You can enter coordinates in three differ-
ent ways.
The following formats can be used:
• Degrees Minutes Seconds.Decimal sec-
onds e.g. 42°52’46.801“
• Degrees Minutes.Decimal minutes e.g.
48° 53.56667'
• Decimal degrees e.g. 48.89277778
>
Press the
button.
Where possible, an address matching the
coordinates will be displayed. You can
view the destination on the map, store it,
display the route to the destination or start
the route guidance straight away.
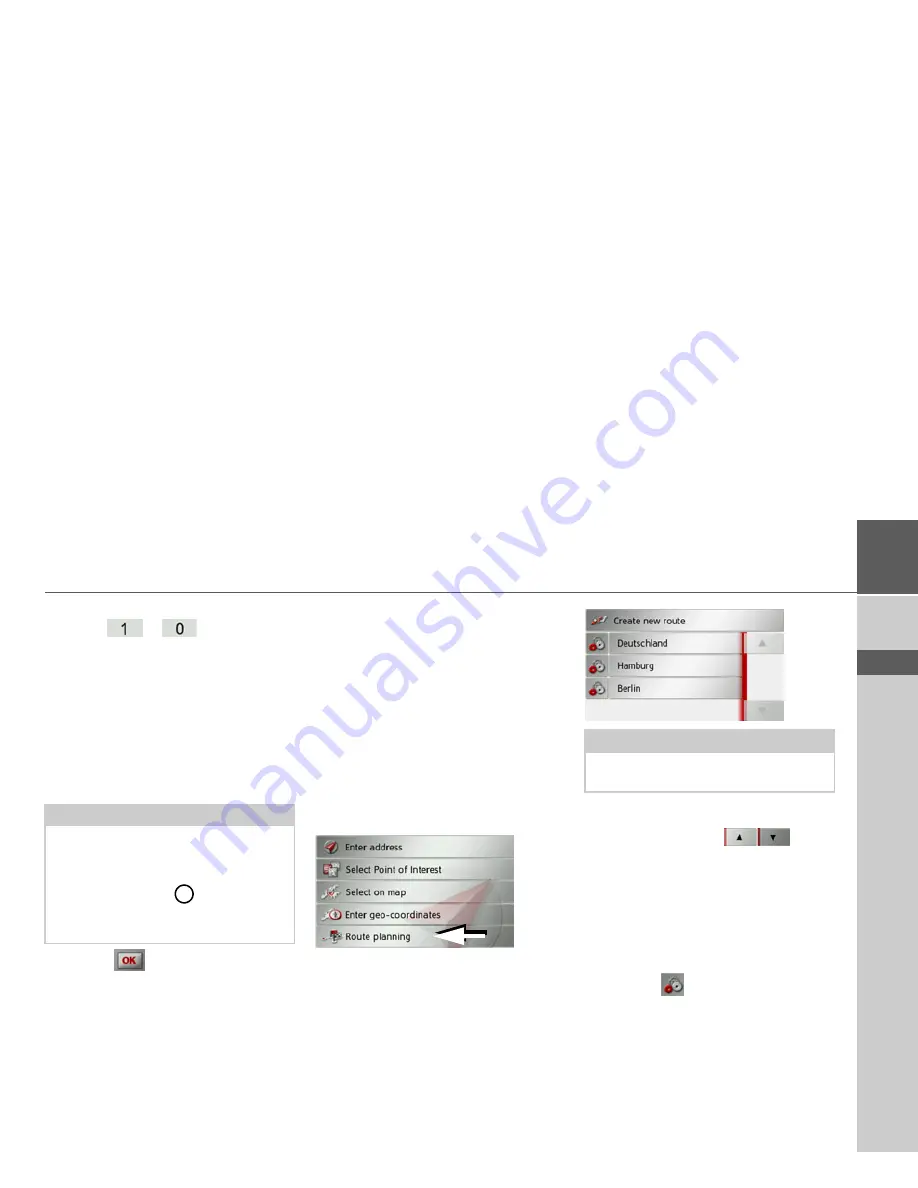
Route planning
The route planning menu allows you to
create and select individual routes. To do
this, enter the individual destination
points for the desired route. It is then pos-
sible to travel to these points consecutively
without having to enter any further infor-
mation. You can also optimise the desti-
nation points entered and in so doing
change their order.
>
Press
Enter destination
in fast access
mode.
>
Press the
Route planning
button.
In the route menu you can create a new
route by pressing the
Create new route
button. Previously stored routes are
shown in a list below this.
Scrolling through stored routes
>
Press the arrow keys
on the
right of the screen to scroll through the
stored routes.
Editing stored routes
You can add additional stages to a stored
route, change the name of the route or de-
lete it.
>
Press the
button in front of the
route you wish to edit.
Notes:
• The coordinates entered must corre-
spond to WGS84 (World Geodetic
System 1984).
• If you press button
your current ge-
ographic position will be entered into
the fields.
3
Note:
If no routes have yet been stored, the
route menu is empty.
Содержание Traffic Assist Z 107
Страница 1: ...Operating instructions...


