19
STEP 8:
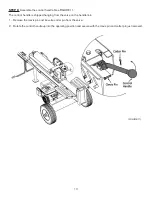
Assemble the control handle. See FIGURE 11.
The control handle is shipped hanging from the valve on the handle link.
1. Remove the clevis pin and bow-tie cotter pin from the valve.
2. Rotate the control handle up into the operating position and secure with the clevis pin and cotter pin just removed.
Page 16
STEP 8:
Assemble the control handle. See FIGURE 11.
The control handle is shipped hanging from the valve on the handle link.
1.
Remove the clevis pin and bow-tie cotter pin from the valve.
2. Rotate the control handle up into the operating position and secure with the clevis pin and cotter pin just removed.
(FIGURE11)
Page 19
Содержание Agri Ease BE-25TLE65GX
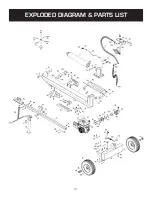
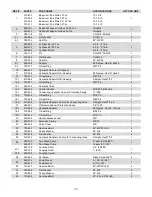
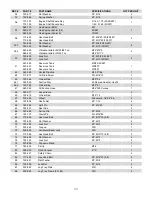
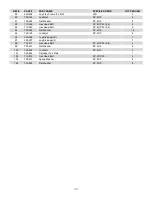
Страница 34: ...31 EXPLODED DIAGRAM PARTS LIST Page 28 EXPLODED DIAGRAM PARTS LIST Page 31...
Страница 39: ......


