T
UTORIAL
3-8
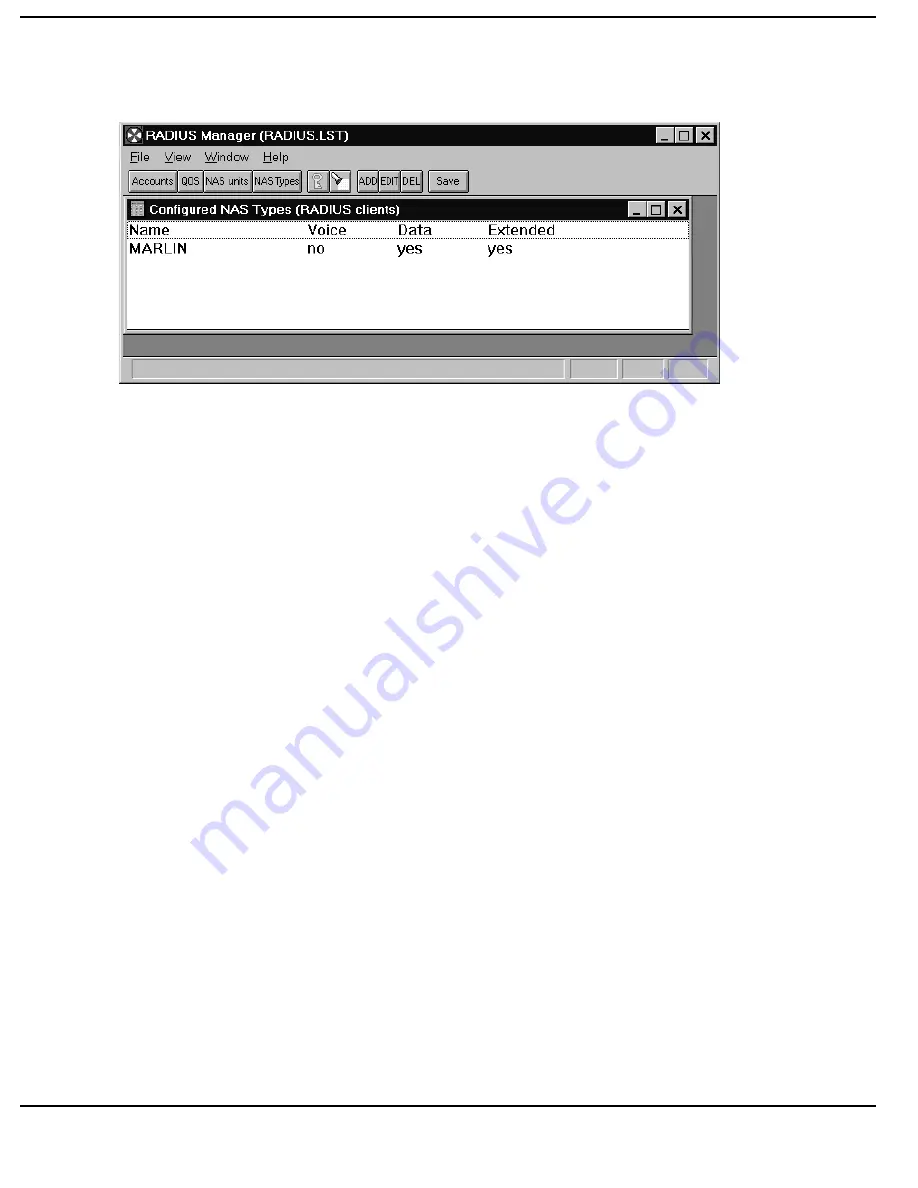
The “Configured NAS types” screen should be as shown below.
7. [Click]
the
Save Button to save all changes made to the NAS types
profiles.
8. Close the “Configured NAS Types” window by [clicking] the Close
Button. The “RADIUS Manager (RADIUS.LST)” window should now be
displayed.
2.
Configuring a NAS unit.
1. If the RADIUS Manager Window is not already displayed on the screen
[click] the RADIUS Manager Button on the Task Bar.
2. [Click]
the
NAS units Button on the RADIUS Manager Toolbar. The
“Configured NAS units (RADIUS clients)” window should appear.
3. [Click]
the
ADD Button to add a new NAS unit name to the list, or select
an existing NAS unit name and [click] the EDIT Button to edit the
configuration of the NAS unit name selected.
4. Add a new NAS unit name type by entering a meaningful name in the
“Name:” box. Enter HQ_MARLIN the Name Box.
Содержание Nautica RADIUS
Страница 1: ...Issue 1 0 MAN RADIUS REF RADIUS REFERENCE MANUAL Issue 1 0 ...
Страница 4: ...MAN RADIUS REF Issue 1 0 ...
Страница 7: ...CONTENTS v ...
Страница 8: ...CONTENTS vi ...
Страница 18: ...INTRODUCTION 1 10 ...
Страница 38: ...REFERENCE 2 20 ...
Страница 66: ...REFERENCE 2 48 ...
Страница 129: ...TUTORIAL 3 63 ...
Страница 130: ...TUTORIAL 3 64 ...


