6.3
Assembly
6.3.1
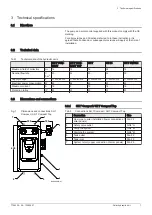
Assembly of the hydraulic unit
Importante
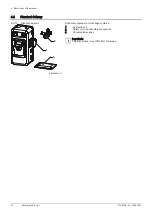
All units can be mounted on a wall rather than on the tank, as
illustrated below.
Importante
The solar unit must be installed vertically (flow rate direction from
the pump going up towards the collector). This installation position
means that the thermometers, pressure gauges and flowmeters
are easily visible. The functions of the flowmeter, air separator and
safety valve are only guaranteed if the unit is installed vertically.
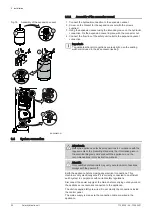
1. Fit the screws with the lock washers on the accumulator.
Importante
Position the fastening elements without tightening the screws
Importante
The fastening screws and corresponding washers are located in a
separate bag within the bag for the safety unit.
2. Remove the front housing together with the solar control. Connect the
safety group.
3. Hang the SH DB unit in the accumulator using the fastening screws.
4. Tighten the fastening screws to the tank.
5. Connect the pump's flow pipe.
6. Connect the return pipe to the installation's return pipe.
Importante
The connection fitting for the pipes is located in the box in the
hydraulic kit.
7. Refit the front housing together with the solar control.
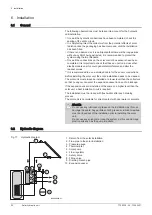
Fig.18
Assembly of the hydraulic unit
1
2
3
5.1
5.2
6.1
6.2
4
5
6
7
BA-0000030-01
6 Installation
7729335 - 04 - 12052021
Solar hydraulic unit
21
Содержание SH 14
Страница 44: ...7729335 04 12052021 7729335 04 ...

