BEFORE
STARTING
THE
KIT...
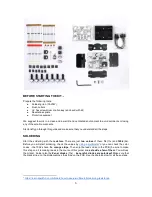
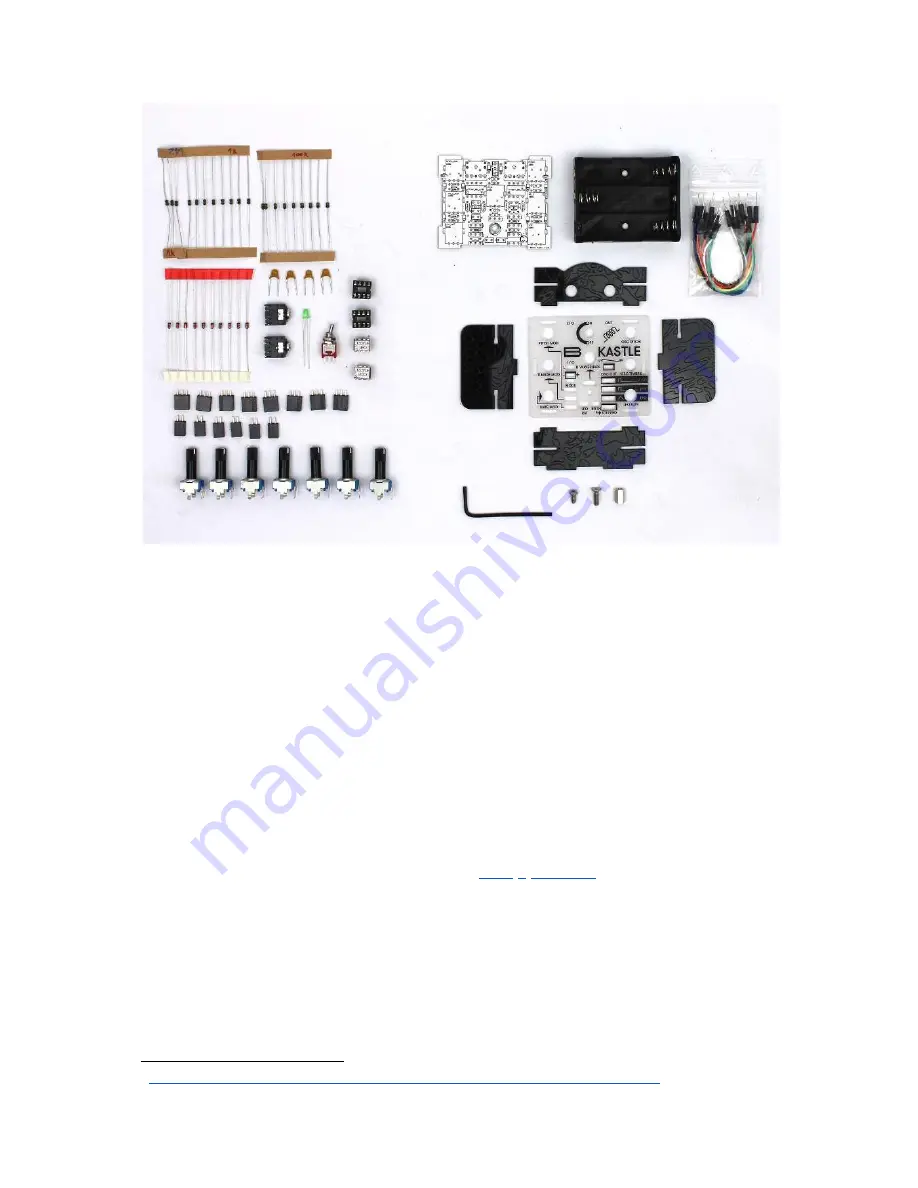
Prepare
the
following
tools:
● Soldering
iron
(15-20W)
● Flush
cutters
● n2.
hex
screwdriver
or
allen
key
(enclosed
with
kit)
● Needlenose
pliers
● Protective
eyewear
We suggest to work in a clean and a well lit and ventilated environment to avoid accidents or losing
any
of
the
small
components.
Also
briefly
go
through
this
guide
and
make
sure
that
you
understand
all
the
steps.
SOLDERING
Start the soldering with the
resistors
. There are just
two
values
of them:
1k
(11x) and
100k
(9x).
Before you will start soldering, check the values by
using a multimeter
or you can check the color
1
codes - the 100k's have the
orange
stripe
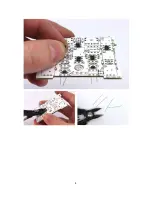
. Then snip the leads close to the PCB (be sure to make
this step on all remaining leads in the course of this guide) and
set aside a few of them
. You will use
them later. Solder also the
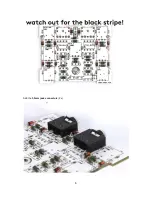
Zener diodes
(10x) -
be careful, diodes are polarized!
Make sure that
the
black
stripe
on
the
diode
matches
the
stripe
on
the
PCB.
See
the
photos
below
for
all
these
steps.
1
https://learn.sparkfun.com/tutorials/how-to-use-a-multimeter/measuring-resistance
3
Содержание KASTLE v1.3
Страница 4: ...4...
Страница 5: ...5...
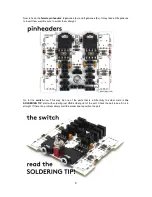
Страница 6: ...Add the 3 5mm jack connectors 2x 6...
Страница 15: ...15...


