


59
R5900102 /02
CX-20
Image 6
–
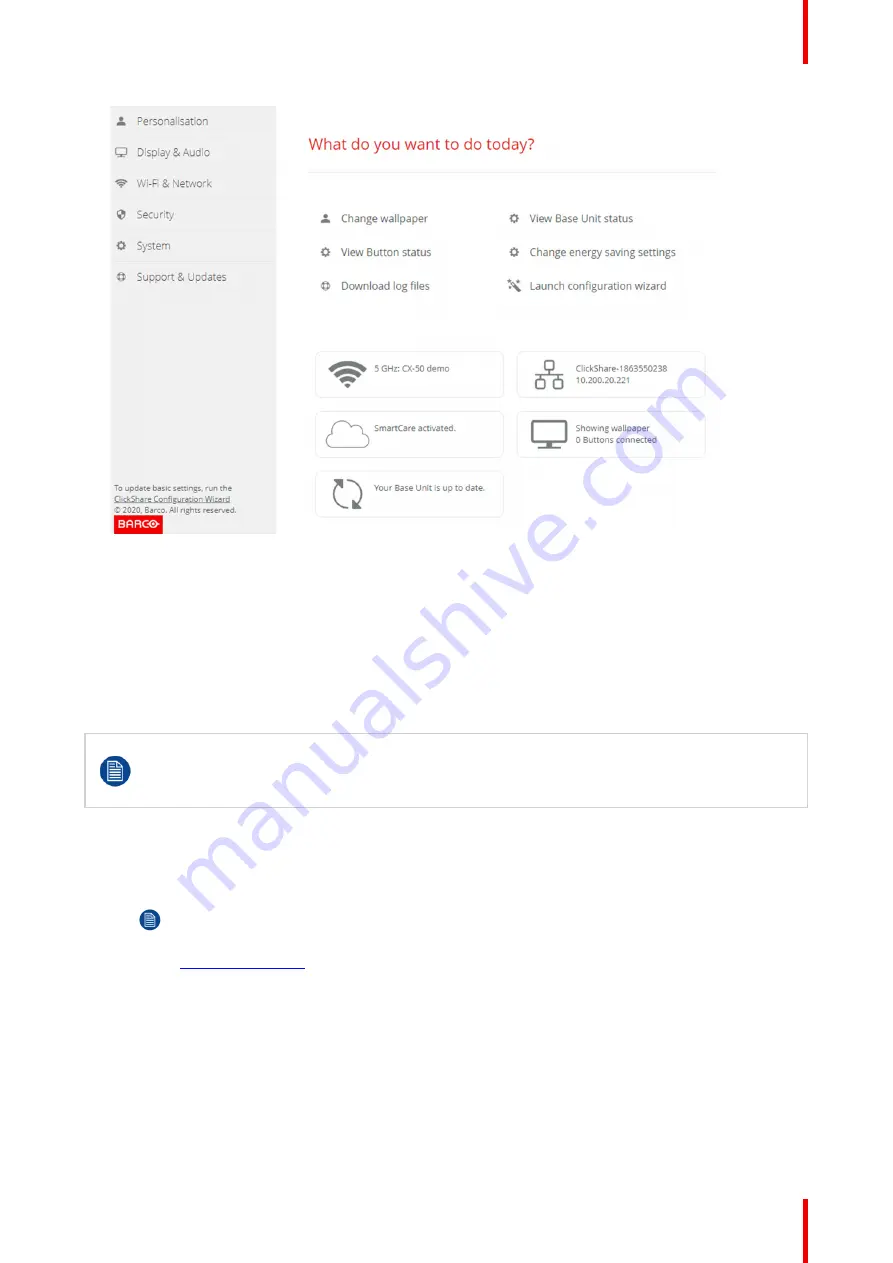
3 Start screen
The language of the configurator can be changed on any page in the interface.
The screen is split up in 2 panes. Left pane with the selection buttons and a right pane to configure the
selected function.
The startup screen itself shows:
•
the wired IP address
•
the wireless SSID
•
the number of Buttons connected
•
the system state
If you cannot find the IP address (e.g. there is no screen available) you should connect to the Base
Unit directly with your laptop via an Ethernet crossover cable and access the web interface using
the fixed IP address 192.168.1.23. Make sure your own LAN adapter is set in the 192.168.1.x
range.
To access the Configurator via a direct connection.
1.
Connect the Base Unit to your laptop using an Ethernet cable.
2.
On your laptop, open a browser.
Note:
Supported browsers are Internet Explorer, Firefox and Safari.
3.
Browse to
http://192.168.1.23
.
A login screen appears.
4.
Enter the user name 'admin' and the password, read and accept the EULA and click
OK
.
By default the password is set to 'admin'.
The configurator opens. The wired IP address is given on the startup page.
To access the Configurator via the Base Unit wireless network
1.
On your laptop, connect to the Base Unit wireless network.
Содержание CX-20
Страница 1: ...ENABLING BRIGHT OUTCOMES Installation manual CX 20...
Страница 18: ......
Страница 19: ...19 R5900102 02 CX 20 1 1 Documentation 20 1 2 Symbols and fonts 20 Introduction to the Installation Guide 1...
Страница 21: ...21 R5900102 02 CX 20 CX 20 Specifications 2...
Страница 27: ...27 R5900102 02 CX 20 3 1 Environmental Condition Check 28 3 2 Basic Workflow 28 Getting started 3...
Страница 54: ...R5900102 02 CX 20 54 Preparing the Buttons...
Страница 95: ...95 R5900102 02 CX 20 Firmware updates 7...
Страница 97: ...97 R5900102 02 CX 20 Troubleshooting 8...
Страница 101: ......


