#656-253, Sungsu-1ka, Sungdong-ku, Seoul, Korea
TEL: 02-469-1239 / FAX: 02-497-1270 / E-MAIL: [email protected] / WEB SITE: www.banseok.co.kr
7. Maintenance and Cleaning
7. Maintenance and Cleaning
Note:
Note:
After performing maintenance, the valve should be leak
tested before it is returned to service.
To leak test the valve:
To leak test the valve:
1. Set the needle stroke control knob at two turns open.
2. Shut off actuating air. Install an air hose in the valve’s fluid
inlet and connect it to a 7 bar (100 psi) air supply.
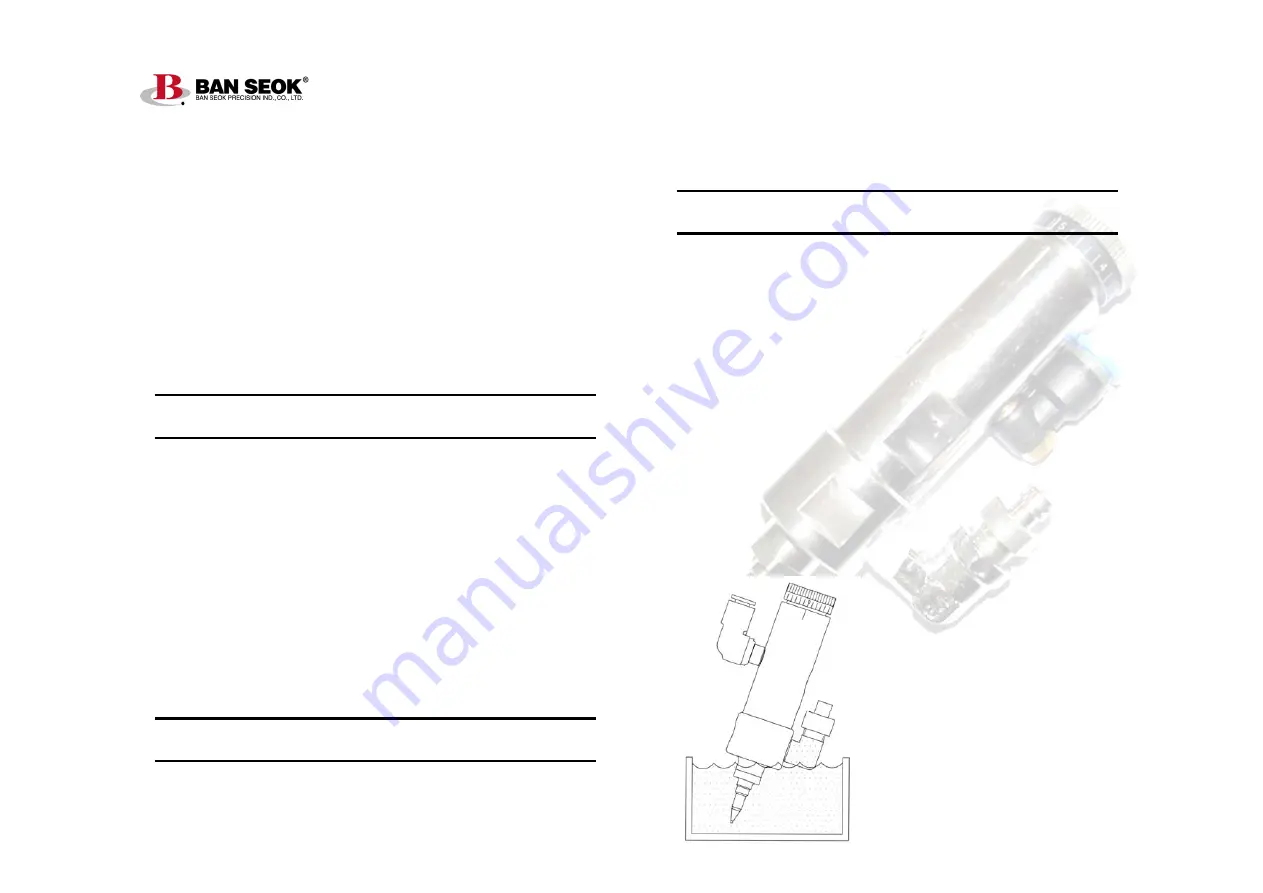
3. Submerge the needle seat and nozzle in a container of water.
If air bubbles appear, perform the following procedure to reseat
the parts:
To reseat the needle seat and nozzle assembly:
To reseat the needle seat and nozzle assembly:
1. Disconnect or shut off all air to the valve.
2. Open the needle stroke control two turns.
3. Using an appropriate wrench, loosen the needle seat one full
turn, then turn it back in and retighten. This causes any small
To replace the piston and needle assembly or piston O-ring:
1. Remove the needle stroke control by turning counterclockwise
until free.
2. Remove the piston return spring and thrust washers located on
each end of the spring.
3. Remove the snap ring using snap ring pliers.
4. Pull the piston and needle assembly out of the cylinder, using
small pliers on the spring pilot (at the top of the piston).
Note: The piston and needle assembly is replaced as a unit and
cannot be disassembled.
5. Clean the cylinder body wall and apply lubricant.
6. Replace the O-ring on the piston, apply lubricant, then reinstall
in the cylinder.
7. Reinstall the snap ring.
8. To reinstall the piston return spring, first put one thrust washer
over the spring pilot, then the other thrust washer into the needle
stroke control, followed by the spring.
9. Reinstall the needle stroke control by aligning the piston return
spring with the spring pilot. Turn the needle stroke control
clockwise until it stops and then back it out to the desired setting.
Note: Do not over tighten the needle stroke control, or needle
damage will occur.
irregularities on the needle and
seat to conform with one another
and become a matched set.
4. Restore actuating air and cycle
the valve a few times, then
perform the leak test again.
5. Steps 3 and 4 may be repeated
up to three times to obtain
satisfactory results.
6. If the valve continues to leak
after three attempts to reseat the
needle, replace the needle seat
and nozzle.


