32
33
BICYCLE
ASSEMBLY
BICYCLE
ASSEMBLY
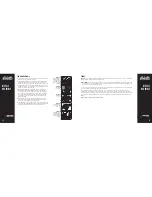
Cable head
Ferrule
anchor nut
Cable adjusting barrel
Handlebar
Grip
Brake Lever
Center Bolt
(fixing nut in back)
Cable
Cable
adjusting
barrel
Brake shoe
Brake
arm
FIG. A
FIG. B
FIG. C
FRONT BRAKE
CAUTION:
Improper use of the front brake may cause front wheel
to lock up resulting in loss of directional control or front pitch over.
Determine which type of brake your bike is equipped with and refer
to the appropriate assembly instructions below. *Additionally some
freestyle models may be equipped with a “cable detangler”. See
assembly steps for cable detangler.
CALIPER BRAKE
If the brake cable is not connected at the brake lever, slide the head of
the brake cable into the brake lever per the diagram, and thread the
cable through the slot in the brake lever so the cable end rests squarely
in the adjustment barrel or cable end rests in the recess of the brake
lever.
(Fig. A)
Brake adjustment
If the brake cable is disconnected at the caliper, thread the brake wire
through the adjustment barrel, loosen the cable anchor bolt until you
can see a hole through the anchor bolt for the cable wire to attach,
thread the cable wire through the cable anchor and snug the cable
anchor by hand.
(Fig. B)
Check to be sure the cable is seated in the brake lever. Loosen the
cable anchor bolt just enough to allow the cable wire to move freely.
With your left hand squeeze the caliper brake until both brake pads
contact the rim. While holding the brake closed with your left hand, use
your right hand to pull the brake cable tight (through the cable anchor)
again inspecting that the cable end is seated in the brake lever, and
the barrel adjuster of the brake. Tighten the cable anchor as much as
you can by hand, and then while still squeezing the brake, tighten the
cable anchor fully with a wrench.
(Fig. C)
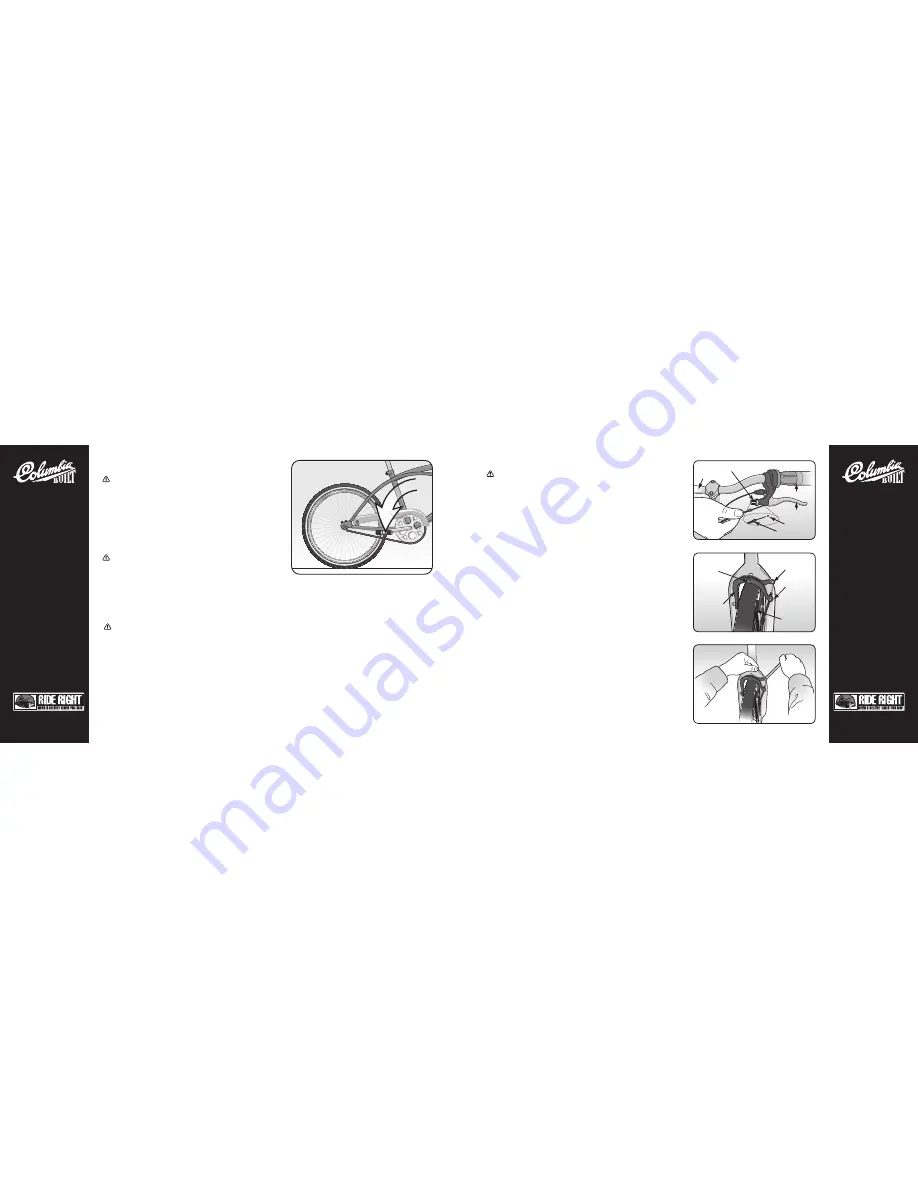
COASTER BRAKE
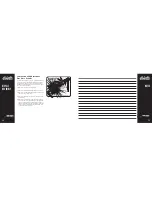
APPLY PRESSURE TO SLOW DOWN OR STOP
The coaster brake is a sealed mechanism, which is a part of the
bicycle’s rear wheel hub. The brake is activated by reversing the
rotation of the pedal cranks (see the coaster brake diagram). Start
with the pedal cranks in a nearly horizontal position, with the front
pedal in about the 4 o’clock position, and apply downward foot
pressure on the pedal that is to the rear. The more downward
pressure you apply, the more braking force, up to the point where
the rear wheel stops rotating and begins to skid.
CAUTION:
Before riding, make sure that the brake is working
properly. If it is not working properly, have the bicycle checked
by your dealer before you ride it.
Adjusting your coaster brake
Coaster brake service and adjustment requires special tools and
special knowledge. Do not attempt to disassemble or service your
coaster brake. Take the bicycle to your dealer for coaster brake service.
WARNING: If you do not obey the following instructions, injury to the rider or to others can occur:
Then test the brakes and practice using them at low speed in a large and level area that is free of obstruction.
When correctly used, the brake system is very effective. But, if you apply the coaster brake too strongly you may lose
traction in the rear wheel putting the bicycle into a slide.
Always try to brake while going in a straight line. Apply brakes earlier with less pressure in the following conditions:
wet pavement, sand, gravel, leaves, or if you need to brake while turning. To reduce the chance of skidding apply
brakes intermittently.
Be careful when riding downhill or at a high speed because as your speed increases, a longer distance to stop the bicycle
will be necessary. Slow for curves because too much speed can force you to make a turn too wide. Do not touch coaster
brake after used in high speed situations. Coaster brake will get hot and may cause a burn.
Coaster
Brake
Diagram
APPLY PRESSURE TO PEDAL
TO SLOW DOWN OR STOP


