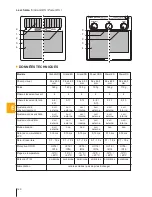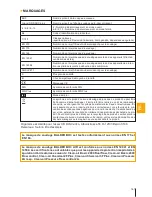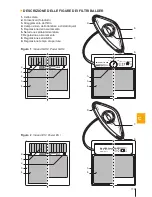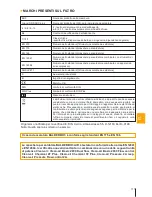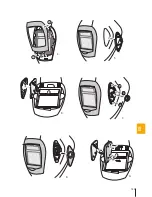
Grand GDS, Power GDS
Grand ES, Power ES, Grand DS, Power DS
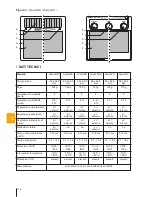
Grand GDS, Power GDS
Grand ES, Power ES, Grand DS, Power DS
Grand GDS, Power GDS
Grand ES, Power ES, Grand DS, Power DS
Grand GDS, Power GDS
Grand ES, Power ES, Grand DS, Power DS
Grand GDS, Power GDS
Grand ES, Power ES, Grand DS, Power DS
Grand GDS, Power GDS
Grand ES, Power ES, Grand DS, Power DS
Grand GDS, Power GDS
Grand ES, Power ES, Grand DS, Power DS
PROCESSO DI
SALDATURA
MMA
CORRENTE IN AMPERE
MAG
TIG
MIG - metalli pesanti
MIG - leghe leggere
(inossidabile, Al)
Taglio plasma
Microplasma
6
10
15
30
40
60
70
100 125 150 175 200 225 250 300 350 400
9
10
11
12
13
8
9
10
11
12
8
9
10
11
12
13
8
14
9
10
11
12
13
10
11
12
13
9
10
11
12
13
4
5
6
7
8
9
10
11
12
13
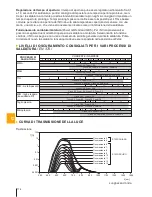
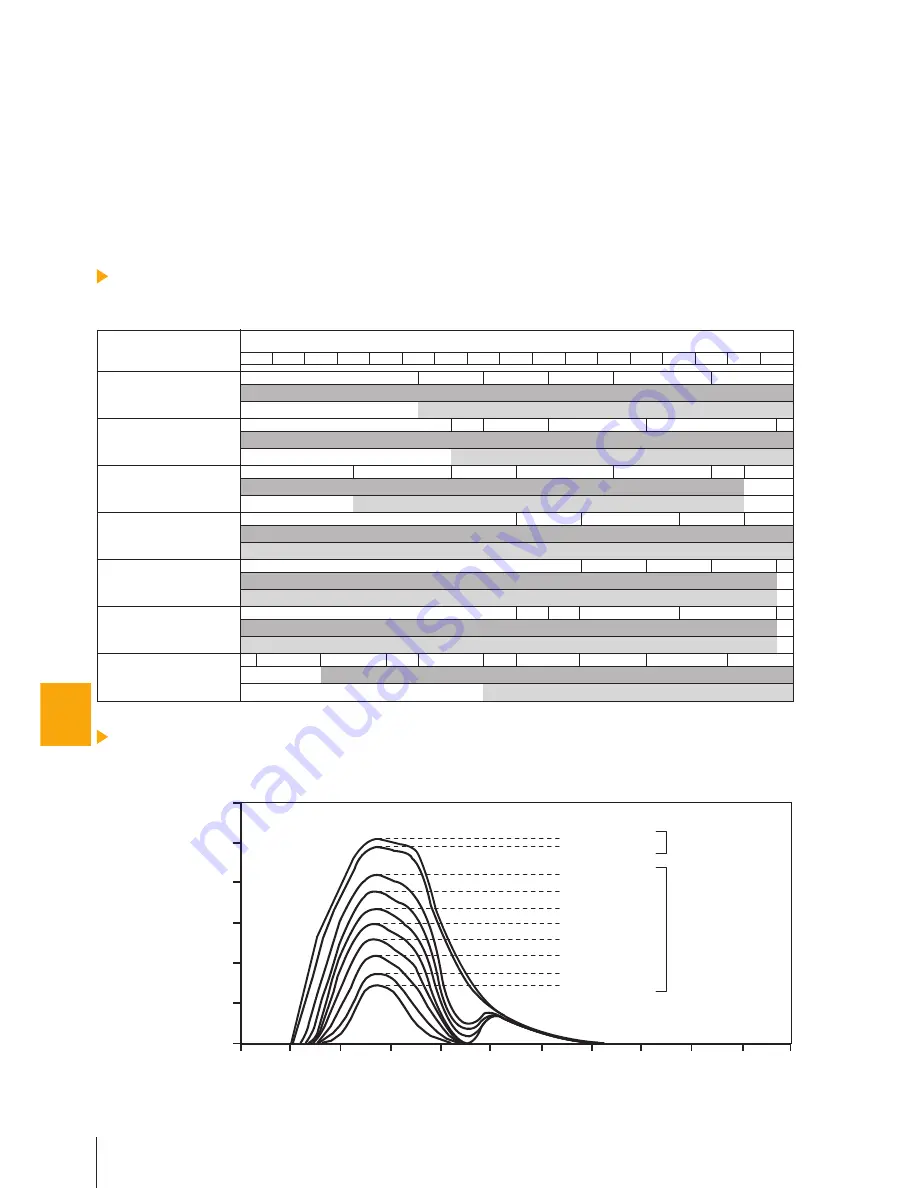
LIVELLI DI OSCURAMENTO CONSIGLIATI PER I VARI PROCESSI DI
SALDATURA
/ EN 379 /
CURVA DI TRASMISSIONE DELLA LUCE
0,0001
0,001
0,01
0,1
1
10
100
T[%]
300
400
500
600
700
800
900
1000
1100
1200
1300
1400
λ[nm]
Oscuramento 3
Oscuramento 4
Oscuramento 6
Oscuramento 7
Oscuramento 8
Oscuramento 9
Oscuramento 10
Oscuramento 11
Oscuramento 12
Oscuramento 13
STATO CHIARO
Trasmissione
Lunghezza d’onda
STATO SCURO
Regolazione del tempo di apertura:
Il tempo di apertura può essere regolato nell’intervallo fra 0,1
e 1,0 secondi. Per saldatura a punti si consiglia di impostare un tempo di apertura più breve, men-
tre per la saldatura a corrente più alta e intervalli di saldatura più lunghi si consiglia di impostare un
tempo di apertura più lungo. Tempi più lunghi possono inoltre essere impostati per il TIG a bassa
corrente per evitare un’apertura del filtro dovuta alla temporanea copertura del sensore con una
mano, una torcia, ecc. che viene erroneamente rilevata come un’interruzione della saldatura.
Funzionamento saldatura/molatura
(Power GDS, Grand GDS):
Per i filtri sopraelencati si
possono scegliere due modalità di operazione: saldatura o molatura. Selezionando la funzione
»Grind«, il filtro si spegne e non viene innescato da scintille generate durante la saldatura. Prima
di iniziare di nuovo la saldatura, la manopola deve essere spostata nella posizione »Weld«.
174
IT
Содержание BH3
Страница 2: ......
Страница 9: ...6 9 5 7 8 4 1 2 9 GB...
Страница 25: ...6 9 5 7 8 4 1 2 25 DE...
Страница 41: ...6 9 5 7 8 4 1 2 41 PL...
Страница 57: ...6 9 5 7 8 4 1 2 57 CZ...
Страница 68: ...BALDER BALDER BH3 10 60 C BALDER BALDER BALDER BALDER BH3 B S 110 x 110 BALDER 20 C 65 C 45 C BALDER 68 RU...
Страница 69: ...A A C C B D E F A D D F 1 A F B D E 1 CR39 BALDER BALDER 1 2 3 4 5 69 RU...
Страница 71: ...1 2 b 3 a 2 a 3 b 4 1 2 Grand DS Power DS 1 2 a 2 b 3 a 3 b 2 4 1 2 3 4 71 RU...
Страница 73: ...6 9 5 7 8 4 1 2 73 RU...
Страница 74: ...1 a 1 b 2 1 2 2 1 1 a 1 b 2 3 4 BH3 AIR BH3 AIR BH3 BH3 Balder Balder 1 2 3 74 RU...
Страница 75: ...A A C C B D X E F Z Z Y BH3 AIR 1 2 BH3 AIR BH3 BH3 AIR X Y Z X D D C 1 BH3 AIR 1 BH3 AIR 75 RU...
Страница 76: ...1 2 3 6 5 4 BH3 1 2 3 4 5 6 BH3 PAPR 25 30 1 2 3 4 5 6 7 8 76 RU...
Страница 89: ...6 9 5 7 8 4 1 2 89 RO...
Страница 105: ...6 9 5 7 8 4 1 2 105 LT...
Страница 121: ...6 9 5 7 8 4 1 2 121 SK...
Страница 137: ...6 9 5 7 8 4 1 2 137 LV...
Страница 153: ...6 9 5 7 8 4 1 2 153 FR...
Страница 169: ...6 9 5 7 8 4 1 2 169 IT...
Страница 185: ...6 9 5 7 8 4 1 2 185 ES...
Страница 201: ...6 9 5 7 8 4 1 2 201 SE...
Страница 217: ...6 9 5 7 8 4 1 2 217 FI...
Страница 233: ...6 9 5 7 8 4 1 2 233 NO...
Страница 249: ...6 9 5 7 8 4 1 2 249 NL...
Страница 265: ...6 9 5 7 8 4 1 2 265 HU...

