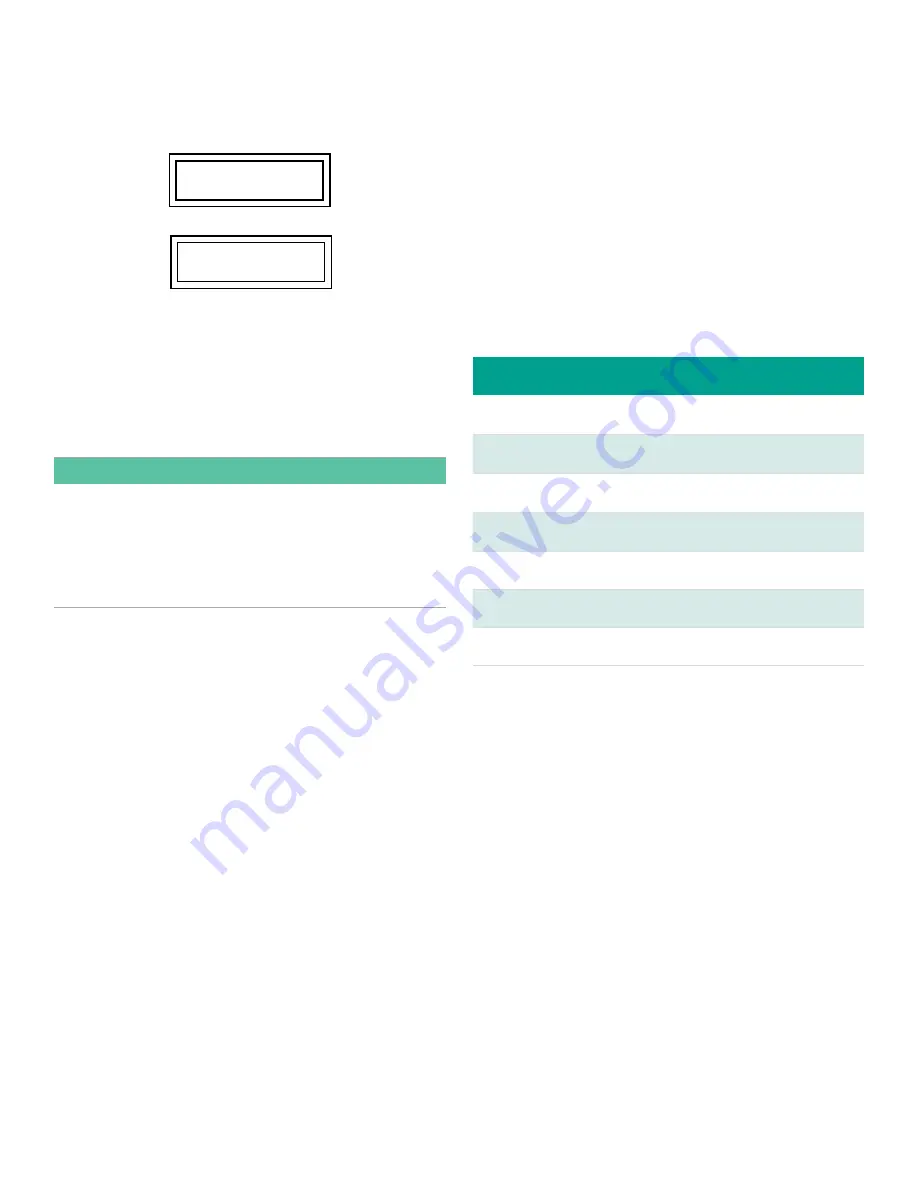
PANAMETRICS
XGM868i Y4FM.SP1
Ch1 VEL
0.00 m/s
3.4 Initial power on screens
When you power On the
PanaFlow Z1G/Z2G Process Gas
Flowmeter
, the display first shows the model name and
software version:
The meter then starts to display measured parameters.
To enter the Keypad Program, press the [
] key, followed by
the [
] key, and the [
] key again. Each successive key must
be entered within 10 seconds of the prior key.
As a guide in following the programming instructions in
this chapter, the relevant portions of the
PanaFlow Z1G/Z2G
Process Gas Flowmeter
menu map can be found in
Figure 16
on page 21
. Proceed to the following sections to enter data in
the
Channel
or
GLOBL
menus.
IMPORTANT:
If the keypad has not been pressed for 10 minutes, the
PanaFlow Z1G/Z2G Process Gas Flowmeter exits the Keypad
Program and returns to displaying measurements.
The meter retains any configuration changes that
were confirmed with the [
] key, and restarts as if the
programming had been completed.
3.5 Entering data in the GLOBL
menu
To begin programming your meter, you must select the
system units from the GLOBL menu as discussed below.
Refer to
Figure 16 on page 21
and remember to record all
programming data in Appendix B, “Gas Process Flowmeter
Service Record”.
3.5.1 Entering global system data
The
GLOBL-SYSTM
submenu is used to enter several general
system parameters (e.g., English or metric units). For
meters with 2 channels, this menu is also used to compute
parameters such as the sum, difference or average of the
channel 1 and channel 2 signals. When calculating the
SUM,
DIF
or
AVE
readouts, data from the
GLOBL-SYSTM
submenu
is used. Any conflicting data entered in the
CHANNEL-SYSTM
submenu is overridden. Complete the following steps:
1. In the Keypad Program, scroll to PROG and press [
].
2. In the PROG menu, scroll to GLOBL and press [
].
3. In the Global PROGRAM menu, scroll to SYSTM and press
[
].
4. Scroll to the desired System Units selection (either
metric or English) and press [
] to display all
parameters and measurements in the designated units.
5. Scroll to the desired Pressure Units selection (absolute or
gauge) and press [
].
6. Do one of the following:
• If PSIa (absolute) was selected, skip this step.
• If PSIg (gauge) was selected, enter the desired
atmospheric pressure and press [
].
7. The program automatically returns to the Global
PROGRAM menu.
3.5.2 Selecting volumetric units
1. Scroll to the desired
Volumetric Units
for the flow rate
display and press [
].
Table 4
below lists the available
volumetric units.
Table 4: Available volumetric / Totalizer units
English
Metric
ACF = Actual Cubic Feet
ACM = Actual Cubic Meters
KACF = Thousands of ACF
KACM = Thousands of ACM
MMACF = Millions of ACF
MMACM = Millions of ACM
SCF = Standard Cubic Feet
SCM = Standard Cubic Meters
KSCF = Thousands of SCF
KSCM = Thousands of SCM
MMSCF = Millions of SCF
MMSCM = Millions of SCM
2. Scroll to the desired unit of
Volumetric Time
(from
seconds
to
days
) and press [
].
3. Scroll to the desired number of
Vol Decimal Digits
(
digits
to the right of the decimal point) in the volumetric flow
display and press [
].
3.5.3 Selecting totalizer units
4. Scroll to the desired
Totalizer Units
for the flow rate
display and press [
]. Available units are listed in
Table
4
above.
5. Scroll to the desired number of
Tot Decimal Digits
(digits
to the right of the decimal point in the totalized flow rate
display) and press [
].
6. Do one of the following:
• If
MASS FLOW
is
ON
, proceed to
“Selecting Mass Flow
Units” on page 26
.
• If
MASS FLOW
is
OFF
, the meter returns to the
Global
PROGRAM
window. Press [
] twice and proceed to
Chapter 4, “Operation”.
Note:
The following prompts appear only if
Mass Flow
is
activated for both channels.
17
Содержание PanaFlow Z1G
Страница 1: ...PanaFlow Z1G Z2G User s manual 910 321 Rev A...
Страница 2: ...ii...
Страница 4: ...no content intended for this page iv...
Страница 9: ...no content intended for this page 1...
Страница 21: ...Figure 12 Remote mount electronics transducer and preamplifier wiring ref dwg 702 731 732 13...
Страница 28: ...no content intended for this page 20...
Страница 30: ...no content intended for this page 22...
Страница 38: ...no content intended for this page 30...
Страница 40: ...no content intended for this page 32...
Страница 43: ...Table 13 Service record cont Date Description of service Performed by 35...
Страница 49: ...no content intended for this page 41...


